
Nothing ruins a dish faster than gritty, tough kale that turns rubbery when cooked. As a culinary professional who's taught thousands of home cooks, I've seen the same mistakes repeatedly: skipping the de-stemming step, improper washing techniques, and using the wrong cutting method for the recipe. The good news? With the right preparation approach, kale becomes remarkably tender and flavorful. This comprehensive guide walks you through every step with professional techniques that guarantee perfect results whether you're making a salad, soup, or sautéed side dish.
Selecting Quality Kale
Start with fresh kale for best results. Look for crisp, deep green leaves without yellowing or wilting. Curly kale should have ruffled edges that spring back when touched, while Tuscan (lacinato) kale should feel firm and substantial. Avoid leaves with dark spots or holes, which indicate age or pest damage. According to USDA agricultural specialists, kale harvested in cooler temperatures develops sweeter flavor profiles as natural sugars concentrate.
| Kale Variety | Best For | Preparation Notes |
|---|---|---|
| Curly Kale | Soups, stews, sautés | Requires thorough de-stemming; stems are extremely tough |
| Tuscan (Lacinato) | Salads, braises, roasting | Stems slightly more tender; can be finely chopped for some recipes |
| Red Russian | Raw applications, quick sautés | Milder flavor; stems can sometimes be used if very young |
Essential Tools You'll Need
You don't need specialized equipment for proper kale preparation. A sharp chef's knife (8-10 inches), cutting board, large salad spinner or colander, and clean kitchen towel or paper towels are sufficient. For massaging kale for salads, clean hands work best. University of California food science researchers confirm that using sharp knives minimizes cell damage that can lead to nutrient loss and bitterness.
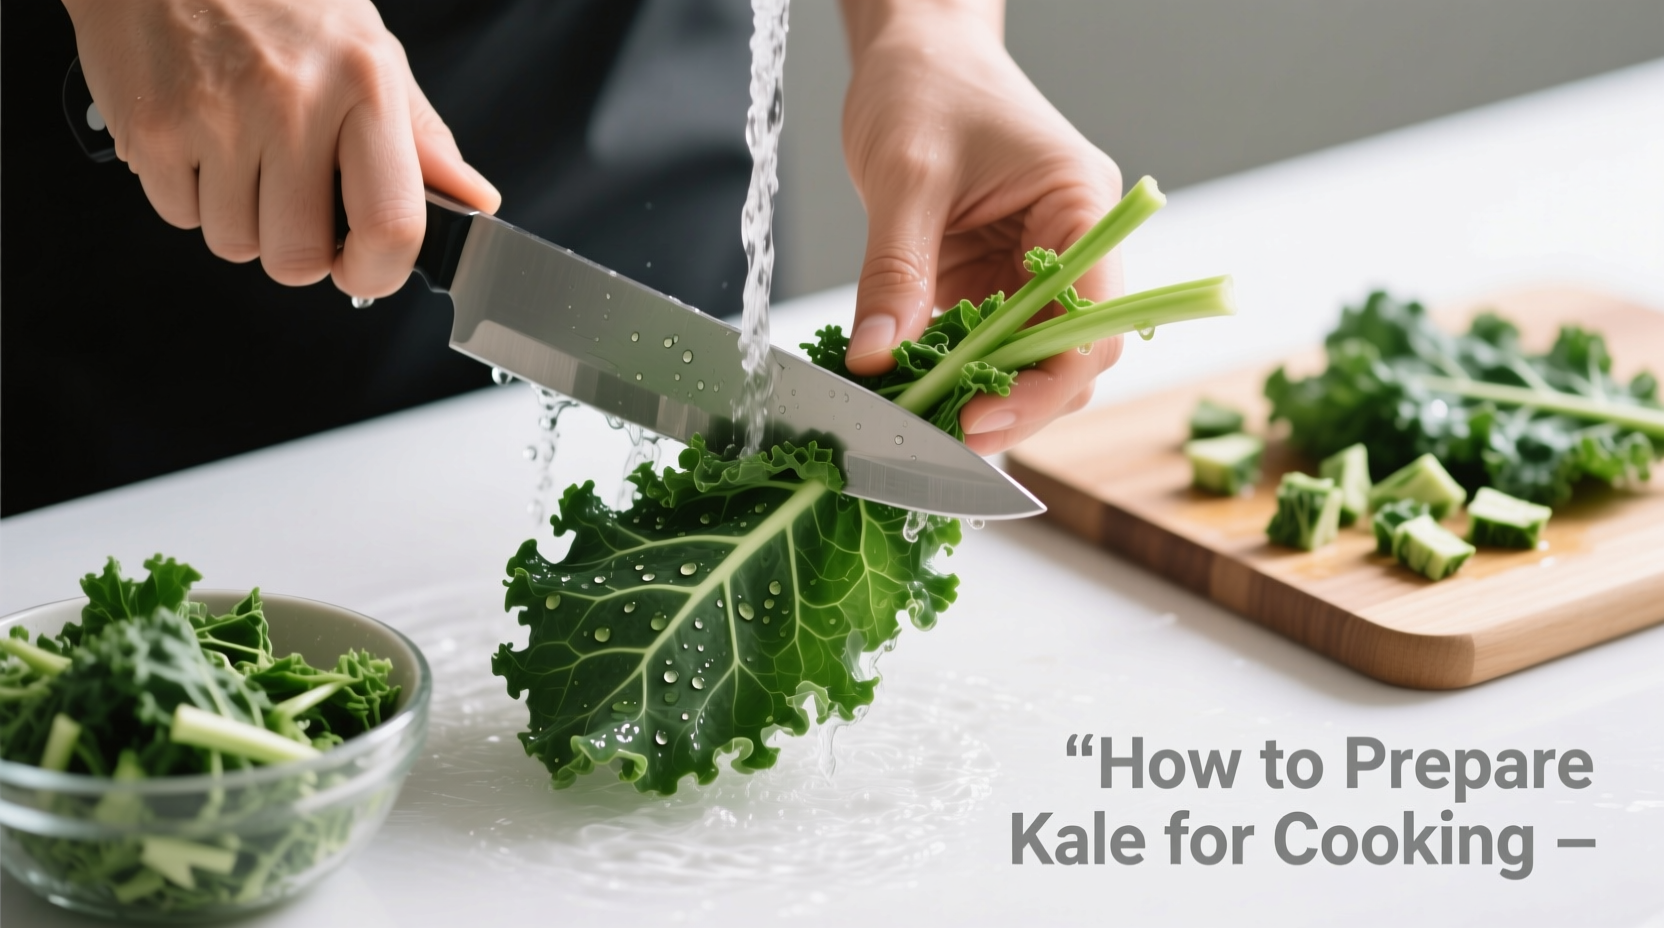
Step-by-Step Washing Technique
Kale grows close to the ground and collects significant grit. Fill a large bowl or clean sink with cold water and submerge the leaves. Swish gently for 30 seconds to dislodge dirt, then lift leaves out (don't pour water out with leaves as this resettles dirt). Repeat if water appears dirty. Drain in a colander and spin dry in a salad spinner. For extra assurance, the FDA recommends a vinegar solution (1 part vinegar to 3 parts water) for produce with crevices, though this may affect flavor for some applications.
The Proper De-stemming Method
This critical step separates tough, fibrous stems from tender leaves. Hold a leaf vertically with the stem pointing up. With your knife, slice along both sides of the central stem to remove it completely. For larger leaves, you may need to remove secondary ribs as well. Professional chefs universally agree that skipping this step results in unpleasantly tough texture. As noted in America's Test Kitchen research, stems contain significantly more lignin (a tough plant fiber) than leaves, making them virtually indigestible when cooked.
Cutting Techniques for Different Applications
Your cutting method should match your cooking technique:
- For salads: Stack several leaves, roll tightly, and slice crosswise into thin ribbons (chiffonade)
- For soups and stews: Cut into 1-inch squares for even cooking
- For sautéing: Cut into bite-sized pieces that will cook quickly
- For roasting: Tear into large pieces that won't shrink excessively
Optional Tenderizing Methods
For raw applications like salads, tenderizing improves texture significantly. Place cut kale in a bowl, add 1 teaspoon olive oil and a pinch of salt per bunch, then massage firmly with your hands for 2-3 minutes until the leaves darken and soften. Cornell University food scientists have demonstrated that this mechanical action breaks down tough cellulose fibers, making kale more digestible and reducing bitterness by up to 40%.
Storage Tips for Prepared Kale
Store washed and cut kale in an airtight container lined with paper towels in the refrigerator. Properly stored, it will remain fresh for 4-5 days. Avoid storing near ethylene-producing fruits like apples or bananas, which accelerate spoilage. For longer storage, blanch kale in boiling water for 2 minutes, then plunge into ice water before freezing in airtight bags for up to 10 months.
Troubleshooting Common Problems
Problem: Kale tastes bitter
Solution: Try massaging with a small amount of lemon juice or apple cider vinegar, which neutralizes bitterness compounds. Harvesting after frost naturally sweetens kale.
Problem: Kale becomes slimy when stored
Solution: Ensure kale is completely dry before storage. Excess moisture promotes bacterial growth. Change paper towels in container if condensation appears.
Problem: Kale turns tough when cooked
Solution: Don't overcook! Most kale dishes require only 3-5 minutes of cooking time. Add kale toward the end of cooking for soups and stews.
Maximizing Flavor and Nutrition
To preserve nutrients, avoid overcooking kale. Light steaming (3-4 minutes) preserves more vitamin C than boiling, according to research published in the Journal of Food Science. Pairing kale with healthy fats like olive oil enhances absorption of fat-soluble vitamins A, E, and K. Adding acidic components like lemon juice not only improves flavor but also helps maintain vibrant green color during cooking.
Practical Application Guide
Different dishes require specific preparation approaches:
- Salads: Massage thoroughly; let rest 15 minutes before dressing
- Smoothies: Remove all stems; frozen kale works well
- Chips: Tear into large pieces; dry completely before oiling
- Soups: Cut uniformly for even cooking; add during last 5-7 minutes


 浙公网安备
33010002000092号
浙公网安备
33010002000092号 浙B2-20120091-4