
Why Proper Infant Food Preparation Matters
Preparing food for infants demands special attention to safety and nutrition. A baby's digestive system is still developing, making them more vulnerable to foodborne illnesses and choking hazards. According to the Centers for Disease Control and Prevention, infants have higher nutritional needs per pound of body weight than at any other life stage. Getting food preparation right supports healthy growth while minimizing risks.
Essential Safety Protocols Before You Begin
Before handling any food for your baby, establish these safety habits:
- Hand hygiene: Wash hands thoroughly with soap for at least 20 seconds before food preparation
- Clean surfaces: Sanitize countertops, cutting boards, and utensils with hot, soapy water
- Safe produce handling: Rinse all fruits and vegetables under running water, even if peeling
- Cooking temperatures: Ensure meats reach proper internal temperatures (165°F/74°C for poultry)
| Food Type | Safe Internal Temperature | Minimum Cooking Time |
|---|---|---|
| Fruits & Vegetables | Soft throughout | 8-15 minutes steaming |
| Poultry | 165°F (74°C) | 15-20 minutes |
| Beef/Lamb | 160°F (71°C) | 10-15 minutes |
| Fish | 145°F (63°C) | 8-12 minutes |
Age-Appropriate Food Progression Timeline
Understanding your baby's developmental readiness is crucial for safe infant food preparation. The American Academy of Pediatrics recommends introducing solid foods around 6 months, but not before 4 months. Here's how feeding evolves:
| Age Range | Developmental Readiness Signs | Appropriate Food Textures | Portion Guidance |
|---|---|---|---|
| 4-6 months | Head control, interest in food, loss of tongue-thrust reflex | Thin purees (single-ingredient) | 1-2 tsp per meal, 1-2 times daily |
| 6-8 months | Sitting with support, reaching for food | Thicker purees, soft mashed foods | 2-4 tbsp per meal, 2-3 times daily |
| 8-10 months | Pincer grasp developing, chewing motions | Soft finger foods, small soft chunks | 4-8 tbsp per meal, 3 times daily |
| 10-12 months | Self-feeding ability, drinking from cup | Nearly family food (cut small, soft) | 1/4-1/2 adult portion, 3 meals + 2 snacks |
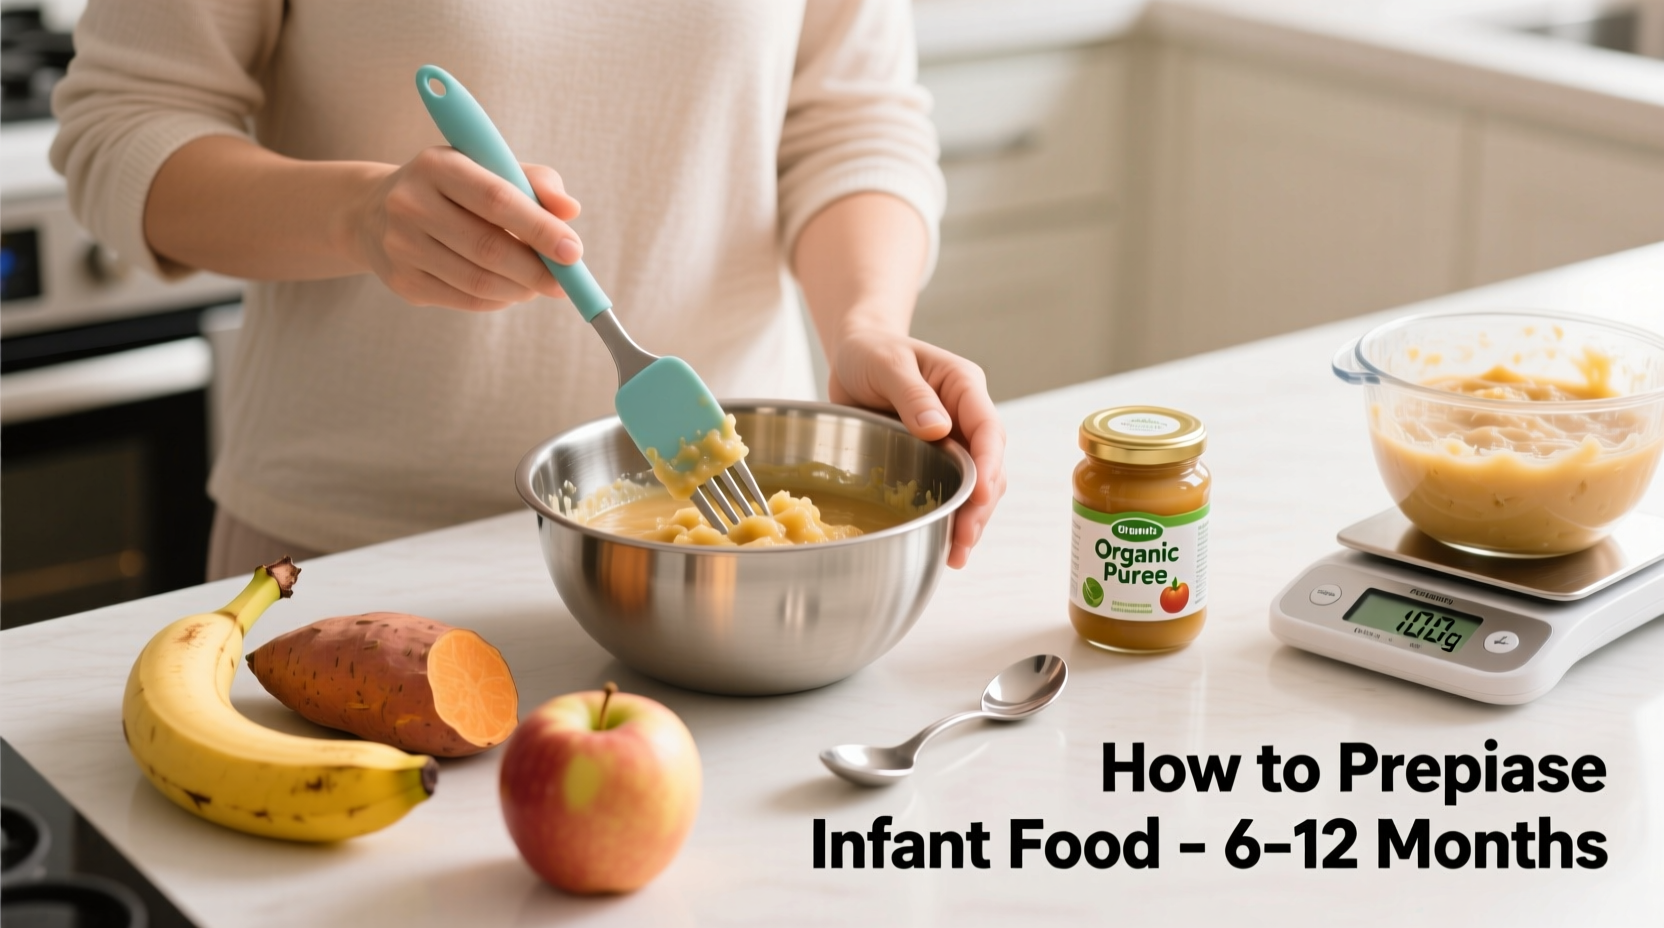
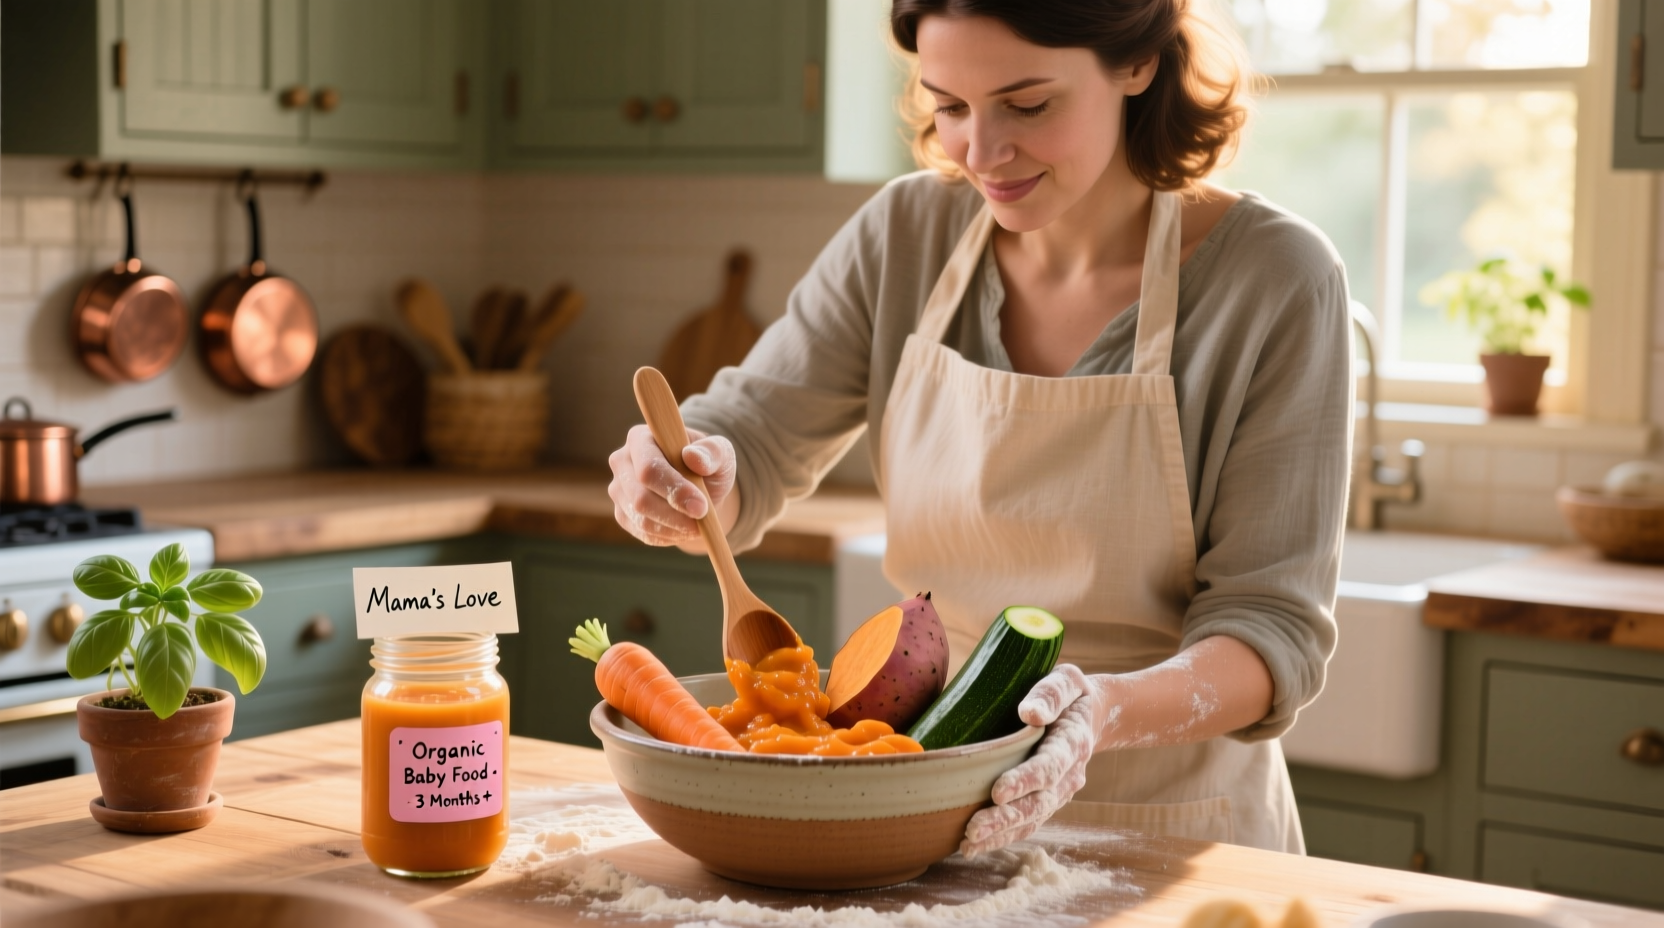
Step-by-Step Food Preparation Techniques
Follow these evidence-based methods for preparing nutritious infant food:
Single-Ingredient Purees for Beginners
- Wash and peel produce thoroughly
- Cut into uniform 1-inch pieces for even cooking
- Steam until very soft (avoid boiling to preserve nutrients)
- Cool slightly, then blend with breast milk or formula to desired consistency
- Store in labeled portions for easy serving
Texture Progression Methods
As your baby develops, gradually increase food texture:
- 6-7 months: Smooth purees with no lumps
- 7-8 months: Thicker purees with slight texture
- 8-9 months: Soft mashed foods with small soft chunks
- 9-12 months: Bite-sized soft finger foods
Nutritional Considerations for Growing Babies
Infant nutrition requires careful planning to support rapid development. Key nutrients to prioritize include:
- Iron: Introduce iron-fortified cereals or pureed meats around 6 months
- Zinc: Found in meats, beans, and fortified cereals
- Fat: Essential for brain development (avocado, full-fat dairy after 12 months)
- Vitamin C: Enhances iron absorption (citrus fruits, bell peppers)
The American Academy of Pediatrics emphasizes that breast milk or formula should remain the primary nutrition source until 12 months, with solid foods complementing rather than replacing milk feedings.
Critical Foods to Avoid for Infants
Some foods pose significant risks to infants and should be strictly avoided:
- Honey: Never give to babies under 12 months due to botulism risk
- Choking hazards: Whole grapes, nuts, popcorn, hard raw vegetables
- Excessive salt/sugar: Immature kidneys can't process excess sodium
- Cow's milk: Not as primary drink before 12 months (can cause iron deficiency)
- Unpasteurized foods: Juices, cheeses, or dairy products
Safe Storage and Handling Practices
Proper food storage prevents bacterial growth that could harm your infant:
- Refrigerate homemade baby food for no longer than 48 hours
- Freeze portions in labeled containers for up to 3 months
- Thaw frozen food in the refrigerator overnight or under cool running water
- Never refreeze thawed baby food
- Discard uneaten food after one feeding (saliva introduces bacteria)
- Use glass or BPA-free containers for storage
Introducing Allergenic Foods Safely
Current research shows early introduction of potential allergens may reduce allergy risk. The National Institute of Allergy and Infectious Diseases recommends introducing common allergens around 6 months:
- Start with small amounts (1/4 tsp) of single allergens
- Wait 3-5 days between introducing new potential allergens
- Monitor for reactions (rash, vomiting, diarrhea, breathing difficulties)
- Continue offering allergens regularly once introduced safely
Troubleshooting Common Infant Feeding Challenges
Address these frequent concerns with evidence-based solutions:
Gagging vs. Choking
Some gagging is normal as babies learn to eat solids. To minimize risks:
- Always supervise meals
- Seat baby upright at 45-90 degrees
- Start with very smooth purees before progressing
- Never leave baby unattended with food
Dealing with Food Rejections
It often takes 10-15 exposures for babies to accept new foods. Try these approaches:
- Offer new foods at the beginning of meal when baby is hungriest
- Pair new foods with familiar favorites
- Involve baby in food preparation (safe elements)
- Respect hunger/fullness cues without pressure
When to Consult a Pediatric Professional
Seek professional guidance if you notice:
- Consistent vomiting after feedings
- Signs of allergic reactions (hives, swelling, breathing difficulties)
- Difficulty gaining weight
- Chronic constipation or diarrhea
- Excessive gagging or choking during meals
FAQs About Infant Food Preparation
When is my baby ready for solid foods?
Most babies show readiness for solid foods between 4-6 months. Key signs include good head control, ability to sit with support, showing interest in food, and losing the tongue-thrust reflex. Never start solids before 4 months, as a baby's digestive system isn't mature enough to handle anything but breast milk or formula.
How do I safely introduce potential allergens to my baby?
Introduce common allergens (peanut, egg, dairy, soy, wheat, tree nuts, fish, shellfish) one at a time starting around 6 months. Begin with small amounts (1/4 teaspoon), wait 3-5 days between new allergens, and watch for reactions. Always introduce allergens at home where you can monitor your baby, not at daycare or restaurants. Consult your pediatrician before introducing allergens if your baby has severe eczema or a family history of food allergies.
Can I use frozen vegetables to make baby food?
Yes, frozen vegetables are an excellent option for making baby food. They're often flash-frozen at peak ripeness, preserving nutrients. Choose plain frozen vegetables without added sauces, salt, or seasonings. Thaw if needed, then steam until very soft before pureeing. Frozen vegetables provide a convenient, nutritious option year-round and often contain comparable or higher nutrient levels than fresh produce that's been transported long distances.
How long can I store homemade baby food?
Refrigerate homemade baby food for no longer than 48 hours. Freeze portions in labeled containers for up to 3 months. Always thaw frozen baby food in the refrigerator overnight or under cool running water—never at room temperature. Discard any uneaten food after one feeding, as saliva introduces bacteria that can multiply quickly. Store food in small portions (1-2 oz) to minimize waste and ensure proper serving sizes.
What's the best way to transition from purees to finger foods?
Begin transitioning to finger foods around 8-9 months when your baby develops the pincer grasp. Start with soft, dissolvable foods like ripe banana pieces, avocado chunks, or cooked carrot sticks. Cut foods into pea-sized pieces to prevent choking. Offer one new finger food at a time while continuing some purees. Always supervise meals and ensure your baby is seated upright. The transition should be gradual—some babies take weeks or months to become comfortable with finger foods.


 浙公网安备
33010002000092号
浙公网安备
33010002000092号 浙B2-20120091-4