
The Ultimate Guide to Pan-Seared Beef Tenderloin
Nothing beats a perfectly cooked beef tenderloin steak prepared right in your kitchen. This lean cut requires precise technique to avoid drying out while developing that irresistible crust. After decades of testing methods across professional kitchens and home stoves, we've refined the most reliable pan-searing approach that delivers consistent results without special equipment.
Why Pan Cooking Beats Other Methods for Tenderloin
Beef tenderloin's delicate texture makes it uniquely suited to pan cooking. Unlike thicker cuts that benefit from reverse searing, tenderloin's uniform shape and low fat content respond best to direct high-heat searing followed by gentle oven finishing. This two-stage method creates the perfect balance: a caramelized exterior while preserving the tender, rosy interior that makes this cut so prized.
Your Essential Equipment Checklist
Success starts with the right tools. Skip nonstick pans entirely - they can't reach the temperatures needed for proper searing. Instead, use one of these:
- Cast iron skillet - Retains heat best for consistent searing
- Stainless steel pan - Allows for deglazing to create pan sauces
- Instant-read thermometer - Critical for accuracy (more on this below)
- Tongs with silicone tips - Prevents piercing the meat
Selecting the Perfect Tenderloin
Not all tenderloins deliver the same results. Look for these characteristics:
- Thickness - Aim for 1.5-2 inch thick cuts for optimal pan cooking
- Color - Bright cherry red with fine marbling throughout
- Packaging date - Purchase within 2 days of the "packed" date
- Grade - USDA Prime offers best marbling, but Choice works well too
Avoid pre-marinated tenderloins - they often contain tenderizing enzymes that compromise texture.
Preparation: The Critical First Steps
Proper preparation makes or breaks your steak:
- Temperature adjustment - Remove steak from refrigerator 60-90 minutes before cooking. Cold meat won't sear properly.
- Drying - Pat thoroughly with paper towels. Moisture is the enemy of crust formation.
- Seasoning - Use coarse kosher salt (1 tsp per pound) and freshly ground black pepper. Apply 45 minutes before cooking for optimal penetration.
- Oil selection - Use high-smoke point oil like avocado or grapeseed (not olive oil).
| Doneness Level | Internal Temperature | Visual Indicators | Texture Test |
|---|---|---|---|
| Medium-Rare | 125°F (52°C) | Warm red center | Soft with slight resistance |
| Medium | 135°F (57°C) | Pink center | Firm but yielding |
| Medium-Well | 145°F (63°C) | Small pink center | Firm with little give |
The Cooking Process: Timing is Everything
Follow these precise steps for perfect results:
- Preheat skillet - Place empty pan over medium-high heat for 5 minutes until smoking slightly.
- Add oil - Use just enough to coat the bottom (about 1 tbsp).
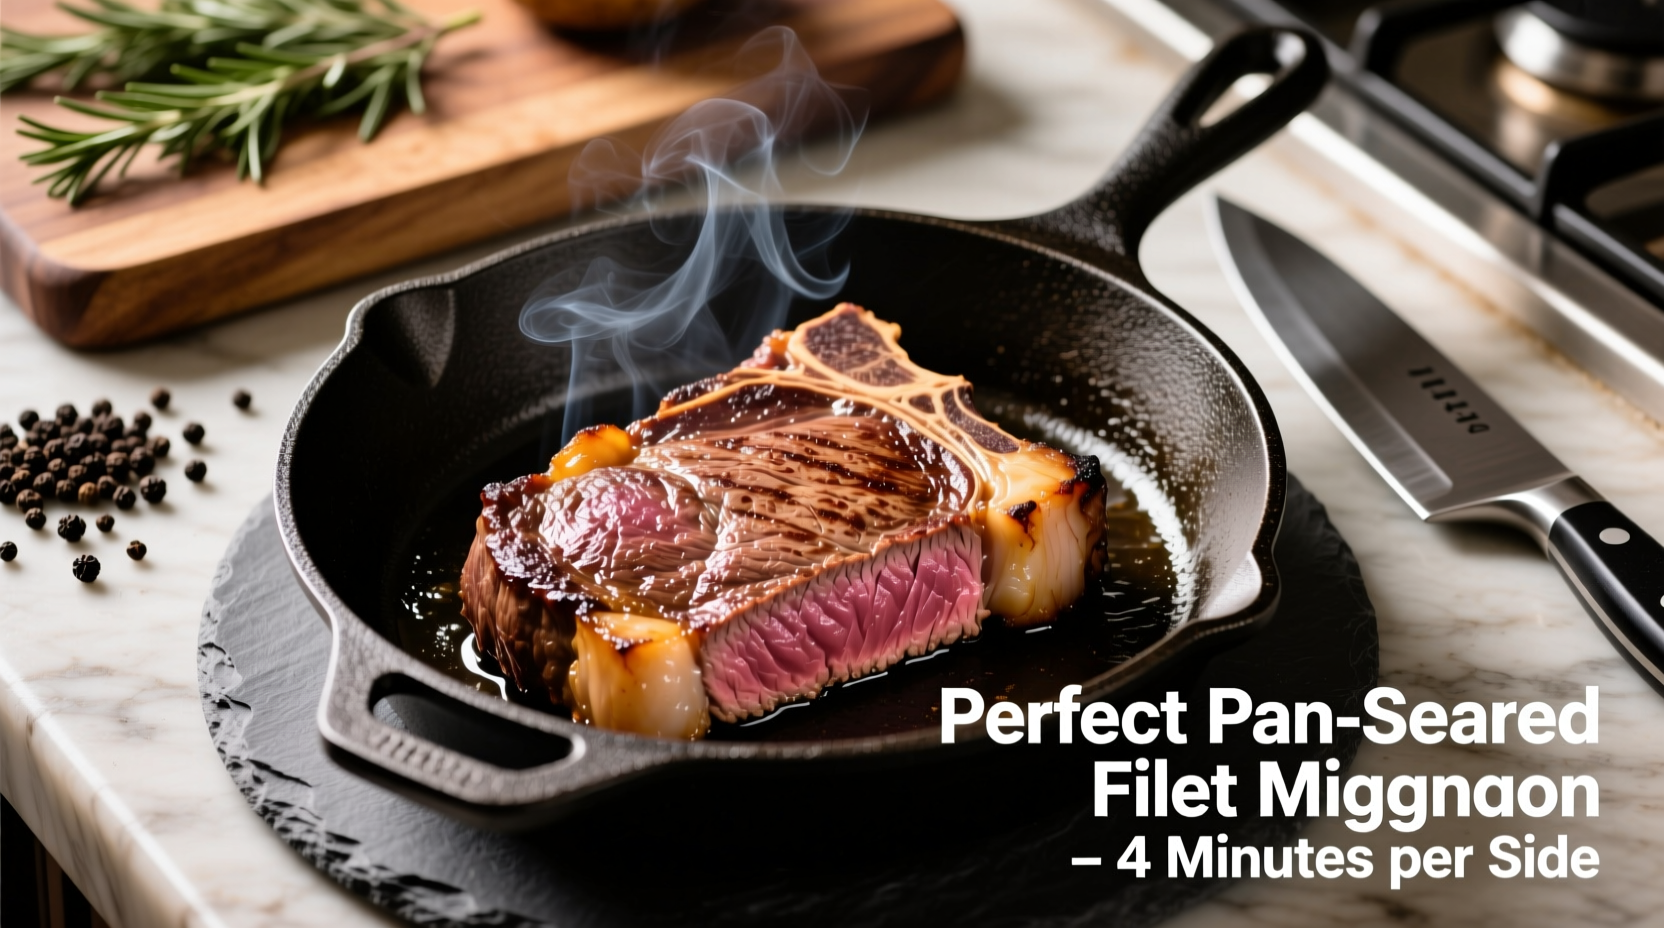
- Sear first side - Place steak in pan, press gently for full contact. Cook 3-4 minutes without moving.
- Flip and rotate - Turn steak 90° for cross-hatch marks, then flip to second side.
- Add aromatics - After 2 minutes, add butter, garlic, and herbs to pan.
- Baste continuously - Tilt pan and spoon melted butter over steak for last 2 minutes.
- Check temperature - Insert thermometer horizontally into thickest part.
- Finish in oven - If needed, transfer skillet to 400°F oven until target temperature reached.
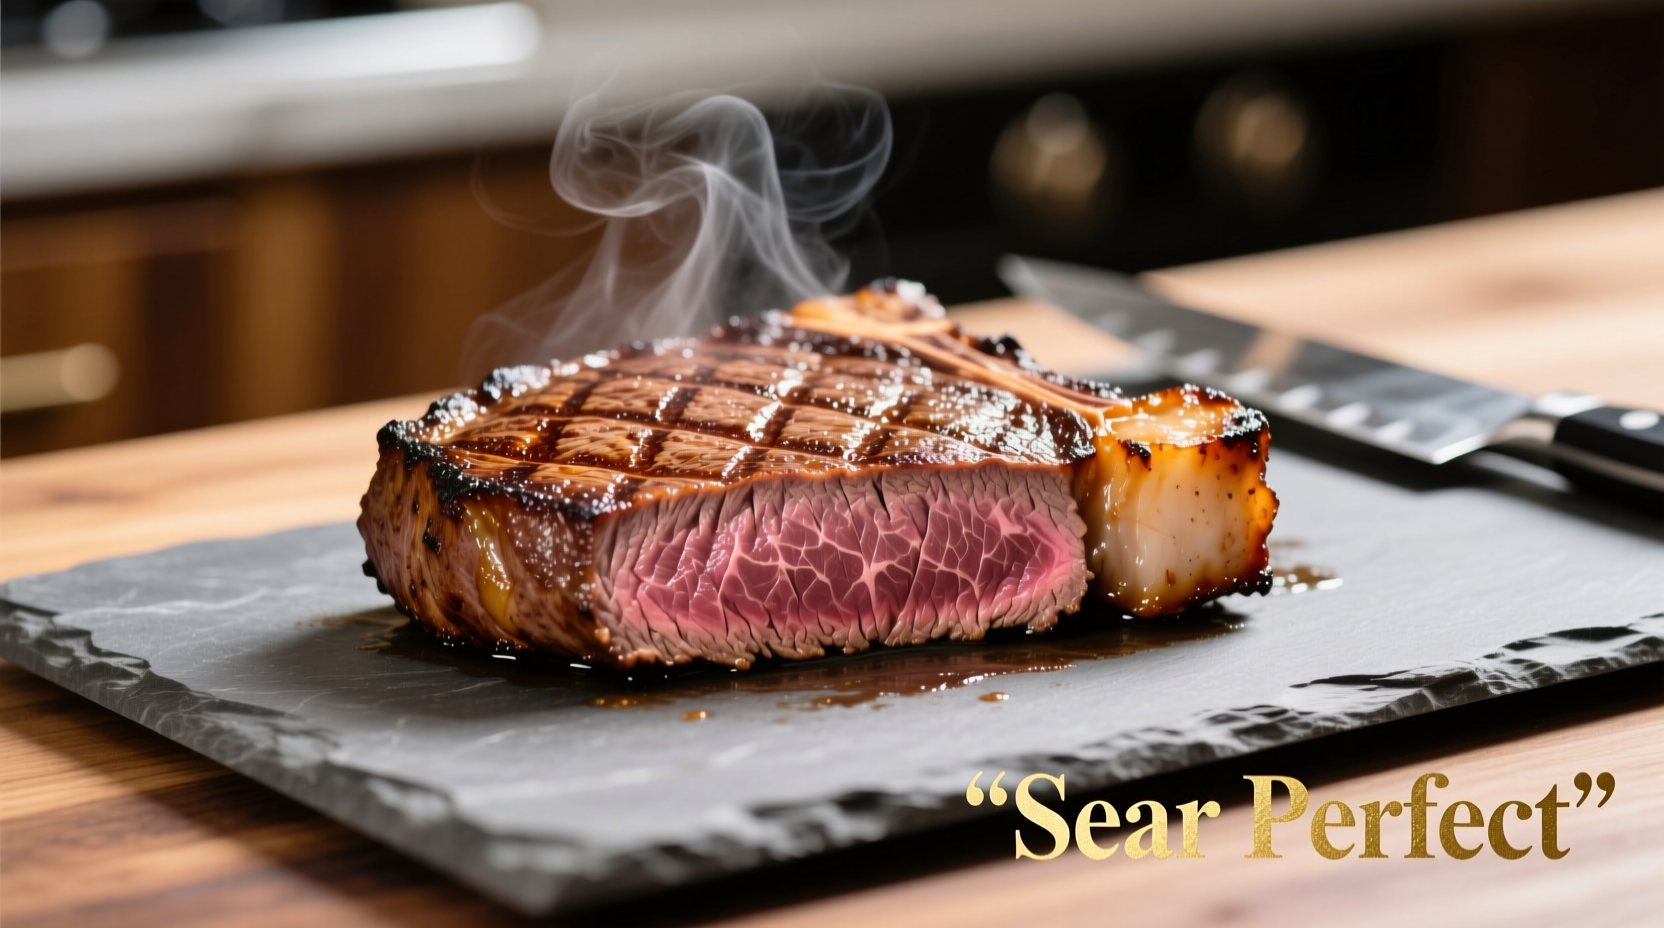
- Rest properly - Transfer to cutting board, tent loosely with foil for 10 minutes.
Context Boundaries: When Pan Cooking Works Best
While pan-searing works perfectly for tenderloin steaks 1.5-2 inches thick, this method has limitations:
- Thin cuts (under 1 inch) - Cook too quickly to develop proper crust; better grilled
- Thick roasts (over 3 inches) - Require reverse searing method for even cooking
- Wet environments - High humidity affects sear quality; use exhaust fan
- Non-professional stoves - Electric coil burners may create uneven heat; adjust positioning
The USDA Food Safety and Inspection Service confirms that resting meat for 3-10 minutes allows juices to redistribute, preventing dryness when slicing (source).
Troubleshooting Common Issues
Fix these problems before they ruin your steak:
- Steak sticks to pan - Wait! It will release naturally when proper sear forms. Forcing it tears the meat.
- Excessive smoke - Reduce heat slightly and ensure exhaust fan is on high. Avocado oil reduces smoke versus olive oil.
- Uneven cooking - Rotate steak 180° halfway through first side to counter hot spots.
- Overcooked exterior - Lower heat immediately and move to cooler part of pan.
Serving Perfection: Simple Enhancements
Elevate your steak with these professional touches:
- Slicing technique - Cut against the grain in 1/2 inch slices for maximum tenderness
- Simple pan sauce - Deglaze with 1/4 cup red wine, add 2 tbsp cold butter, reduce by half
- Perfect pairings - Roasted asparagus and garlic mashed potatoes complement without overwhelming
- Salt finish - Sprinkle flaky sea salt just before serving for texture contrast
Why This Method Works: The Science Behind the Sear
The Maillard reaction - that magical browning process - occurs between 285-325°F. Cast iron maintains this critical temperature range better than other pans. Meanwhile, the oven finish ensures even cooking without overcooking the exterior. This dual-method approach solves tenderloin's biggest challenge: its leanness makes it prone to drying out before developing proper crust.
Frequently Asked Questions
Here are answers to the most common questions about pan-searing tenderloin:


 浙公网安备
33010002000092号
浙公网安备
33010002000092号 浙B2-20120091-4