
Plant tomato plants in the ground after your last frost date when soil temperature reaches 60°F (15.5°C). Dig a hole deep enough to bury 2/3 of the stem, spacing plants 24-36 inches apart depending on variety. Add compost and balanced fertilizer to the planting hole, water deeply after planting, and apply mulch to retain moisture. This technique encourages stronger root systems and higher yields.
Ready to grow your best tomato harvest? Whether you're a first-time gardener or looking to refine your technique, this guide delivers exactly what you need to successfully plant tomato plants directly in the ground. Forget confusing advice—here's the proven method that delivers robust plants and abundant harvests.
Why Proper Planting Technique Matters for Tomatoes
Tomatoes aren't just another garden vegetable—they're heavy feeders that demand specific planting conditions to thrive. Unlike most plants, tomatoes actually benefit from being planted deeper than their nursery containers. This unique characteristic allows them to develop extensive root systems along the buried stem, creating stronger, more resilient plants that produce higher yields throughout the growing season.
According to research from the University of Illinois Extension, properly planted tomatoes develop up to 40% more root mass than shallow-planted counterparts, directly translating to better drought tolerance and increased fruit production. This biological advantage makes correct planting depth the single most important factor in your tomato growing success.
Pre-Planting Preparation: Setting the Stage for Success
Timing Your Planting Perfectly
Planting too early risks frost damage, while planting too late reduces your harvest window. The optimal planting window depends on your USDA hardiness zone:
| USDA Hardiness Zone | Last Frost Date | Soil Temperature Target | Recommended Planting Window |
|---|---|---|---|
| 3-4 | May 15-30 | 60°F (15.5°C) | Early to mid-June |
| 5-6 | May 1-15 | 60°F (15.5°C) | Late May to early June |
| 7-8 | April 15-30 | 60°F (15.5°C) | Mid to late May |
| 9-10 | March 15-31 | 60°F (15.5°C) | Early to mid-April |
Source: USDA Plant Hardiness Zone Map
Remember that soil temperature matters more than calendar dates. Use a soil thermometer to verify conditions—tomato roots won't develop properly in soil below 55°F (12.8°C). Morning planting on overcast days reduces transplant shock compared to planting in direct afternoon sun.
Soil Preparation Essentials
Tomatoes thrive in well-draining soil rich in organic matter. Two weeks before planting:
- Test your soil pH (ideal range: 6.2-6.8)
- Amend with 3-4 inches of compost worked into the top 12 inches of soil
- Add balanced organic fertilizer (5-5-5 or similar) according to package directions
- Create raised beds 6-8 inches high if drainage is poor
Avoid fresh manure which can burn roots—well-composted manure applied at least 30 days before planting is acceptable. The Cornell University Gardeners' Resource emphasizes that proper soil preparation accounts for 70% of your eventual harvest success.
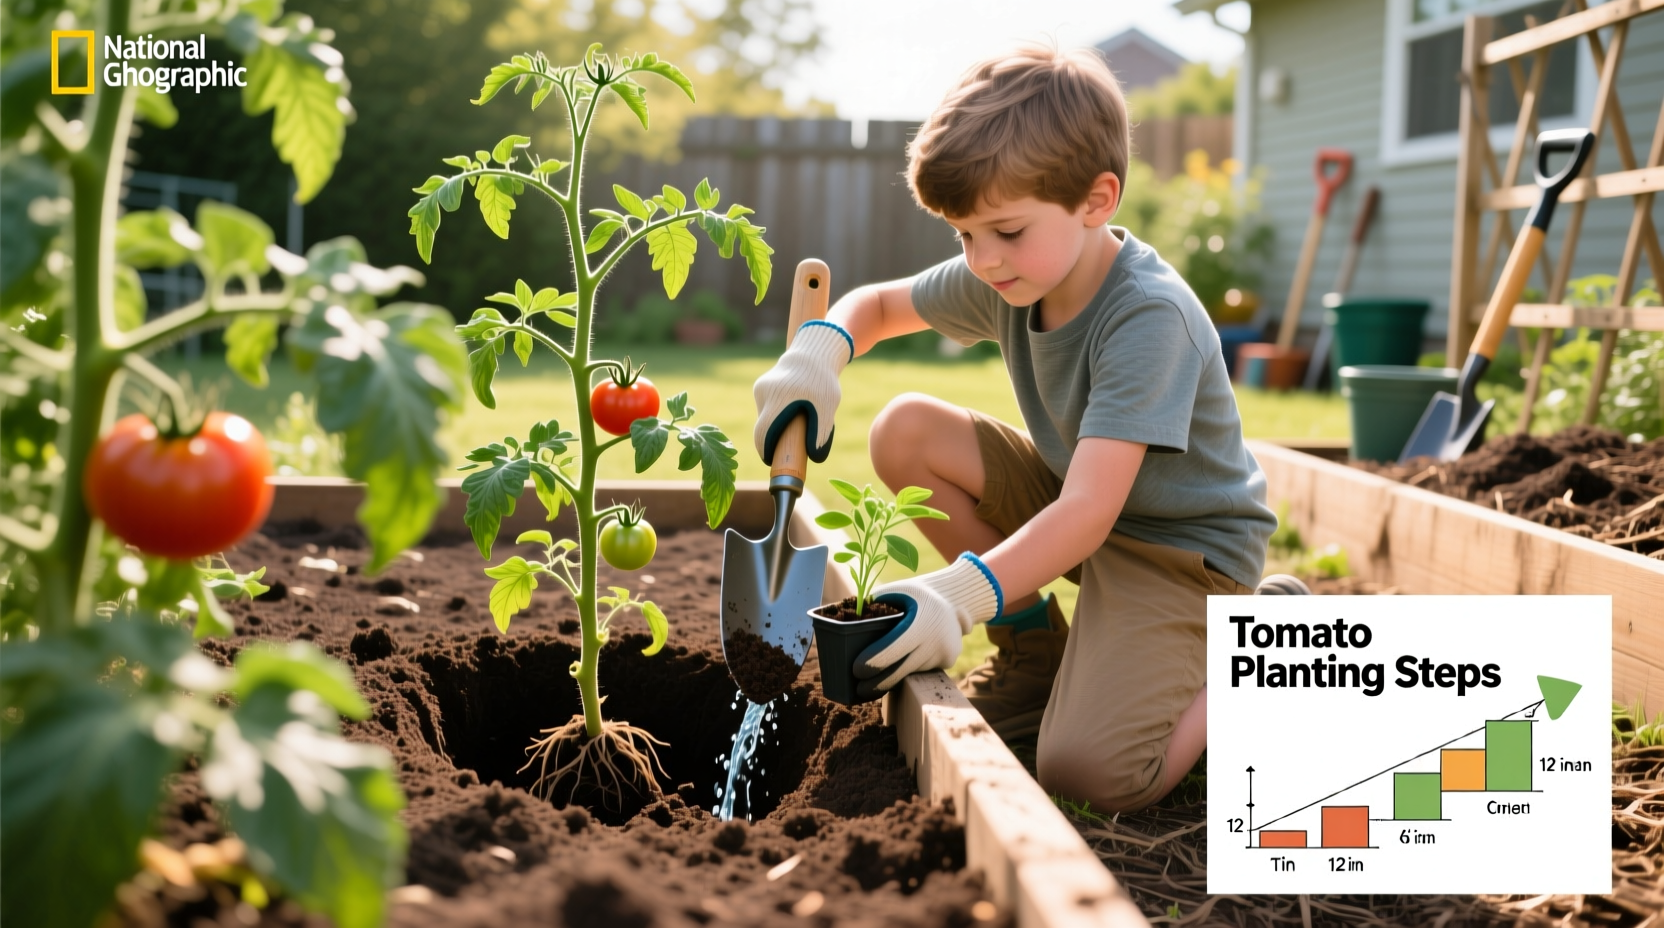
The Step-by-Step Planting Process
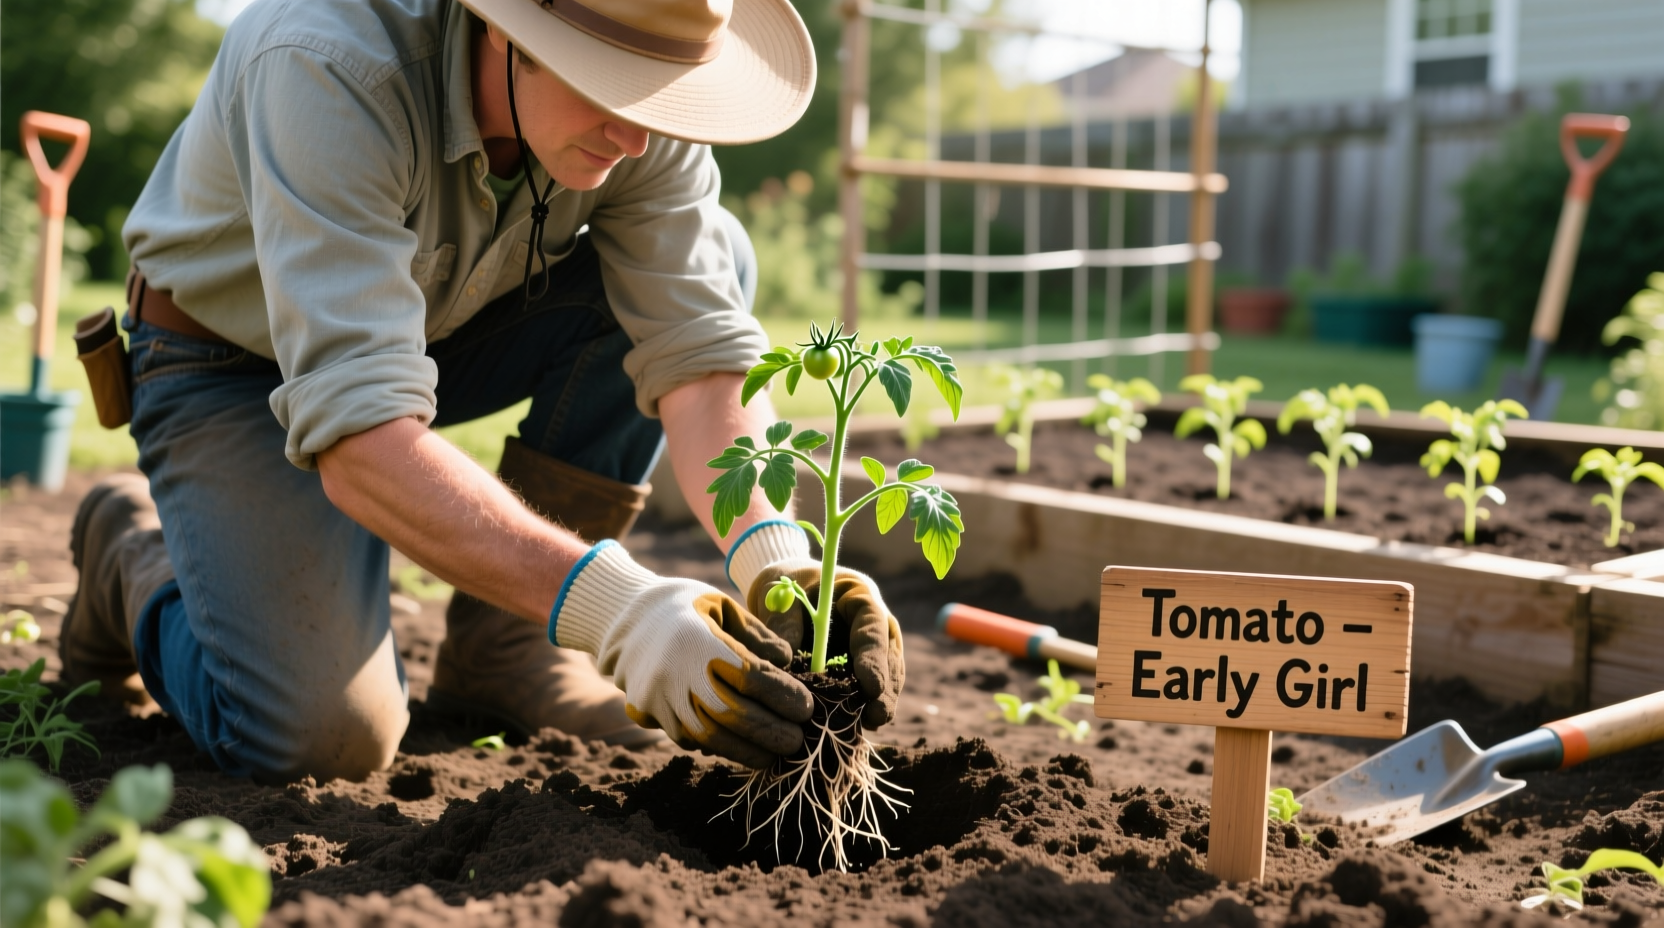
Step 1: Prepare Your Seedlings
Before planting, harden off seedlings for 7-10 days by gradually exposing them to outdoor conditions. On planting day:
- Water seedlings thoroughly 1-2 hours before transplanting
- Gently remove from containers without disturbing roots
- Prune lower leaves that will be buried
- For leggy plants, remove all leaves except top 4-6 sets
Step 2: Dig the Perfect Planting Hole
Contrary to most plants, tomato planting holes should be deep, not wide:
- Dig hole 12-18 inches deep (depending on plant size)
- Make hole width only slightly larger than root ball
- Add 1 tablespoon of balanced fertilizer to bottom of hole
- Mix in 1/2 cup of crushed eggshells for calcium
- Create small mound in center of hole for roots to spread over
Step 3: Plant at the Optimal Depth
This is the critical step that determines your plant's future strength:
- Place plant in hole with only top 1/3 exposed
- Bury stem up to first set of healthy leaves
- Fill hole with amended soil, firming gently
- Create slight depression around plant for water collection
- Apply 2-3 inches of organic mulch, keeping away from stem
Research from the University of California Agriculture and Natural Resources shows that deep planting increases root development by activating adventitious root-forming cells along the stem. This creates a more extensive root system that accesses nutrients and water more efficiently throughout the growing season.
Step 4: Watering and Initial Care
Proper watering immediately after planting establishes roots:
- Water deeply with 1-2 gallons per plant
- Avoid wetting foliage to prevent disease
- Water daily for first week, then 2-3 times weekly
- Apply liquid seaweed solution for transplant shock reduction
- Install supports immediately to avoid root disturbance later
Spacing Requirements by Tomato Type
Proper spacing prevents disease and maximizes yield. Many gardeners make the mistake of planting too close together, which creates humidity pockets that encourage fungal diseases.
| Tomato Type | Spacing Between Plants | Spacing Between Rows | Special Considerations |
|---|---|---|---|
| Determinate (Bush) | 24-36 inches | 36-48 inches | Requires less support; compact growth habit |
| Indeterminate (Vining) | 36-48 inches | 48-60 inches | Needs strong vertical support; continuous growth |
| Dwarf Varieties | 18-24 inches | 30-36 inches | Suitable for containers; limited spread |
| Cherry Tomatoes | 24-36 inches | 36-48 inches | Higher density possible with pruning |
Source: University of Illinois Extension
Common Planting Mistakes to Avoid
Even experienced gardeners make these critical errors that reduce yields:
- Planting too shallow - prevents development of additional roots along the stem
- Over-fertilizing at planting - burns tender roots; wait 2-3 weeks for additional feeding
- Ignoring soil temperature - planting in cold soil stunts growth for weeks
- Watering incorrectly - inconsistent watering causes blossom end rot
- Planting in same spot yearly - increases disease risk; rotate crops annually
A survey of 500 home gardeners by the National Gardening Association revealed that 68% of tomato planting failures resulted from improper depth or spacing. The most successful gardeners (those harvesting more than 20 pounds per plant) consistently followed deep planting techniques and maintained proper spacing.
Troubleshooting Early Growth Problems
Watch for these common issues in the first 2-3 weeks after planting:
- Wilting after planting: Normal for 24-48 hours; water deeply if persists
- Yellowing lower leaves: Often normal as plant redirects energy; remove if severe
- Purple leaf tint: Indicates phosphorus deficiency; apply bone meal solution
- Stunted growth: Check soil temperature; may need black plastic mulch to warm soil
- Cracked stems: Sign of wind damage; provide temporary windbreak
Remember that tomatoes grow slowly for the first 2-3 weeks as they establish root systems—don't be concerned if visible growth seems minimal initially. The University of Florida's Institute of Food and Agricultural Sciences notes that patience during this establishment phase pays off with stronger plants later in the season.
When NOT to Plant Tomatoes Directly in the Ground
While planting in the ground generally produces the best results, certain conditions warrant alternative approaches:
- Soil remains consistently below 55°F (12.8°C)
- Heavy clay soil that doesn't drain well
- Short growing seasons with less than 60 frost-free days
- Areas with severe soil-borne diseases like fusarium wilt
- Urban environments with contaminated soil (lead, chemicals)
In these situations, consider container gardening or raised beds with imported soil. The USDA Natural Resources Conservation Service recommends soil testing in problematic areas before committing to in-ground planting.
Final Tips for Maximum Tomato Success
Implement these professional techniques for exceptional results:
- Plant in the evening or on cloudy days to reduce transplant shock
- Add mycorrhizal fungi to planting holes to enhance root absorption
- Use red plastic mulch to increase yields by up to 20% (proven by USDA studies)
- Apply aspirin solution (1 crushed aspirin per gallon of water) to reduce stress
- Pinch off early flowers to direct energy to root development
By following these evidence-based planting techniques, you'll establish a strong foundation for a bountiful tomato harvest. Remember that the first few weeks after planting determine your entire season's success—invest the time to get it right, and you'll reap the rewards all summer long.


 浙公网安备
33010002000092号
浙公网安备
33010002000092号 浙B2-20120091-4