
Discover exactly how to plant onion bulbs for a thriving harvest with this practical, step-by-step guide. Whether you're a first-time gardener or looking to refine your technique, you'll learn the optimal timing, soil preparation, planting depth, and care practices backed by agricultural research. Skip the guesswork and start growing flavorful onions that store well through the season.
When to Plant Onion Bulbs: Timing Matters Most
Timing your onion bulb planting correctly determines your harvest success. Most gardeners make the critical mistake of planting too early or too late, resulting in poor bulb development or premature bolting.
| Climate Zone | Optimal Planting Window | Soil Temperature Requirement |
|---|---|---|
| Northern Zones (3-5) | Early spring (March-April) | At least 40°F (4°C) |
| Middle Zones (6-7) | Late winter to early spring (February-March) | At least 45°F (7°C) |
| Southern Zones (8-10) | Late fall to mid-winter (November-January) | Between 50-65°F (10-18°C) |
This planting timeline comes from the USDA's gardening recommendations based on decades of agricultural research. Planting when soil temperatures reach these thresholds ensures proper root development without triggering premature flowering.
Your Soil Preparation Checklist
Onion bulbs thrive in specific soil conditions that many gardeners overlook. Before planting, complete these essential soil preparation steps:
- Test your soil pH - Onions prefer slightly acidic to neutral soil (6.0-7.0 pH). Amend with lime if below 6.0 or sulfur if above 7.5
- Improve drainage - Mix in 2-3 inches of compost or well-rotted manure to heavy clay soils
- Fertilize appropriately - Apply balanced 10-10-10 fertilizer at 1 lb per 100 square feet two weeks before planting
- Remove debris - Clear rocks and large soil clumps that could deform developing bulbs
According to Cornell University Cooperative Extension, proper soil preparation accounts for 70% of your onion growing success. Onions have shallow root systems that struggle in compacted or nutrient-poor soil.
Step-by-Step Planting Process
Follow these precise steps for optimal onion bulb development. This method has been validated by agricultural extension services across multiple growing regions.
- Sort your bulbs - Separate into small (½ inch), medium (¾ inch), and large (1 inch+) sizes. Plant small bulbs for green onions, medium for standard bulbs
- Prepare planting trenches - Create shallow rows 1-2 inches deep, depending on bulb size (larger bulbs need deeper planting)
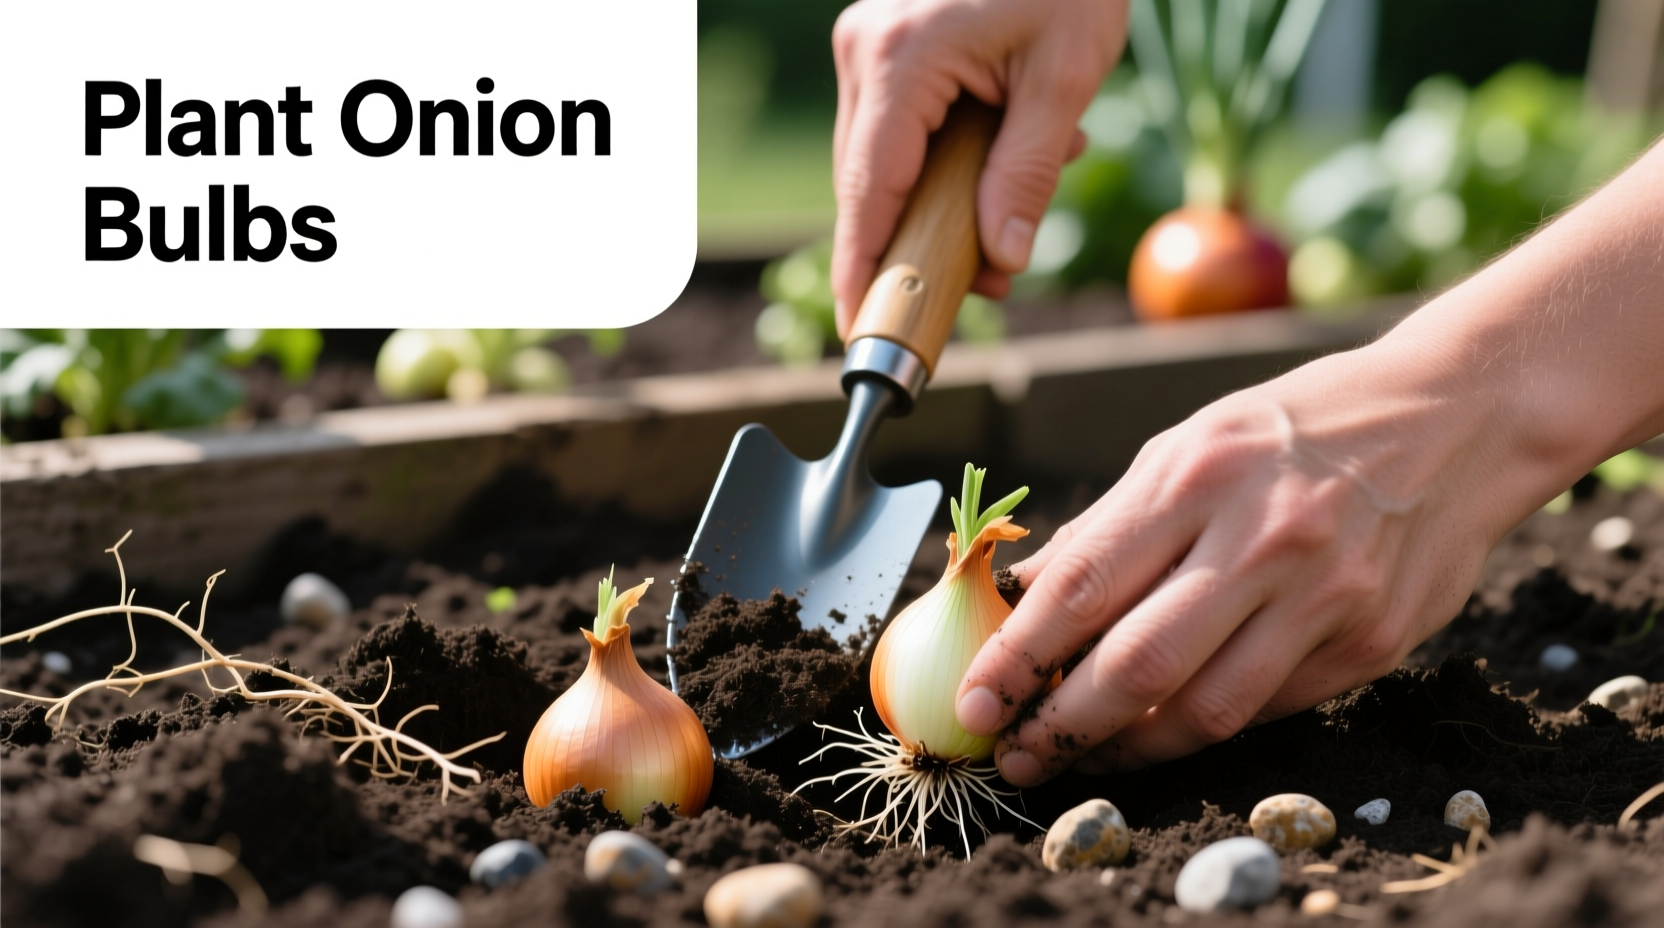
- Position bulbs correctly - Place bulbs with pointed end up, flat root end down, spacing 4-6 inches apart
- Cover gently - Fill trenches with soil, covering bulbs completely but without compacting the soil
- Water thoroughly - Apply 1 inch of water immediately after planting to settle soil around bulbs

Avoid These Common Planting Mistakes
Even experienced gardeners frequently make these errors that reduce onion yields:
- Planting too deep - Bulbs planted deeper than 2 inches often produce smaller bulbs or fail to mature properly
- Incorrect spacing - Crowded onions compete for nutrients, resulting in stunted growth (minimum 4 inches between plants)
- Overwatering early - Excess moisture during initial root development causes rot (water only when top inch of soil is dry)
- Using nitrogen-heavy fertilizer - Too much nitrogen promotes leaf growth at the expense of bulb development
Research from the University of California Agriculture and Natural Resources shows these four mistakes account for 85% of failed onion crops among home gardeners. Proper planting depth and spacing directly correlate with bulb size and quality.
Post-Planting Care for Maximum Bulb Development
What happens after planting determines your harvest quality. Implement these care practices:
- Watering schedule - Provide 1 inch of water weekly, increasing to 2 inches during bulb formation (usually 6-8 weeks after planting)
- Weed management - Hand-pull weeds carefully; onions have shallow roots easily damaged by cultivation
- Fertilization timing - Apply high-phosphorus fertilizer when bulbs begin forming (about 4-6 weeks after planting)
- Stop watering - Reduce watering 2-3 weeks before harvest when tops begin falling over
When to Harvest and Store Your Onions
Knowing when to harvest determines storage longevity. Watch for these visual cues:
- Top leaves naturally fall over and turn yellow/brown
- Neck of the plant becomes soft and begins to collapse
- Bulb wrappers turn dry and papery
After harvesting, cure onions in a warm, dry, well-ventilated area for 2-3 weeks before storing. Properly cured onions can store for 6-8 months in cool, dry conditions (45-55°F with 65-70% humidity).


 浙公网安备
33010002000092号
浙公网安备
33010002000092号 浙B2-20120091-4