
Why Homemade Pickled Ginger Beats Store-Bought
Commercial pickled ginger often contains preservatives and artificial colors. When you make it yourself using National Center for Home Food Preservation guidelines, you control ingredients while ensuring safety. The critical factor? Maintaining 5%+ acidity throughout the process to prevent Clostridium botulinum growth - a non-negotiable requirement verified by USDA Food Safety.
Safety First: The Non-Negotiable Rules
Improperly pickled ginger causes foodborne illness. These evidence-based protocols come from government food safety authorities:
| Critical Factor | Minimum Requirement | Source Verification |
|---|---|---|
| Vinegar Acidity | 5% minimum | NCHFP Guideline 3.1 |
| Vinegar:Water Ratio | 1:1 for raw-pack | USDA Canning Guide |
| Processing Time | 10 minutes (pint jars) | NCHFP Processing Chart |
| Sugar Reduction Limit | Max 25% reduction | Serious Eats Research |
When to Use (and Avoid) This Method
Follow these scenario-based guidelines from culinary safety experts:
✅ Ideal For
- Sushi accompaniment (traditional gari requires 2-week maturation)
- Refrigerated use within 6 months
- Using organic ginger with no wax coating
❌ Avoid When
- Vinegar concentration can't be verified (homemade vinegar unsafe)
- Processing above 1,000 ft elevation without time adjustment
- Using ginger showing mold or soft spots
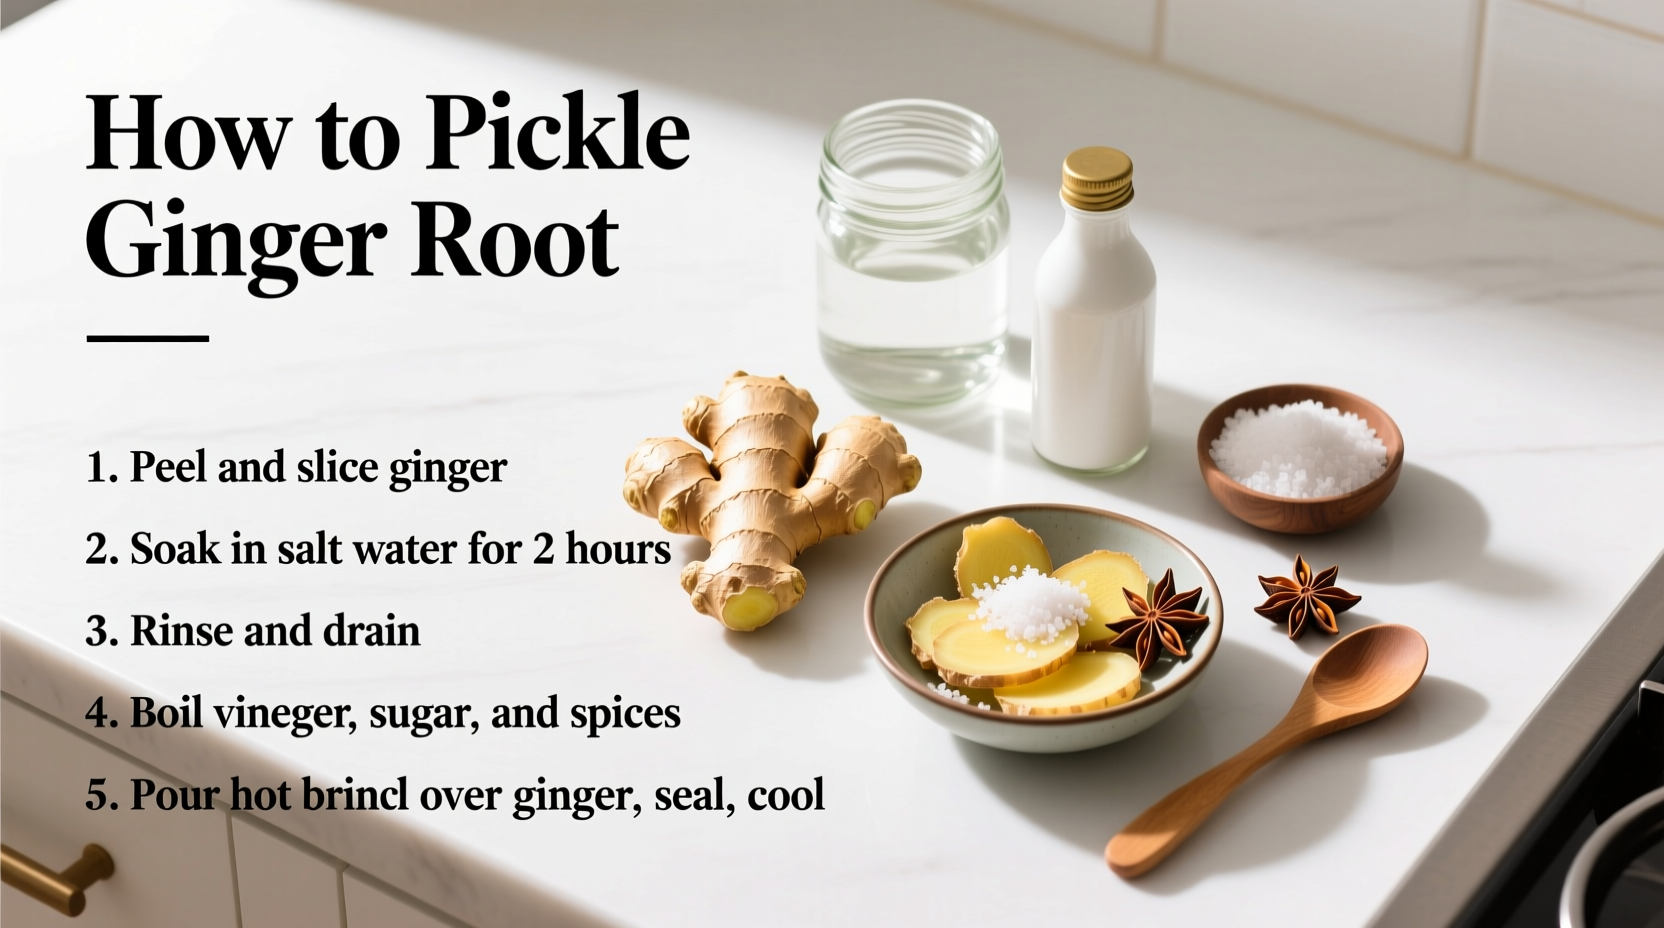
Step-by-Step: Foolproof Pickling Process
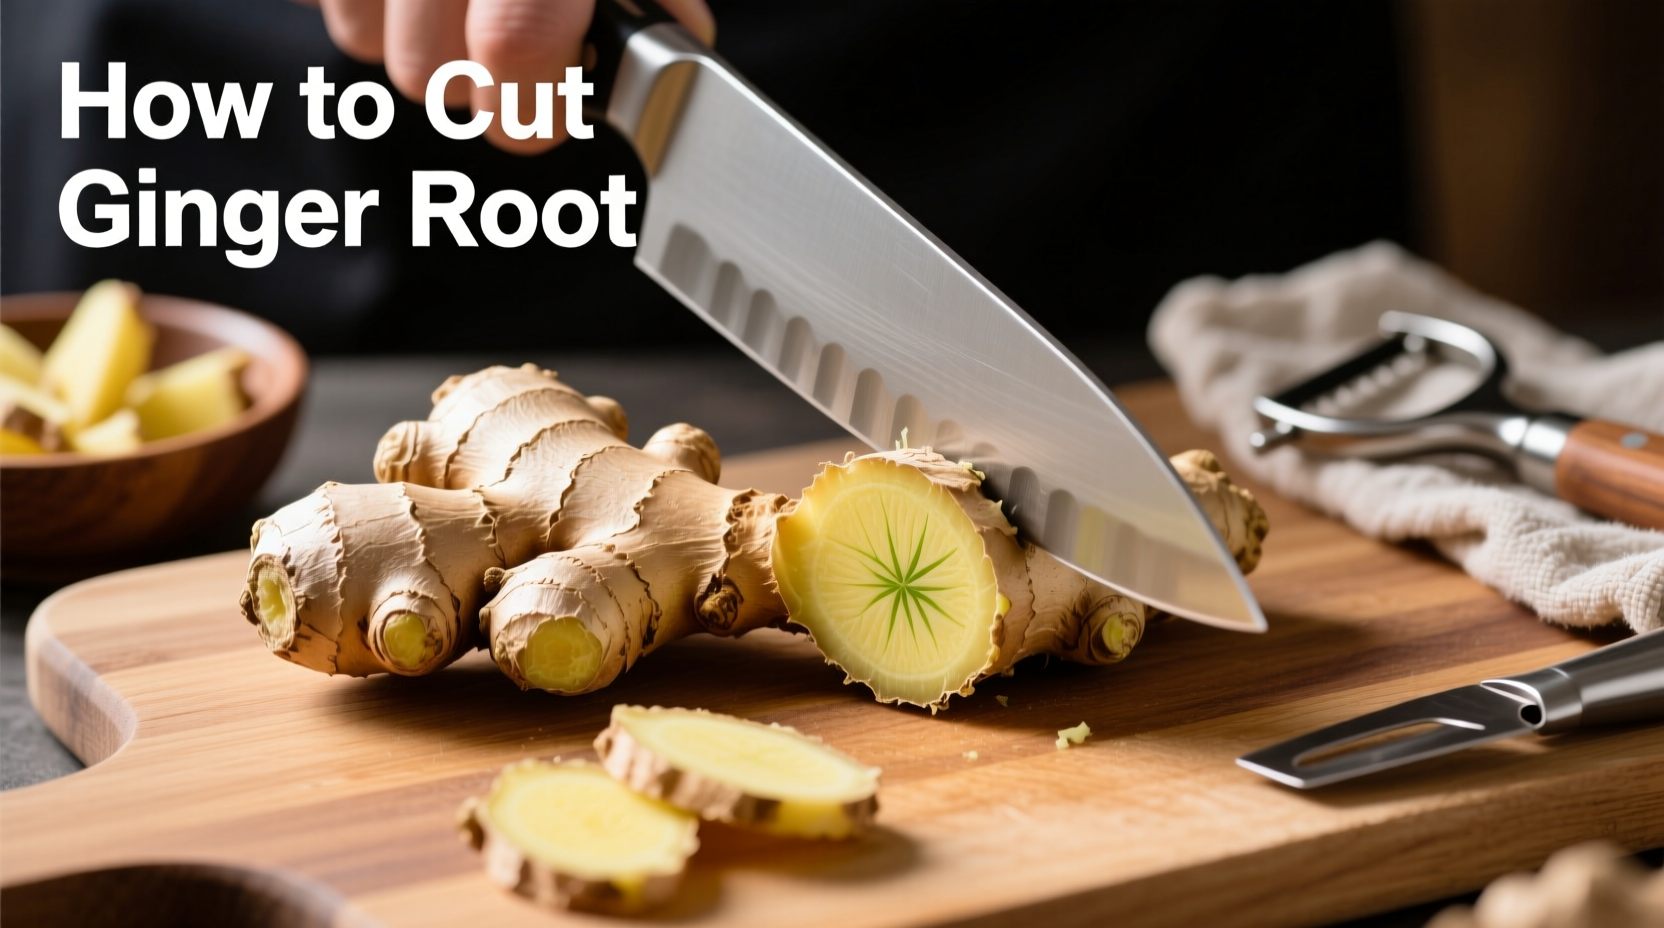
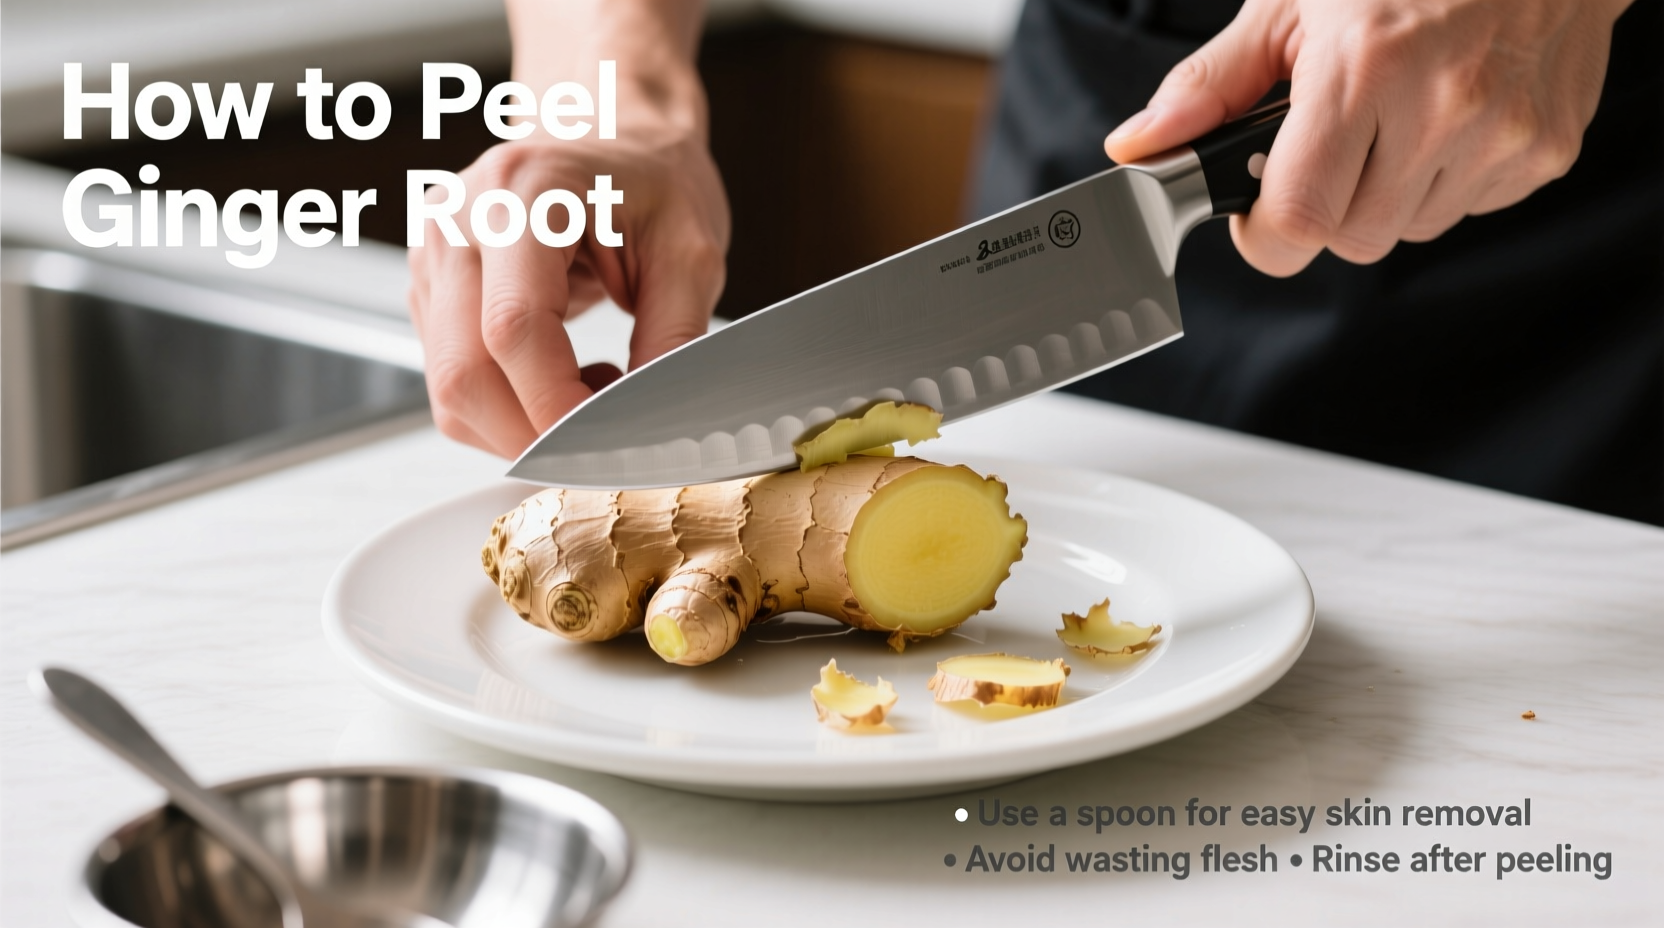
- Prep ginger: Peel with spoon (preserves flesh), slice into 1/16" coins using mandoline
- Sterilize jars: Boil pint jars 10 minutes per USDA protocol
- Create brine: Combine 1 cup 5%+ rice vinegar, 1 cup water, 1/4 cup sugar, 1/4 cup salt in non-reactive pot
- Simmer: Add ginger, heat to 180°F (do not boil), maintain 10 minutes
- Fill jars: Pack hot ginger into sterilized jars, cover with hot brine leaving 1/2" headspace
- Process: For shelf-stable storage: Boiling water bath 10 minutes. For refrigeration: Cool 1 hour then refrigerate
Quality Indicators & Market Traps
Spot problematic commercial products:
- Red flag: Bright pink color without beet juice (indicates artificial dyes)
- Quality sign: Translucent amber hue after 2 weeks maturation
- Trap: "Pickled ginger" made with vinegar below 5% acidity (check labels)
Authentic gari develops subtle pink tones naturally from anthocyanins in young ginger - no additives needed. If your homemade version stays yellow, you've used mature ginger (perfectly safe but less traditional).
Everything You Need to Know
Yes, if it's labeled 5% acidity. NCHFP confirms any 5%+ vinegar works, but flavor differs. Rice vinegar yields authentic mild sweetness for sushi, while apple cider adds fruity notes suitable for sandwiches. Never use homemade vinegar due to unverified acidity.
Serious Eats' testing shows ginger needs 14 days for full flavor integration and texture transformation. Early tasting yields harsh, fibrous results. Safety isn't compromised, but quality suffers significantly before this maturation period.
Press ginger under brine with fermentation weight or add 1 tsp pickling lime per quart (verified by NCHFP). Ensure slices are uniform thickness - uneven cuts cause buoyancy. Never reduce vinegar ratio to fix this, as it compromises safety.
Yes, when properly acidified. The USDA confirms correctly processed pickled ginger poses no additional risks beyond fresh ginger. Limit to 1-2 slices daily as high ginger intake may stimulate uterine contractions. Always consult your physician about dietary changes during pregnancy.
No. NCHFP explicitly prohibits brine reuse due to pH alteration and potential bacterial growth. Discard after first use. For sustainability, repurpose cooled brine in salad dressings within 24 hours (not for canning).


 浙公网安备
33010002000092号
浙公网安备
33010002000092号 浙B2-20120091-4