
Garlic cultivation rewards gardeners with robust flavor and natural pest resistance. Proper planting technique directly impacts bulb size, clove formation, and disease prevention. This guide details science-backed methods used by experienced growers to maximize your garlic harvest.
Optimal Timing for Garlic Planting
Fall planting produces larger bulbs than spring planting in most climates. The ideal window is 4-6 weeks before your area's first expected frost date. This allows cloves to develop root systems without significant top growth before winter dormancy. In USDA zones 3-5, plant between September 15 and October 15. Warmer zones (6-8) can plant as late as November. Spring planting works in colder zones but typically yields smaller bulbs.
| USDA Zone | Recommended Planting Window | Soil Temperature |
|---|---|---|
| 3-5 | Sept 15 - Oct 15 | 50-60°F (10-15°C) |
| 6-7 | Oct 1 - Nov 1 | 55-65°F (13-18°C) |
| 8-10 | Oct 15 - Nov 30 | 60-70°F (15-21°C) |
Selecting Quality Planting Stock
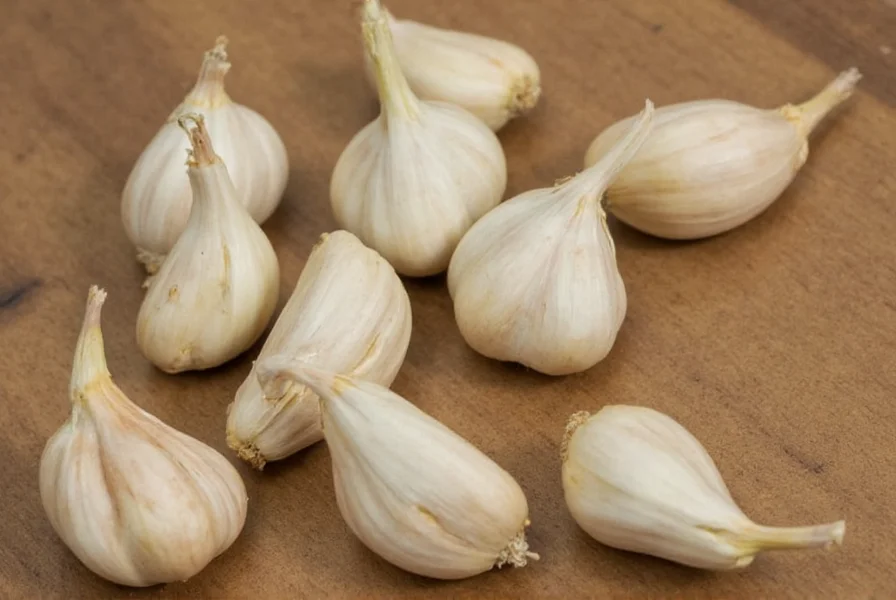
Never use grocery store garlic for planting—it often contains growth inhibitors. Instead, purchase certified disease-free seed garlic from reputable growers. Hardneck varieties (like 'Music' or 'German Extra Hardy') perform better in cold climates and produce edible scapes. Softneck types (such as 'Inchelium Red') suit warmer regions and braid well for storage. Choose large, firm cloves from healthy bulbs—smaller cloves yield proportionally smaller harvests.
Soil Preparation Essentials
Garlic requires loose, well-draining soil rich in organic matter. Prepare beds 2-3 weeks before planting by incorporating 3-4 inches of compost and a balanced organic fertilizer (10-10-10). Raised beds improve drainage in heavy soils. Test soil pH—garlic thrives in slightly acidic to neutral conditions (6.0-7.0). Amend alkaline soils with elemental sulfur and acidic soils with garden lime according to test results. Avoid fresh manure which can cause.splitting.
Step-by-Step Planting Process
Follow these critical steps for successful garlic planting:
- Separate cloves from bulbs 1-2 days before planting, keeping papery husk intact
- Dig holes 2 inches deep with 4-6 inches between planting sites (6 inches for elephant garlic)
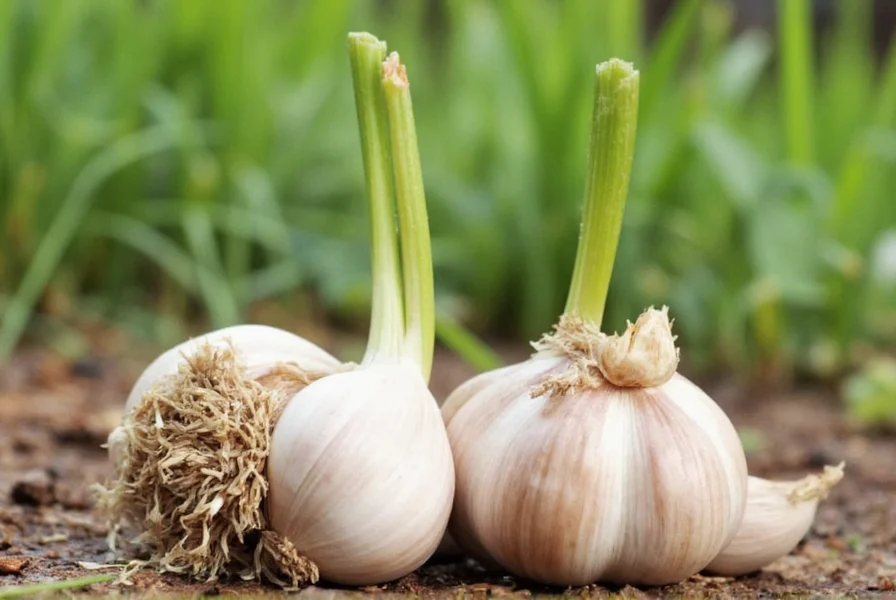
- Place cloves vertically with pointed end up and basal plate down
- Cover with soil and gently firm the surface
- Water thoroughly once after planting (avoid overwatering)
- Apply 3-6 inches of straw or shredded leaves as winter mulch
Seasonal Care Requirements
After planting, minimal care is needed until spring growth begins. In regions with consistent snow cover, mulch provides adequate winter protection. Areas with freeze-thaw cycles require additional mulching to prevent heaving. When green shoots emerge in spring, remove mulch gradually to warm soil. Water when top 2 inches of soil feel dry—approximately 1 inch per week. Stop watering 2-3 weeks before harvest when lower leaves begin yellowing. Fertilize with nitrogen-rich amendment when shoots reach 6 inches tall.
Common Planting Mistakes to Avoid
Many gardeners unknowingly sabotage their garlic harvest with these errors:
- Planting too shallow—cloves need 2 inches of soil coverage to prevent drying
- Incorrect orientation—pointed end must face upward for proper growth
- Overcrowding—insufficient spacing reduces bulb size and increases disease risk
- Using damaged cloves—only plant firm, blemish-free cloves
- Planting at wrong time—early planting causes excessive top growth before winter
Harvesting and Curing Timeline
Harvest when 40% of leaves turn brown—typically late June to August depending on planting date and variety. Gently loosen soil with a garden fork and lift bulbs. Cure in a shaded, well-ventilated area for 2-3 weeks until outer wrappers become papery. Trim roots and tops after curing. Store in mesh bags at 55-65°F with 60-70% humidity. Properly stored garlic maintains quality for 6-8 months.


 浙公网安备
33010002000092号
浙公网安备
33010002000092号 浙B2-20120091-4