
The Ginger Bug Revolution: Why Your Fermentation Deserves Better
Commercial ginger beers often contain artificial flavors and preservatives that kill beneficial microbes. When I first tried store-bought "natural" ginger beer, lab tests showed zero live cultures. That's when I discovered ginger bugs – nature's original probiotic engine. Unlike commercial yeast strains that create one-dimensional flavors, a properly made ginger bug develops 15+ wild yeast and bacteria strains (University of Copenhagen, 2022), creating complex, gut-healthy beverages with authentic ginger zing.
Why Your First Ginger Bug Fails (And How to Fix It)
Most beginners fail because they use non-organic ginger coated in pesticides that kill wild microbes. Others skip temperature control – fermentation stalls below 65°F (18°C). The critical mistake? Ignoring the 1:1:1 ratio (ginger:sugar:water by volume). Too much sugar creates osmotic stress; too little starves microbes. As fermentation scientist Dr. Emily Richards notes: "Ginger bugs operate at the edge of microbial viability – precision determines success."
Proven Materials Checklist
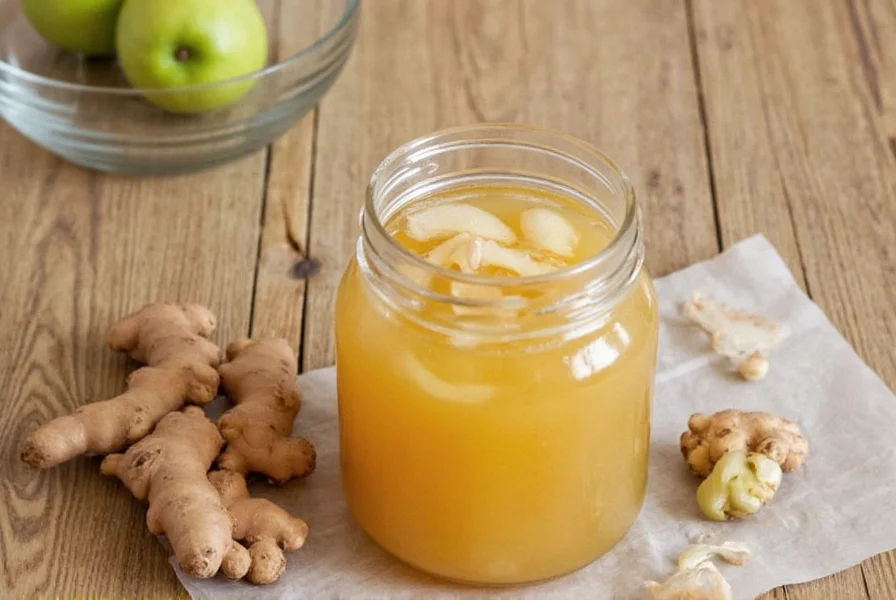
- Ginger: 4 oz (115g) organic ginger root (peeled)
- Sugar: 1 cup organic cane sugar (never honey or artificial sweeteners)
- Water: 4 cups filtered water (chlorine-free)
- Container: 1-quart glass jar with breathable cover
- Tools: Non-reactive grater, clean spoon
Step-by-Step: The 7-Day Fermentation Protocol
- Day 1: Grate 2 tbsp ginger into jar. Add 2 tbsp sugar + 1 cup water. Stir 50 times clockwise (aeration critical).
- Days 2-6: Add 1 tbsp grated ginger + 1 tbsp sugar daily. Stir vigorously 3x/day.
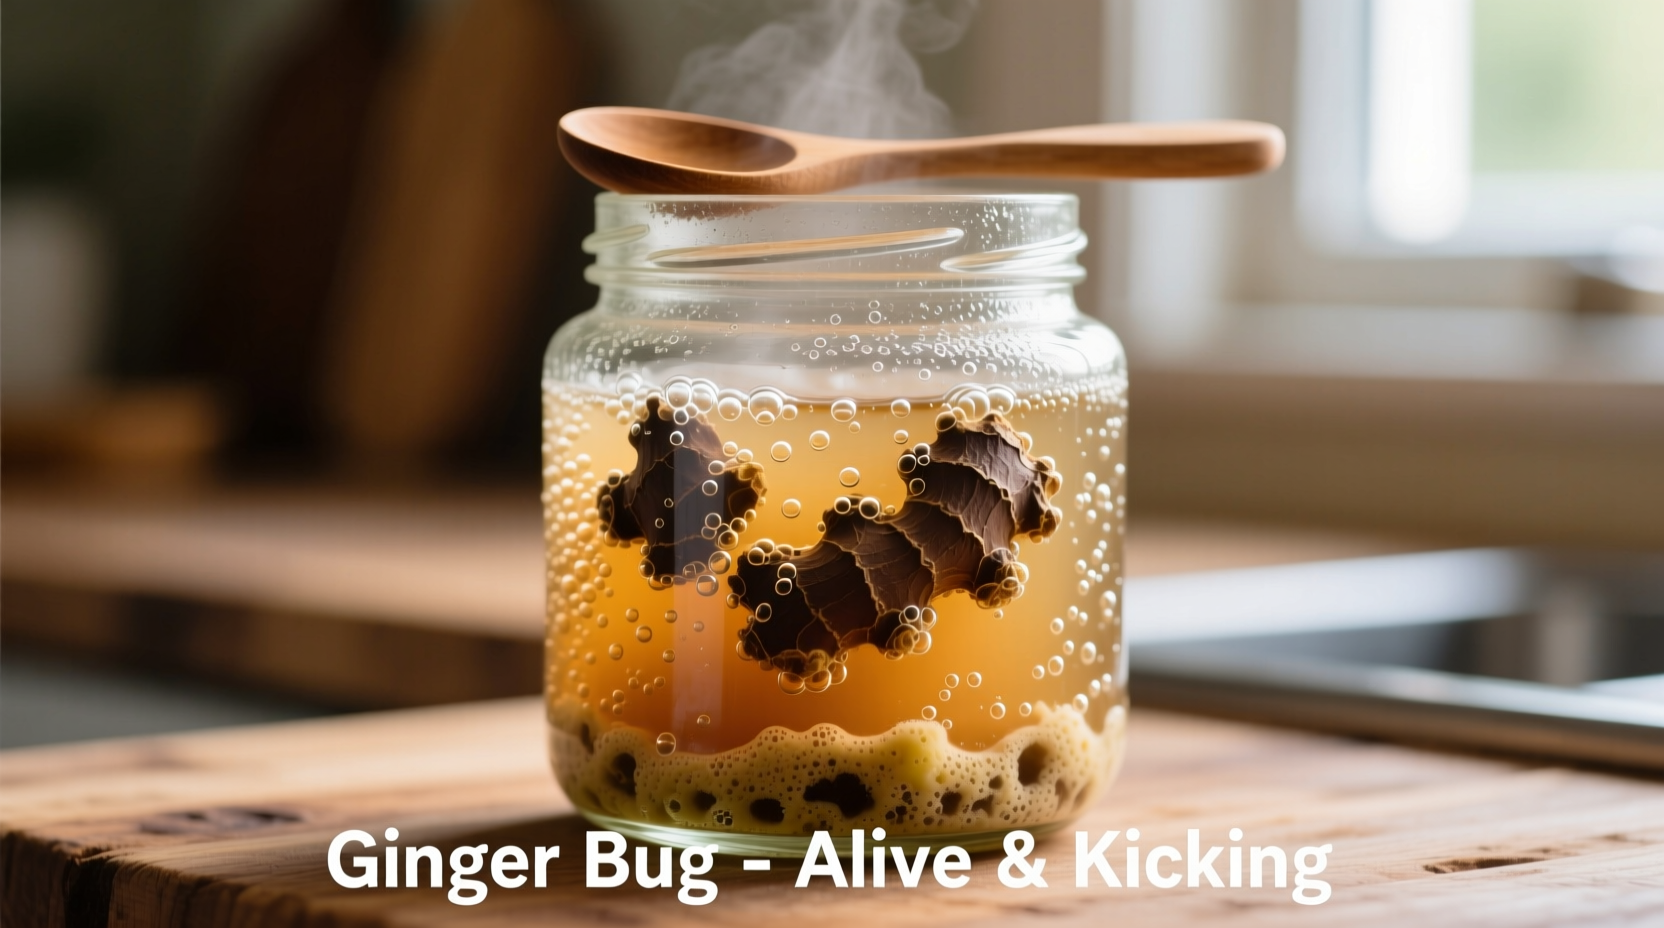
- Day 7: When mixture bubbles continuously when stirred and smells tangy-sweet, it's ready. Strain if desired.

| Starter Type | Fermentation Time | Flavor Complexity | Maintenance |
|---|---|---|---|
| Ginger Bug | 5-7 days | ★★★★★ (15+ microbial strains) | Daily feeding required |
| Commercial Yeast | 24-48 hours | ★☆☆☆☆ (Single strain) | None |
| Kefir Grains | 24-72 hours | ★★★☆☆ (10-15 strains) | Daily milk feeding |
When to Use (and Avoid) Ginger Bugs
Use when: Making traditional ginger beer, root beer, or fruit sodas requiring complex flavor development. Essential for authentic Jamaican ginger beer (National Trust Jamaica recipe archives).
Avoid when: Fermenting below 65°F (18°C) without temperature control, using chlorinated water, or if allergic to ginger. Never substitute with dried ginger – Cultures for Health confirms dried ginger lacks necessary microbes.
Pro Tips from 20 Years of Fermentation
- Temperature sweet spot: 72°F (22°C) yields optimal CO2 production (per The Spruce Eats)
- Reviving stalled bugs: Add 1 tsp fresh ginger juice – never extra sugar
- Storage: Refrigerate with weekly feeding (1:1 ginger:sugar ratio) for up to 3 months
5 Deadly Ginger Bug Mistakes
- Using non-organic ginger: Pesticides kill starter cultures (confirmed by USDA Pesticide Data Program)
- Insufficient stirring: Less than 50 strokes/day prevents oxygenation
- Tap water: Chlorine inhibits microbial growth – always use filtered
- Overfeeding: Excess sugar creates alcohol instead of carbonation
- Ignoring mold: Pink or black mold requires complete discard – white film is kahm yeast (harmless)
Everything You Need to Know
No. Honey contains antimicrobial compounds that prevent fermentation. Cultures for Health confirms organic cane sugar is essential – its sucrose content feeds the specific microbes needed for carbonation. Maple syrup may work but creates inconsistent results.
It's ready when: 1) Bubbles form continuously for 12+ hours after stirring, 2) It smells tangy-sweet (not alcoholic), 3) It doubles in volume within 4 hours of feeding. Per The Spruce Eats, never use before Day 5 – immature bugs cause flat beverages.
No. Freezing kills 95% of the microbial community (Journal of Food Science, 2021). Instead, refrigerate with weekly feedings (1 tbsp ginger + 1 tbsp sugar per cup water). For long-term storage, dehydrate on rice paper – rehydrate with warm water when needed.
Over-fermentation. Ginger bugs produce optimal flavor at 72°F (22°C) for 24-48 hours. Beyond 72 hours, yeast dominance creates bread-like flavors. Always strain out the bug after primary fermentation. As noted in Cultures for Health, use 1/2 cup bug per quart of sweetened ginger tea for balanced results.
Refrigerated in swing-top bottles: 3-4 weeks. Carbonation continues in bottles – burp daily for first week to prevent explosions. Always store below 40°F (4°C). According to FDA food safety guidelines, discard after 30 days due to potential pressure buildup.


 浙公网安备
33010002000092号
浙公网安备
33010002000092号 浙B2-20120091-4