
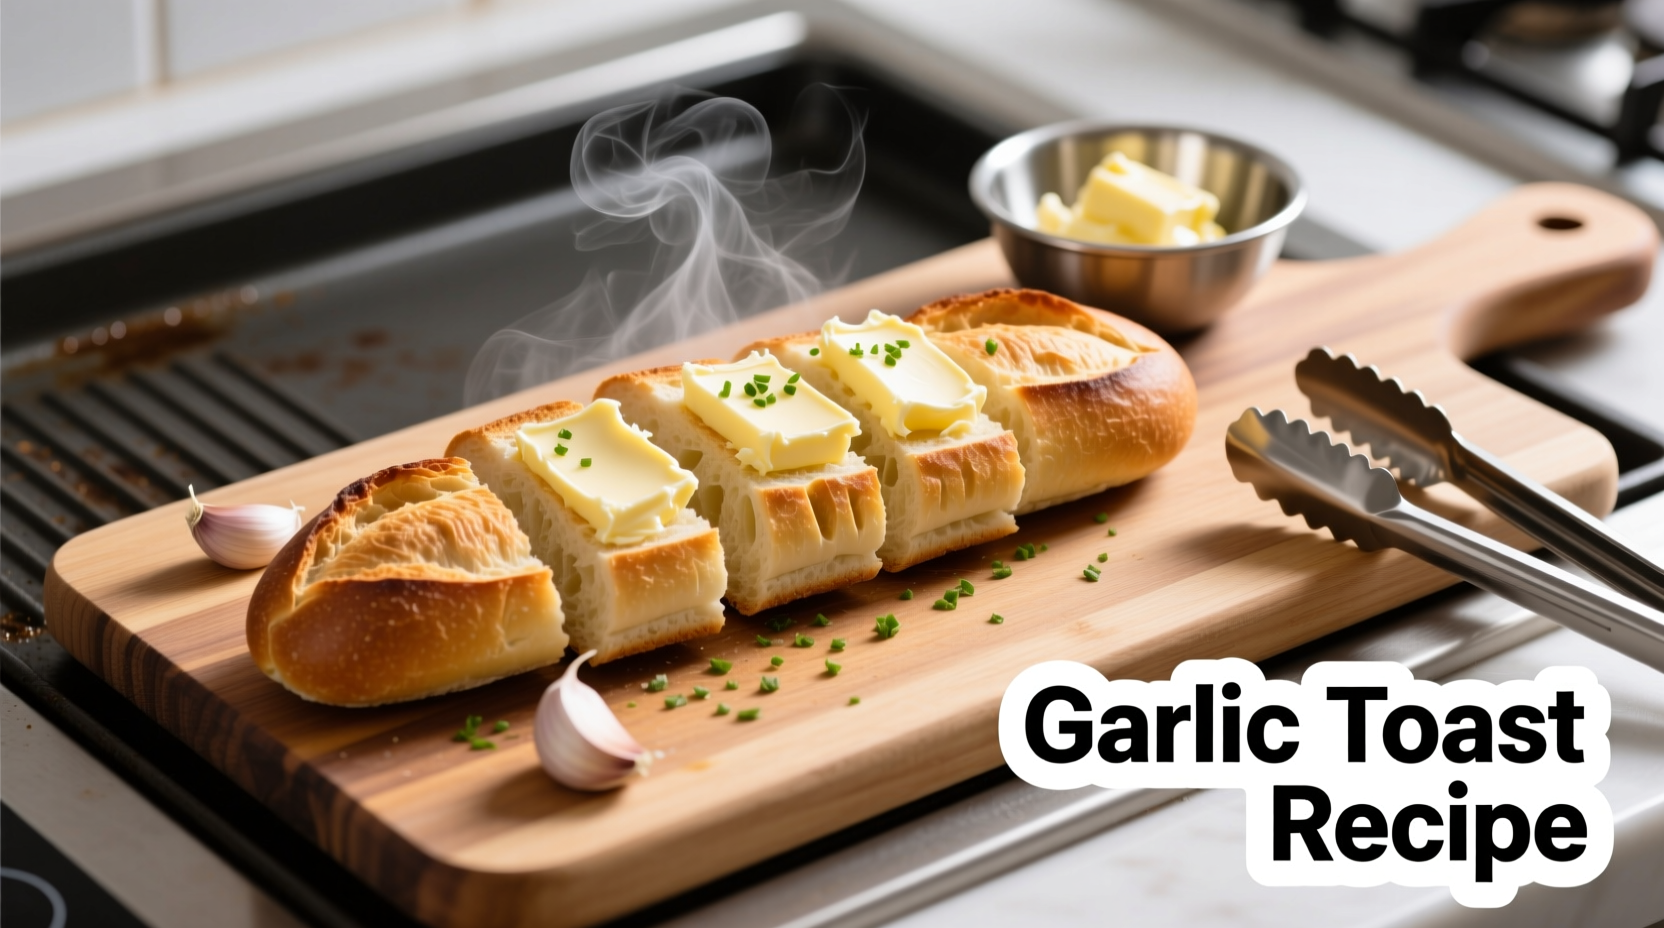
Why This Garlic Toast Method Works Every Time
Garlic toast seems simple, but getting that perfect balance of crispy texture and aromatic flavor without burnt garlic requires understanding a few key principles. As a professional chef who's taught thousands of home cooks, I've refined this method to eliminate common pitfalls while maximizing flavor extraction from your ingredients.
Essential Ingredients and Proportions
Using the right ratios ensures professional results without overpowering your toast. These proportions work perfectly for 4 slices of standard sandwich bread:
| Ingredient | Exact Measurement | Why It Matters |
|---|---|---|
| Bread | 4 slices (1/2 inch thick) | Thicker slices prevent burning while maintaining structure |
| Unsalted butter | 3 tablespoons, softened | Softened butter spreads evenly without tearing bread |
| Fresh garlic | 2 large cloves, finely minced | Fresh provides brighter flavor than powder; mincing prevents burning |
| Fresh parsley | 1 tablespoon, finely chopped | Counteracts garlic intensity and adds visual appeal |
| Salt | 1/4 teaspoon | Enhances all flavors without making toast salty |
Equipment You Actually Need
Forget complicated gadgets—these three items deliver perfect results:
- Wire rack on baking sheet: Ensures even air circulation for uniform crisping
- Microplane grater: For mincing garlic to proper consistency (avoiding large chunks that burn)
- Instant-read thermometer: Confirms internal temperature reaches 165°F (74°C) for food safety
Step-by-Step Garlic Toast Preparation Process
Phase 1: Garlic Butter Preparation (2 minutes)
Mix softened butter, minced garlic, chopped parsley, and salt in a small bowl. Let sit for 2 minutes to allow garlic enzymes to activate—this develops more complex flavor compounds according to USDA food science research. Never use garlic powder here; fresh garlic's allicin compounds create superior flavor when properly prepared.
Phase 2: Bread Selection and Preparation (1 minute)
Choose bread with tight crumb structure like sourdough or French bread. Avoid pre-sliced supermarket bread which often contains dough conditioners that prevent proper crisping. Lightly toast bread before adding garlic butter using your oven's broiler setting for 45 seconds per side—this creates a moisture barrier that prevents sogginess.
Phase 3: Application and Baking (5-7 minutes)
Spread garlic butter mixture evenly using an offset spatula. Bake at 375°F (190°C) on middle oven rack for 5-7 minutes. Watch for these visual cues:
| Time | Visual Cue | Action Required |
|---|---|---|
| 2 minutes | Butter melts completely | Rotate pan for even heating |
| 4 minutes | Edges begin browning | Check internal temperature |
| 5-7 minutes | Golden brown color, 165°F internal | Remove immediately from oven |
Critical Food Safety Consideration
Never store garlic-in-oil mixtures at room temperature. The FDA warns that low-acid environments like oil can promote botulism growth when combined with garlic. Always prepare garlic butter fresh or store in refrigerator for no more than 24 hours.
Perfecting Your Results: Context Boundaries
This method works best under specific conditions. Understanding these boundaries prevents disappointment:
- Best for: Standard oven baking with conventional heating elements
- Not recommended for: Air fryers (causes uneven browning) or microwave (creates rubbery texture)
- Altitude adjustment: Above 3,000 feet, reduce temperature by 25°F and increase time by 15%
- Humidity factor: On days above 70% humidity, add 1 minute to initial light-toasting phase
Three Professional Variations Worth Trying
Once you've mastered the basic technique, these chef-approved variations elevate your garlic toast:
1. Roasted Garlic Infusion
Roast whole garlic cloves at 400°F for 20 minutes until soft and caramelized. Squeeze pulp into butter mixture for sweeter, milder flavor—ideal for sensitive palates or children.
2. Herb-Infused Compound Butter
Add 1 teaspoon each of fresh thyme and rosemary to the butter mixture. Let sit overnight in refrigerator before using—this slow infusion creates more complex flavor profiles through enzymatic reactions.
3. Parmesan Crisp Finish
Sprinkle 1 tablespoon finely grated Parmesan over toast during the last 2 minutes of baking. The cheese creates an additional crispy layer while complementing garlic's pungency.
Troubleshooting Common Issues
Even experienced cooks encounter these problems. Here's how to fix them:
- Burnt garlic: You're using too much heat or not mincing finely enough. Always bake below 400°F and use microplane for consistent mincing.
- Soggy texture: Bread wasn't pre-toasted or butter mixture contained excess moisture. Always use room-temperature butter (not melted) and pre-toast bread.
- Weak garlic flavor: Garlic wasn't given time to activate. Let butter mixture sit 2 minutes before spreading to allow alliinase enzyme to develop flavor compounds.
Storage and Reheating Guidelines
Garlic toast is best eaten immediately, but if you must store leftovers:
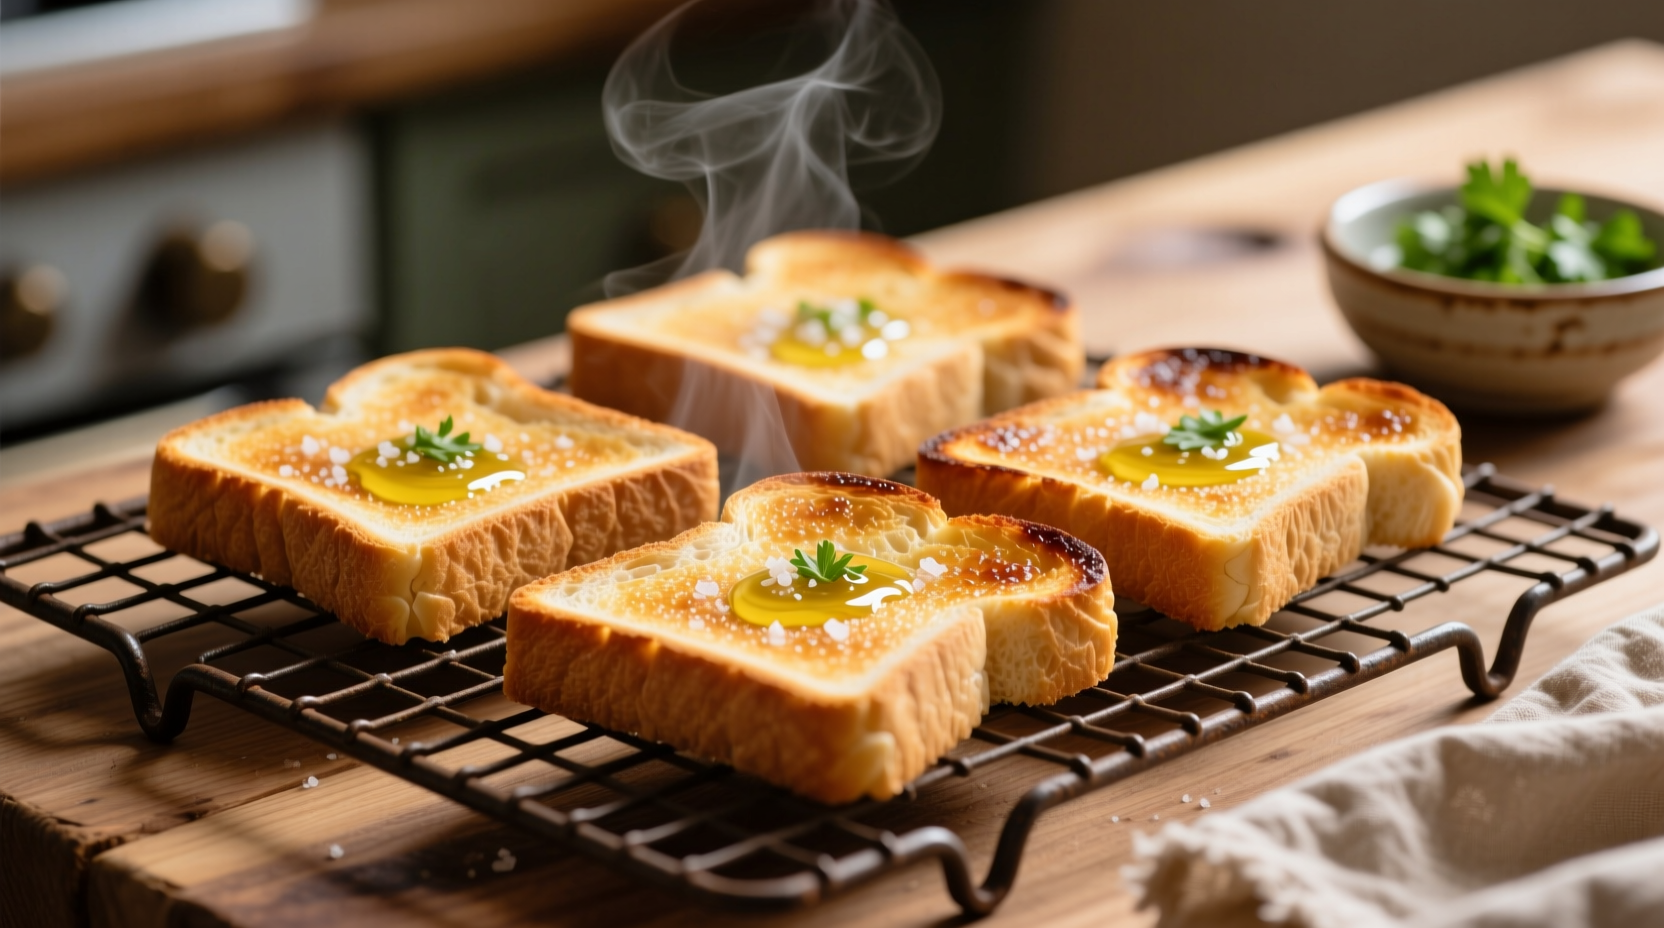
- Cool completely on wire rack (prevents steaming)
- Store in paper bag (not plastic) at room temperature for up to 8 hours
- Reheat in 350°F oven for 3-4 minutes—never microwave
- Freeze unseasoned toasted bread slices for up to 3 months; add garlic butter before final baking


 浙公网安备
33010002000092号
浙公网安备
33010002000092号 浙B2-20120091-4