
Discover exactly how to grow garlic successfully in your own garden with this comprehensive, step-by-step guide. Whether you're a first-time gardener or looking to perfect your technique, you'll learn the optimal planting times, soil requirements, care practices, and harvesting methods that produce robust, flavorful garlic bulbs every season.
Planning Your Garlic Growing Journey
Before you plant a single clove, understanding your local climate and selecting the right garlic variety makes all the difference between a bountiful harvest and disappointing results. Garlic falls into two main categories: hardneck and softneck varieties, each with distinct characteristics suited to different growing conditions.
| Variety Type | Best Climate Zones | Storage Life | Key Characteristics |
|---|---|---|---|
| Hardneck | 3-7 (colder climates) | 4-7 months | Larger cloves, produces edible scapes, more cold-hardy |
| Softneck | 6-10 (warmer climates) | 8-12 months | Multiple clove layers, better for braiding, less cold-hardy |
This comparison comes from the University of Minnesota Extension Service, which has conducted extensive research on garlic cultivation across different climate zones. Your USDA hardiness zone determines which variety will thrive in your garden—hardnecks generally perform better in colder regions while softnecks excel in milder winters.
Soil Preparation: Setting the Foundation for Success
Garlic demands well-draining soil with a pH between 6.0 and 7.0. Poor drainage causes cloves to rot before they can establish roots. Three weeks before planting:
- Remove all weeds and plant debris from your chosen bed
- Amend soil with 3-4 inches of finished compost
- Work in 10-10-10 organic fertilizer at 3 pounds per 100 square feet
- Ensure soil is loose to at least 8 inches deep
Professional growers at Cornell University's College of Agriculture and Life Sciences emphasize that soil preparation accounts for 70% of your eventual harvest quality. Their research shows garlic grown in properly amended soil produces bulbs 30-50% larger than those in unamended conditions.
Planting Your Garlic: Step-by-Step Instructions
Follow these precise steps for optimal planting results:
- Separate cloves from bulbs 1-2 days before planting (keep papery husk intact)
- Select largest cloves for planting (smaller ones make excellent kitchen additions)
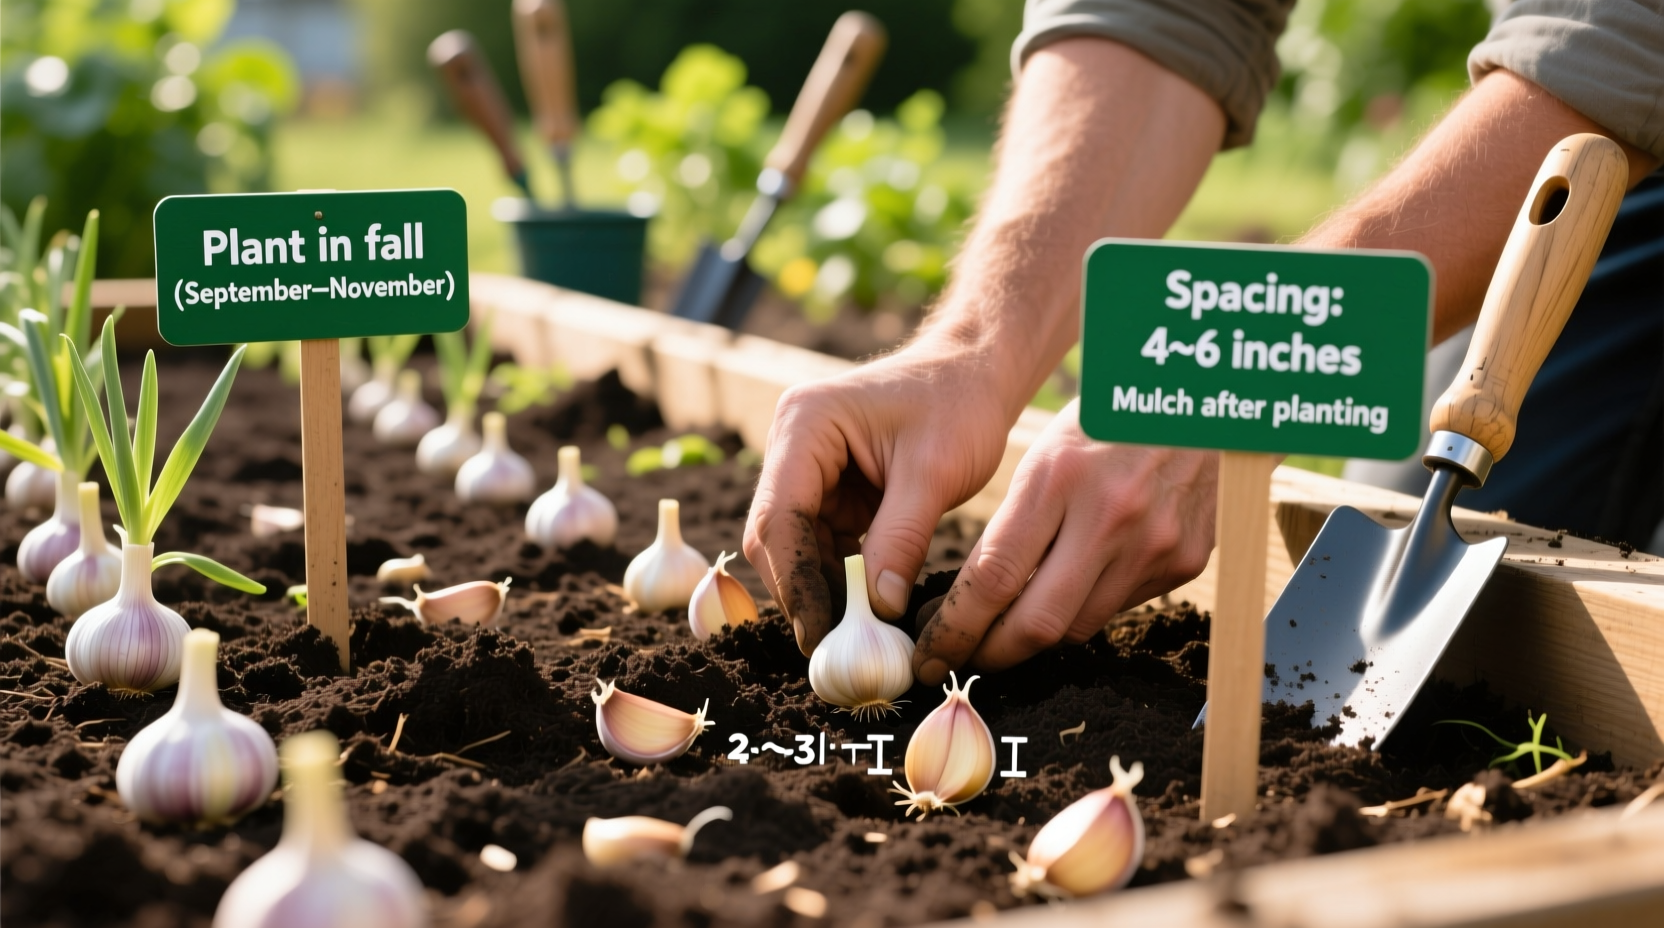
- Plant pointy end up, 2-3 inches deep in heavier soils, 3-4 inches in sandy soils
- Space cloves 4-6 inches apart in rows 12-18 inches apart
- Cover with soil and apply 3-4 inches of straw mulch after planting
Timing is critical—plant when soil temperature reaches 50°F at 4-inch depth, typically 4-6 weeks before your first frost date. This allows roots to establish before winter dormancy without significant top growth.
Seasonal Care: Nurturing Your Garlic Through Winter and Spring
Garlic requires different care throughout its growing cycle. Follow this seasonal timeline for best results:
- Fall (after planting): Maintain 3-4 inch mulch layer to regulate soil temperature
- Winter: Check mulch coverage after heavy snow; add more if needed
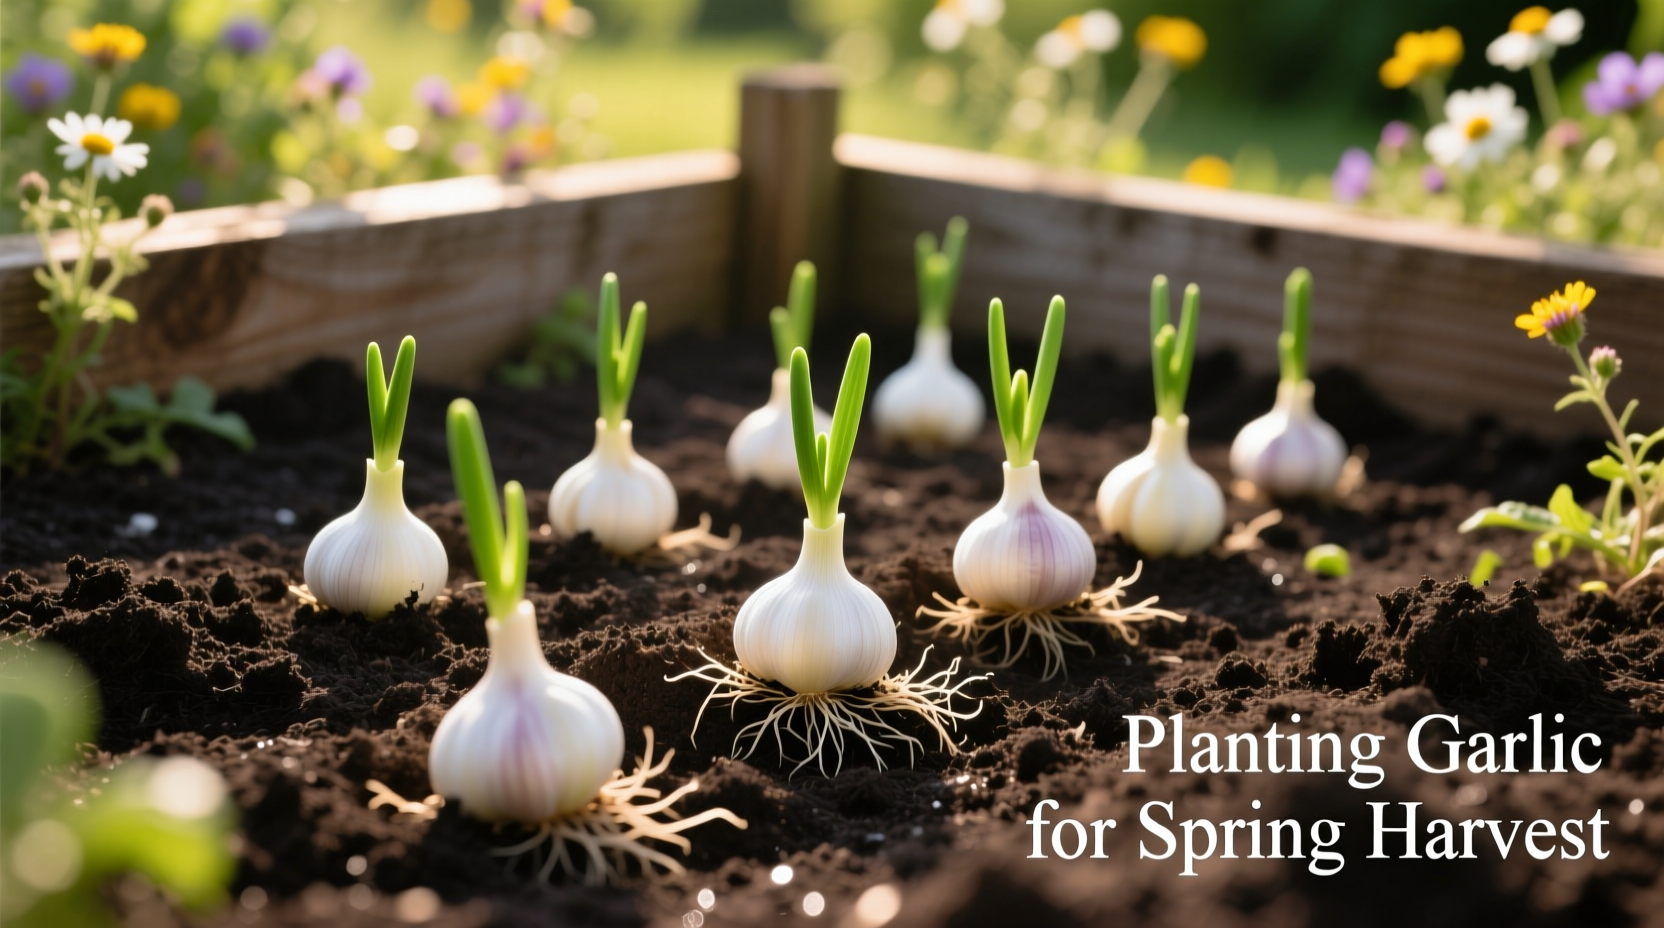
- Early Spring: Remove mulch when green shoots appear, being careful not to damage emerging growth
- Late Spring: Water 1 inch per week if rainfall is insufficient; remove scapes from hardneck varieties when they curl
- Early Summer: Reduce watering as harvest approaches to prevent bulb rot
According to the USDA's Agricultural Research Service, consistent moisture during bulb formation (April-May in most zones) directly impacts final bulb size. Their field trials demonstrated that garlic receiving consistent moisture produced bulbs 25% larger than those subjected to drought stress during this critical period.
Harvesting and Curing: The Critical Final Steps
Harvest timing significantly affects storage life. Watch for these visual indicators:
- Lower third of leaves turn brown while upper two-thirds remain green
- Bulb wrappers become dry and papery
- Individual cloves fill out the wrapper but haven't separated
Use a garden fork to carefully loosen soil around plants before lifting. Never pull garlic from the ground by its stalks. After harvesting:
- Cure bulbs in a dry, shaded, well-ventilated area for 3-4 weeks
- Keep bulbs out of direct sunlight during curing
- Trim roots and stalks after complete curing
- Store in mesh bags or braids in a cool (55-65°F), dry location with good air circulation
Gardeners commonly make the mistake of harvesting too early or skipping proper curing. Cooperative Extension data shows that properly cured garlic stores 2-3 times longer than uncured bulbs. Softneck varieties typically store 8-12 months under ideal conditions, while hardnecks last 4-7 months.
Troubleshooting Common Garlic Growing Challenges
Even experienced gardeners encounter these issues. Here's how to address them:
- Yellowing leaves: Often indicates overwatering or nitrogen deficiency—reduce watering and apply balanced fertilizer
- Small bulbs: Usually caused by late planting, poor soil, or overcrowding—plant earlier and amend soil properly
- Mold on bulbs: Results from improper curing or storage humidity above 70%—ensure proper ventilation during curing
- No scapes on hardneck: May indicate insufficient cold exposure—select varieties better suited to your climate
A survey of 500 home gardeners by the National Gardening Association revealed that improper planting depth (42%) and incorrect harvest timing (38%) were the two most common mistakes affecting garlic yields. Addressing these two factors alone can dramatically improve your results.
Maximizing Your Garlic Harvest: Pro Tips
Professional growers use these advanced techniques to boost yields and quality:
- Rotate planting location every 3-4 years to prevent disease buildup
- Apply side-dressing of nitrogen fertilizer when green shoots reach 6 inches
- Use drip irrigation for consistent moisture without wetting foliage
- Test soil pH annually and amend as needed with lime or sulfur
- Save your largest bulbs for next year's planting stock


 浙公网安备
33010002000092号
浙公网安备
33010002000092号 浙B2-20120091-4