
Craving a perfectly cooked baked potato but short on time? Microwaving delivers restaurant-quality results in minutes, not hours. This guide reveals the science-backed method professional chefs use to avoid common pitfalls like explosions or soggy skins while maximizing flavor and texture.
The Smart Way to Microwave Potatoes: Faster Than Oven, Better Than Boiling
Microwave baking transforms how we enjoy this classic side dish. Unlike traditional methods requiring 45-60 minutes, the microwave cooks potatoes from the inside out using targeted energy absorption. Water molecules in the potato vibrate rapidly when exposed to microwave radiation, generating heat that cooks the starches evenly while preserving nutrients better than boiling.
| Potato Size | Weight | Microwave Time | Resting Time |
|---|---|---|---|
| Small | 5-6 oz | 4-5 minutes | 3 minutes |
| Medium | 8-10 oz | 6-8 minutes | 5 minutes |
| Large | 12-14 oz | 9-12 minutes | 7 minutes |
Why Piercing Is Non-Negotiable: The Safety Science
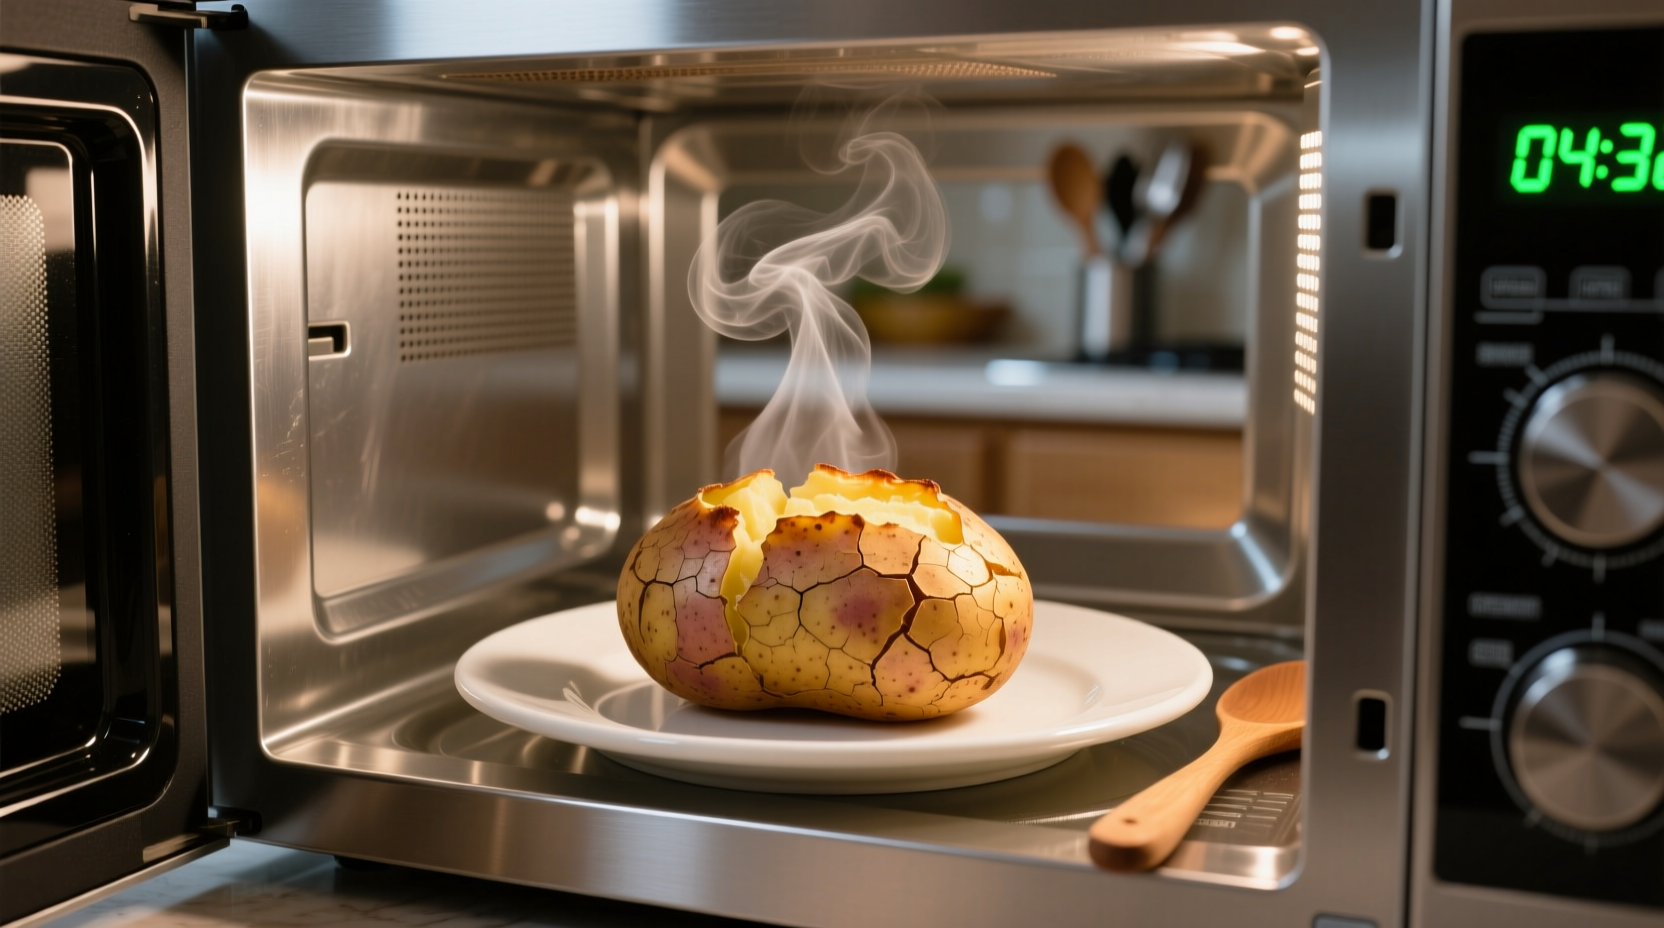
USDA Food Safety guidelines emphasize that potatoes must be pierced before microwaving. As steam builds inside the potato's dense structure, pressure increases up to 15 psi - equivalent to a car tire. Without vents, this pressure can cause explosive ruptures. Use a fork to make 8-10 deep punctures around each potato, creating escape routes for steam.
Step-by-Step Perfect Microwave Potato Method
Preparation Essentials
Start with Russet potatoes for optimal starch content and fluffy texture. Scrub thoroughly under cold water to remove dirt, then dry completely. Moisture on the skin creates steam barriers that lead to uneven cooking. Never wrap potatoes in plastic - this traps excessive moisture causing sogginess.
Cooking Process
Place the pierced potato directly on the microwave turntable. For even cooking, rotate the potato 180 degrees halfway through cooking time. Use 100% power for consistent results - lower settings prolong cooking and degrade texture. For multiple potatoes, add 2 minutes per additional potato and arrange them in a circle with space between.
Finishing Techniques
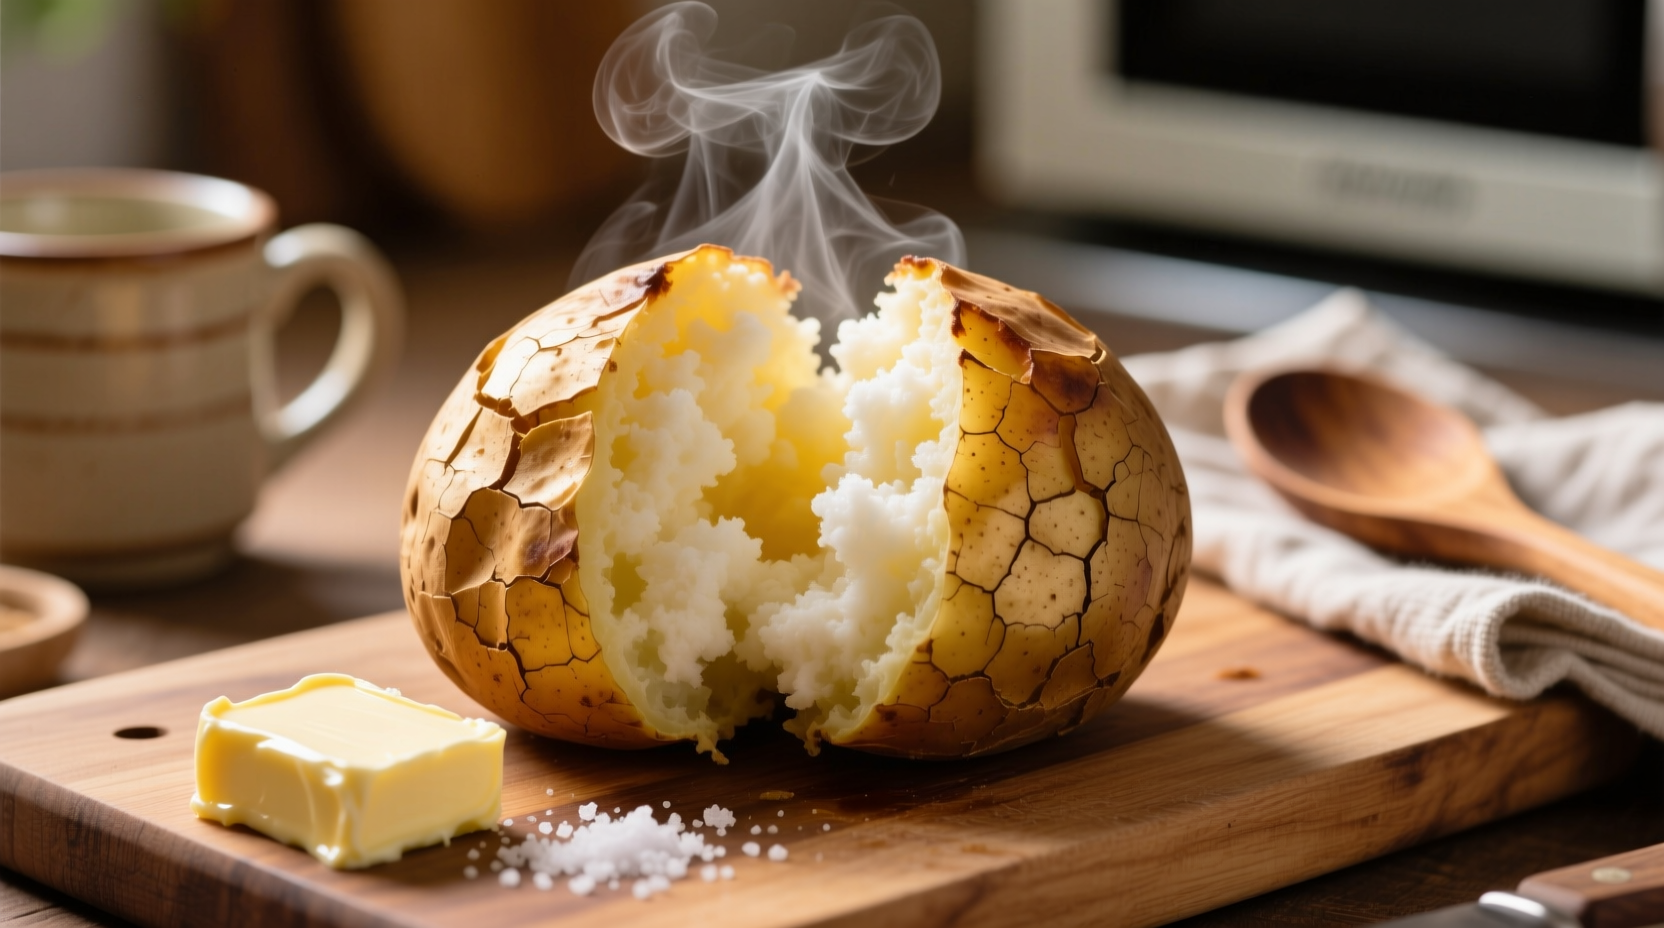
Resting time is critical - don't skip it! The 5-minute rest allows residual heat to finish cooking the center while starches set properly. For crispier skin, transfer to a 400°F oven for 5 minutes after microwaving. Slice open immediately and fluff with a fork before adding toppings to prevent steam from making the interior wet.
When Microwave Baking Isn't Ideal: Context Boundaries
Microwave baking excels for quick weeknight meals but has limitations. For special occasions requiring perfectly crisp skin throughout, conventional oven baking remains superior. Multiple potatoes cook more evenly in the oven than crowded microwaves. If you're preparing a full meal where oven space is available, traditional baking creates more consistent results for 4+ potatoes. However, for 1-3 potatoes when time matters, the microwave delivers unmatched convenience without sacrificing quality.
Troubleshooting Common Issues
- Soggy skin: Dry potatoes thoroughly before cooking and avoid wrapping
- Undercooked center: Increase cooking time by 1-2 minutes or rotate more frequently
- Exploded potato: Insufficient piercing - make deeper, more numerous holes
- Uneven texture: Rotate halfway and ensure turntable is functioning properly
Microwave vs. Other Cooking Methods
While conventional ovens create superior crispness, they use significantly more energy and time. Air fryers offer crispier results than microwaves but still require 25-30 minutes. The microwave's advantage is clear when time matters - achieving 80% of oven quality in 20% of the time. For meal prep or quick lunches, it's the undisputed champion of efficiency.


 浙公网安备
33010002000092号
浙公网安备
33010002000092号 浙B2-20120091-4