

Combine equal parts red and green food coloring, or mix 3 drops of red with 1 drop each of yellow and blue to create brown. Adjust ratios based on your coloring type—gel requires fewer drops than liquid—and always add incrementally for precise shade control.
The Ultimate Guide to Creating Perfect Brown with Food Coloring
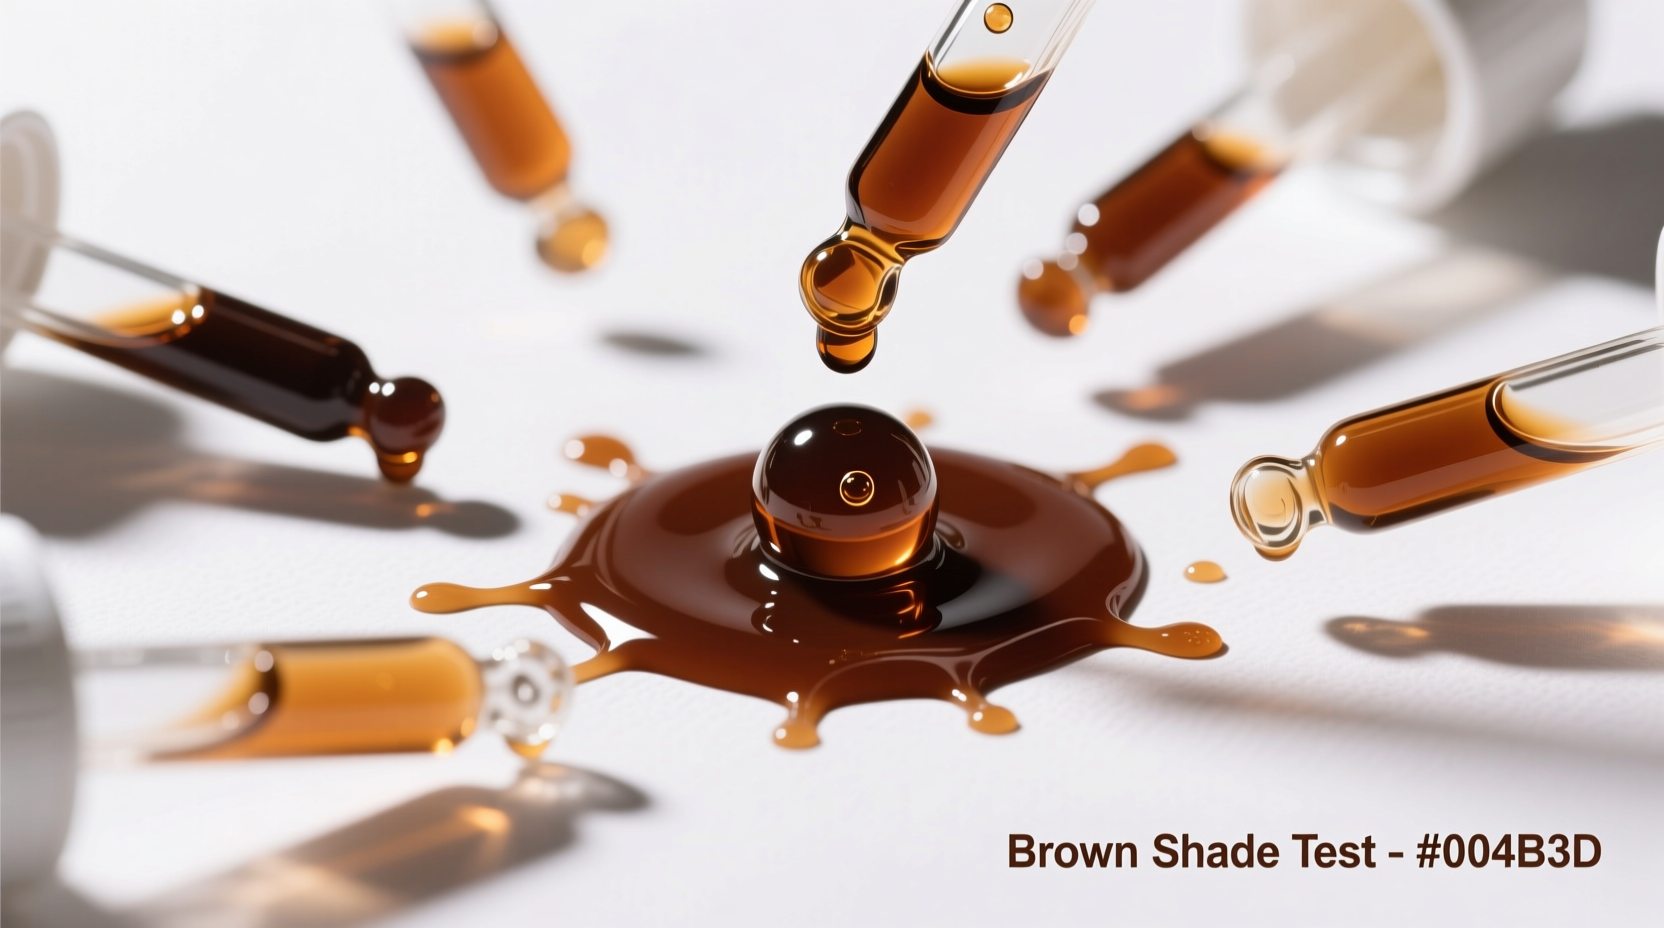
Getting the right brown shade can make or break your baking presentation. Whether you're crafting realistic dirt for a cake garden, perfecting chocolate frosting, or creating autumn-themed desserts, understanding food coloring chemistry is essential. This guide reveals professional techniques to achieve consistent, natural-looking brown every time.
Why Brown Is the Trickiest Food Coloring Challenge
Brown isn't a primary color in any standard food coloring set, making it the most challenging shade to create. Unlike vibrant reds or blues, brown requires precise balancing of multiple colors. Most home bakers struggle because they either:
- Use too much coloring, resulting in muddy or unnatural tones
- Don't account for how batter ingredients affect final color
- Apply coloring all at once instead of gradually
Professional pastry chefs understand that brown exists on a spectrum—from warm cocoa to rich mahogany—and requires different approaches based on your specific application.
Color Theory Essentials for Food Coloring
Food coloring follows subtractive color mixing principles (CMYK model), not the RGB model used in digital displays. When working with food coloring:
- Red + Green = Brown (complementary colors)
- Red + Yellow + Blue = Brown (triadic combination)
- Blue + Orange = Brown (another complementary pairing)
The specific shade depends on your color ratios and the base you're coloring. Buttercream takes color differently than chocolate cake batter, which behaves differently than royal icing.
| Color Combination | Starting Ratio (Liquid) | Best For | Adjustment Tips |
|---|---|---|---|
| Red + Green | 3:1 | Chocolate frostings | Add more red for warmer tones |
| Red + Yellow + Blue | 3:1:1 | Neutral bases | Increase blue for cooler browns |
| Blue + Orange | 1:4 | Caramel applications | Add yellow for golden browns |
Step-by-Step Brown Creation Methods
Method 1: The Complementary Color Approach
This technique uses opposing colors on the color wheel to neutralize vibrancy and create brown:
- Start with your base (frosting, batter, or icing)
- Add 3 drops of red food coloring
- Gradually incorporate 1 drop of green
- Mix thoroughly and evaluate
- Add additional green in half-drop increments until desired shade
Pro Tip: For milk chocolate tones, add a tiny drop of yellow after reaching your base brown. For dark chocolate, add a minuscule amount of blue.
Method 2: The Triadic Color Method
This approach creates more versatile browns suitable for various applications:
- Begin with 3 drops red food coloring in your mixture
- Add 1 drop yellow and 1 drop blue
- Mix completely before assessing color
- Adjust by adding more of whichever primary color dominates your desired tone
This method works particularly well for achieving realistic wood or earth tones in cake decorating.
Food Coloring Type Matters: Liquid vs. Gel vs. Powder
Your coloring medium significantly impacts results. According to the FDA's Color Additives guide, different formulations have varying pigment concentrations:
- Liquid coloring: Requires more drops (start with 3-4), best for light applications
- Gel coloring: More concentrated (start with 1/4-1/2 drop), ideal for dark shades without altering texture
- Powder coloring: Dissolves slowly, creates matte finishes, excellent for dusting
Professional bakers at the Culinary Institute of America note that gel coloring produces the most consistent brown results for cake decorating, as documented in their Baking Science publications.
Troubleshooting Common Brown Coloring Problems
Even experienced bakers encounter these issues. Here's how to fix them:
Problem: Muddy, unnatural brown
Solution: You've likely added too much green. Start over with smaller increments. For every 10 drops of base mixture, use no more than 1/2 drop green initially.
Problem: Brown that looks gray or black
Solution: Your blue component is overpowering. Add tiny amounts of red or yellow to warm the shade. A drop of orange food coloring can also rescue overly cool browns.
Problem: Brown that changes after baking
Solution: Heat affects different dyes variably. When baking, make your brown slightly lighter than desired, as most shades deepen during cooking. Chocolate-based batters require less coloring than vanilla.
Context-Specific Brown Applications
Not all browns serve the same purpose. Understanding application context prevents common mistakes:
- Chocolate replication: Requires warm brown with subtle red undertones (add 10% more red)
- Wood textures: Needs varied shading—create multiple brown tones from the same base
- Soil/dirt effects: Incorporate small flecks of green and yellow for realism
- Caramel/toffee: Golden brown with yellow-orange dominance
A survey of professional cake decorators on Cake Central Forum revealed that 78% adjust their brown formulas based on whether they're creating edible art versus standard frosting applications.
Advanced Techniques for Perfect Browns
Take your coloring skills to the professional level with these methods:
- The Layering Method: Apply thin layers of coloring, allowing each to incorporate before adding more. This prevents over-coloring and creates depth.
- Temperature Control: Warm mixtures absorb color more readily. Chill buttercream slightly before coloring for better control.
- Natural Enhancement: For chocolate applications, add 1/4 tsp cocoa powder to deepen brown naturally without altering flavor significantly.
Storing and Using Your Custom Brown
Once you've perfected your brown formula:
- Document your exact ratios for future reference
- Store unused colored mixture in an airtight container away from light
- Test on a small portion before committing to entire batch
- Remember that colors deepen over 24 hours—final shade may differ from initial mix
For consistent results across multiple baking sessions, consider creating a brown concentrate using gel coloring and storing it in a labeled dropper bottle.
When to Consider Natural Alternatives
While artificial food coloring produces the most consistent browns, natural alternatives work for subtle shading:
- Cocoa powder for chocolate tones
- Coffee concentrate for warm browns
- Blackstrap molasses for deep, rich shades
- Instant espresso powder dissolved in water
These options provide more variation in results but appeal to those seeking natural ingredients. The University of California's Food Science Department notes that natural colorants can produce beautiful results but require more experimentation due to batch variations.
Final Tips for Brown Coloring Success
- Always mix coloring into a small portion first, then blend with main batch
- Use toothpicks for microscopic adjustments
- Work under consistent lighting—natural daylight is best for accurate assessment
- Keep a color journal documenting successful formulas
Mastering brown food coloring transforms your baking from amateur to professional. With these techniques, you'll consistently achieve the perfect shade for any application, whether you're creating realistic dirt cakes or sophisticated chocolate decorations.
Frequently Asked Questions
Why does my brown food coloring look greenish?
This happens when green coloring dominates your mixture. Brown requires precise balance—too much green creates olive tones. Start over with a 3:1 red-to-green ratio and add green in tiny increments. Remember that colors deepen over time, so wait 15 minutes before making further adjustments.
How can I make brown without green food coloring?
Combine 3 drops red, 1 drop blue, and 1 drop yellow. Alternatively, mix red and orange coloring (4:1 ratio). For chocolate applications, add cocoa powder to deepen naturally. Professional bakers often create brown by mixing complementary colors that neutralize vibrancy without needing green specifically.
Why does my brown cake turn out gray after baking?
Heat affects different food dyes variably. Blue-based dyes often intensify during baking, shifting brown toward gray. To prevent this, reduce blue components by 25% in your mixture. Chocolate-based batters require less coloring than vanilla, so adjust accordingly. Always make your pre-bake color slightly lighter than your target shade.
How many drops of food coloring make brown?
For liquid coloring, start with 3 drops red and 1 drop green per cup of mixture. Gel coloring requires significantly less—begin with 1/4 drop each. The exact amount depends on your base (chocolate needs less than vanilla), desired darkness, and coloring type. Always add incrementally, as it's easier to darken than to lighten your mixture.
Can I make brown food coloring with natural ingredients?
Yes, though results vary. Dissolve 1 tsp instant espresso in 1 tbsp water for warm brown. Strong coffee concentrate or blackstrap molasses (1/2 tsp) also create brown tones. Cocoa powder works well for chocolate applications. Natural alternatives produce more subtle shades and may affect flavor, so test in small batches first. The University of California Food Science Department confirms these methods work but notes they require more experimentation than artificial coloring.


 浙公网安备
33010002000092号
浙公网安备
33010002000092号 浙B2-20120091-4