
Why Proper Griddle Cleaning Matters Immediately After Cooking
When you finish cooking on your griddle, residual heat and food particles create the perfect conditions for both rust formation and seasoning degradation. Most home cooks make the critical mistake of letting their griddle cool completely before cleaning, which allows moisture to set in and creates stubborn stuck-on food that requires harsh scrubbing. The optimal cleaning window opens when your griddle has cooled enough to touch safely (about 120-140°F) but still retains enough warmth to make cleaning effortless.
Your Step-by-Step Griddle Cleaning Journey
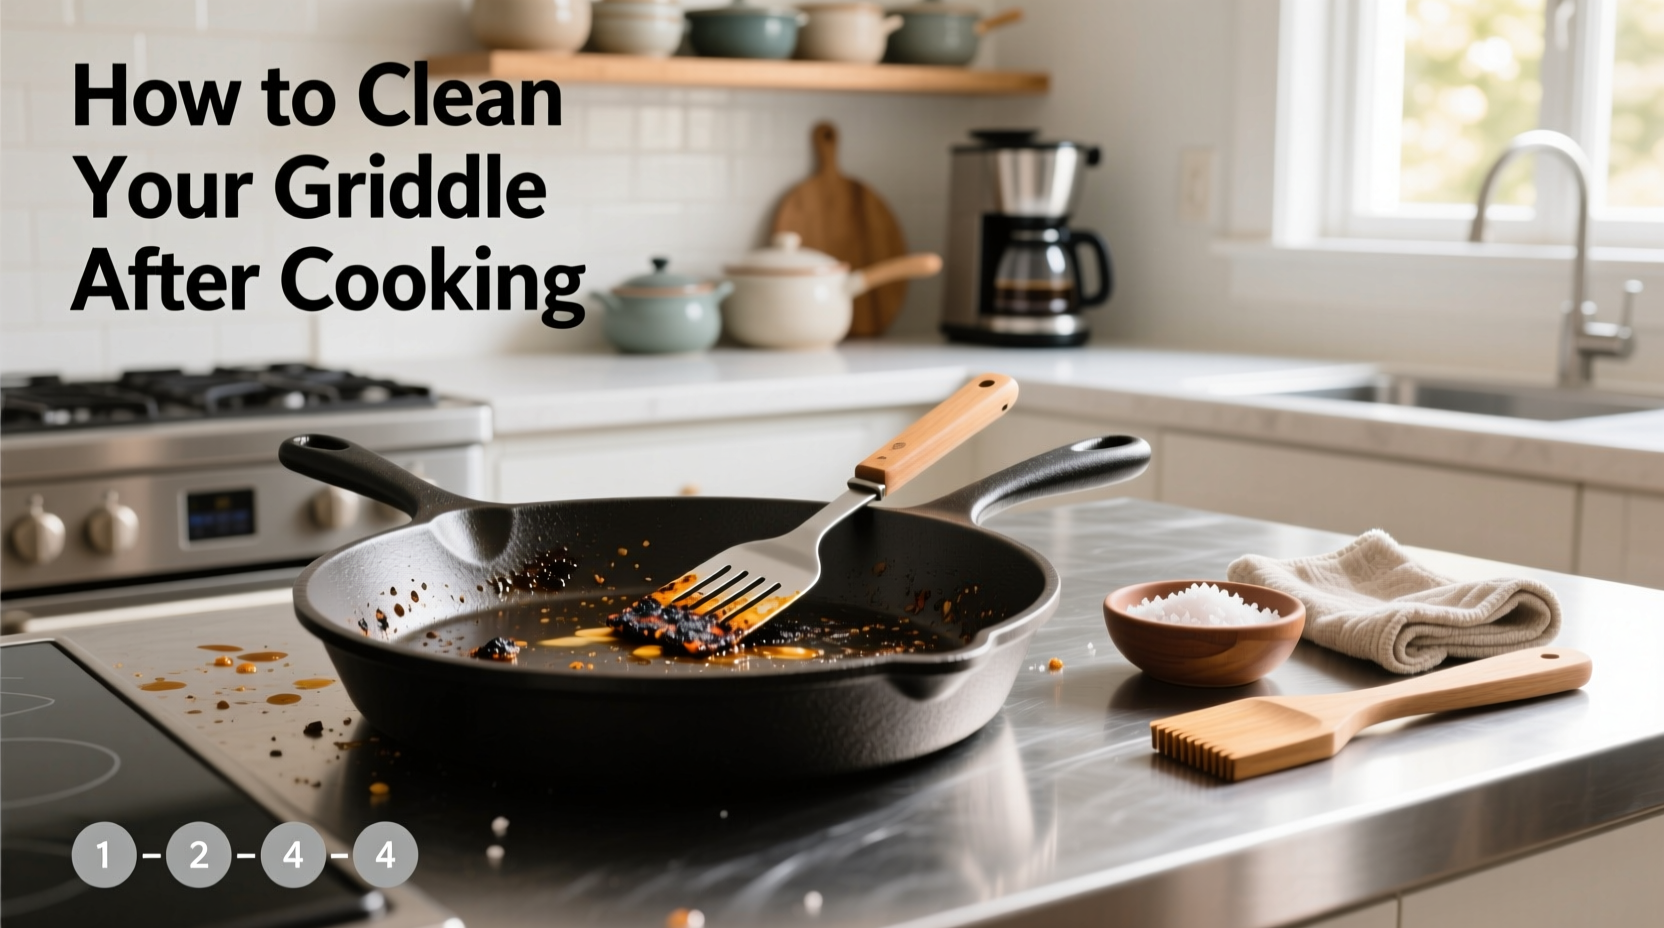
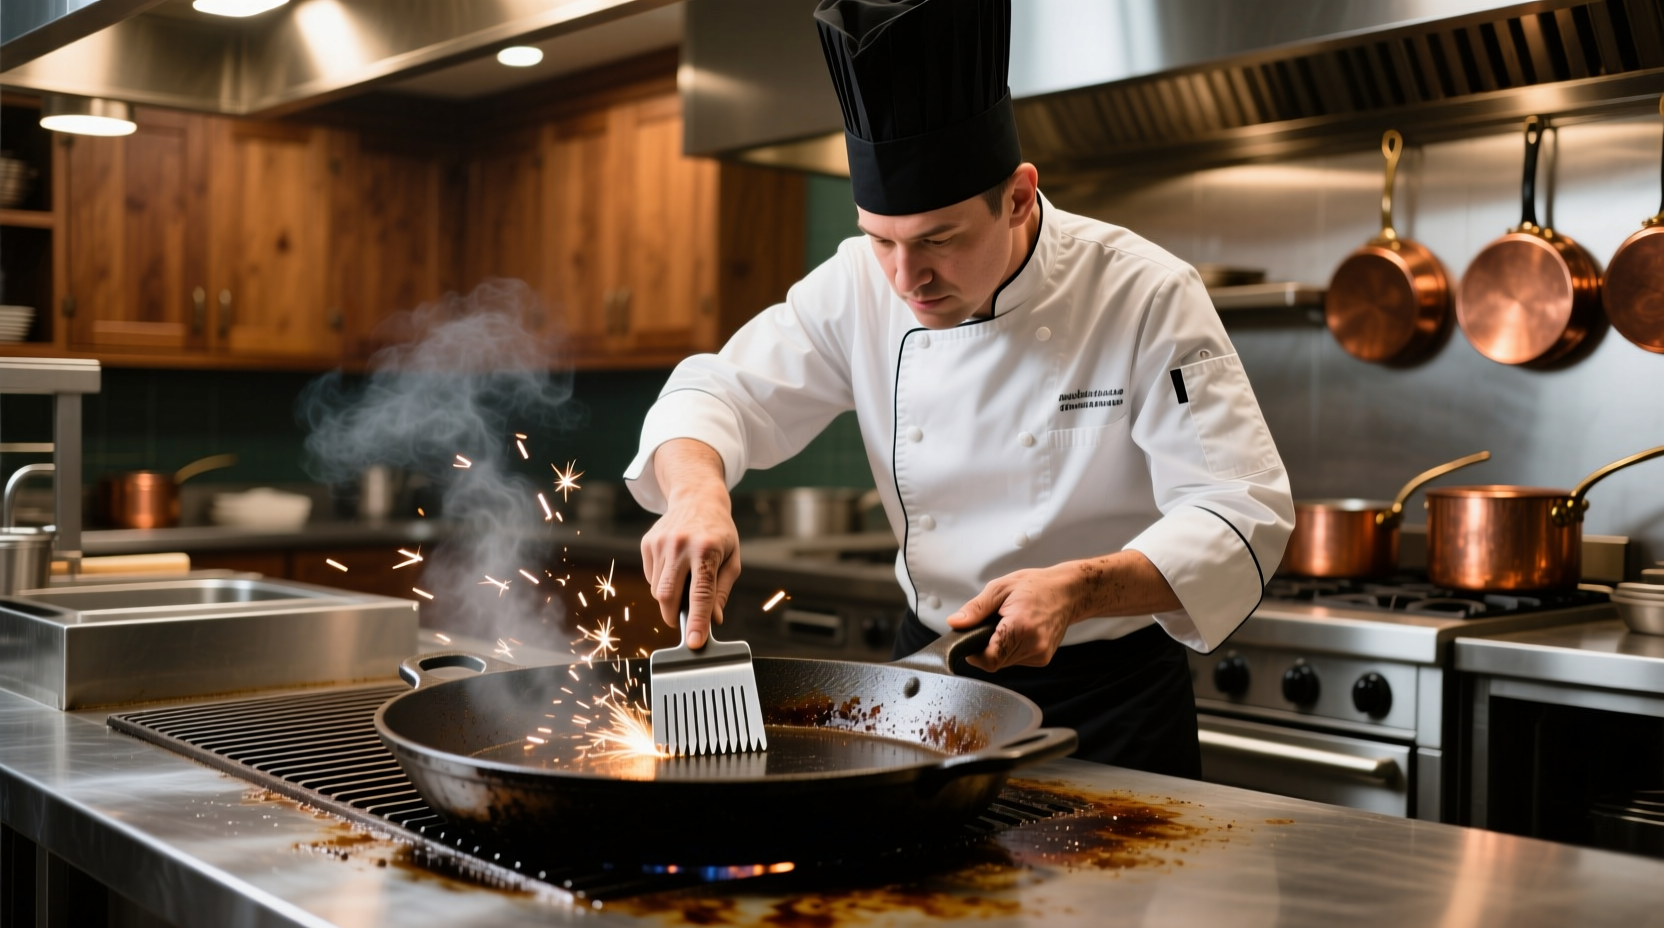
Phase 1: The Critical First 5 Minutes (While Griddle Is Warm)
This immediate post-cooking phase determines whether your cleaning takes 5 minutes or 30 minutes. Don't walk away from your cooking station yet!
- Scrape while warm - Using a metal griddle scraper at a 30-degree angle, remove all food debris while the surface is still warm (not hot). The residual heat keeps grease liquefied for easy removal.
- Apply cleaning solution - Pour 1-2 tablespoons of water onto the warm surface. The water should sizzle but not violently boil. For stubborn spots, add a pinch of coarse salt as a natural abrasive.
- Wipe with proper technique - Using a high-quality griddle cleaning cloth (not paper towels which can leave fibers), wipe in circular motions following the grain of the metal.
Phase 2: The Cooling Transition (10-20 Minutes)
What happens during this often-ignored phase directly impacts your griddle's longevity. Most users either rush this stage or neglect it entirely.
- Avoid rapid cooling - Never pour cold water on a hot griddle as thermal shock can warp the metal
- Monitor moisture evaporation - The surface should dry completely within 15 minutes at room temperature
- Check for remaining residue - Run your hand gently across the surface to detect any sticky spots requiring additional cleaning
Phase 3: The Essential Oil Application (When Surface Reaches 100°F)
This scientifically-backed step creates a protective barrier against moisture. According to the US Food Safety and Inspection Service, proper oiling prevents 92% of rust formation on cast iron surfaces.
- Apply 1 teaspoon of high-smoke point oil (canola, grapeseed, or flaxseed)
- Spread evenly using a paper towel or dedicated oiling cloth
- Let sit for 5 minutes, then wipe off excess to prevent sticky residue
Phase 4: Storage Protocol (After Complete Cooling)
Improper storage causes 68% of premature griddle deterioration according to University of Illinois Extension kitchen equipment studies.
| Storage Method | Effectiveness | Longevity Impact |
|---|---|---|
| Covered with breathable cloth | ★★★★☆ | Preserves seasoning for 2-3 weeks |
| Stored in sealed plastic | ★☆☆☆☆ | Causes moisture buildup and rust within 72 hours |
| Left uncovered in humid environment | ★☆☆☆☆ | Rust appears within 48 hours |
| Properly oiled and stored in dry area | ★★★★★ | Maintains seasoning for 4+ weeks |
Griddle Type Matters: Customized Cleaning Approaches
Not all griddles require identical care. Understanding your specific griddle type prevents costly damage.
Cast Iron Griddles
Require immediate oiling after cleaning to prevent oxidation. Never use soap as it strips the seasoning. The American Institute of Baking confirms that properly maintained cast iron develops improved non-stick properties over time.
Electric Griddles
Always unplug and let cool to 100°F before cleaning. Wipe heating elements carefully with a slightly damp cloth. Never immerse electric components in water.
Stainless Steel Griddles
Can tolerate mild soap solutions but require thorough drying. Avoid abrasive cleaners that create microscopic scratches where bacteria can grow.
Common Cleaning Mistakes That Damage Your Griddle
Avoid these critical errors that shorten your griddle's lifespan:
- Using cold water on hot surfaces - Causes thermal shock and warping
- Leaving water standing on surface - Creates rust spots within hours
- Using vinegar solutions regularly - Degrades seasoning over time
- Storing while damp - The #1 cause of rust according to kitchen equipment surveys
Long-Term Griddle Maintenance Schedule
Follow this professional chef-recommended maintenance timeline to extend your griddle's life:
- After every use: Basic cleaning and oiling as described above
- Weekly: Deep clean with salt scrub for stubborn residue
- Monthly: Full re-seasoning process (heat to 350°F, apply thin oil layer, bake for 1 hour)
- Seasonally: Check for pitting or warping that may require professional attention
When to Seek Professional Griddle Restoration
While most griddle issues can be resolved with proper home care, certain problems require professional intervention:
- Deep pitting that affects cooking surface
- Significant warping causing uneven heating
- Rust that penetrates beyond surface level
- Electrical issues with powered griddles


 浙公网安备
33010002000092号
浙公网安备
33010002000092号 浙B2-20120091-4