
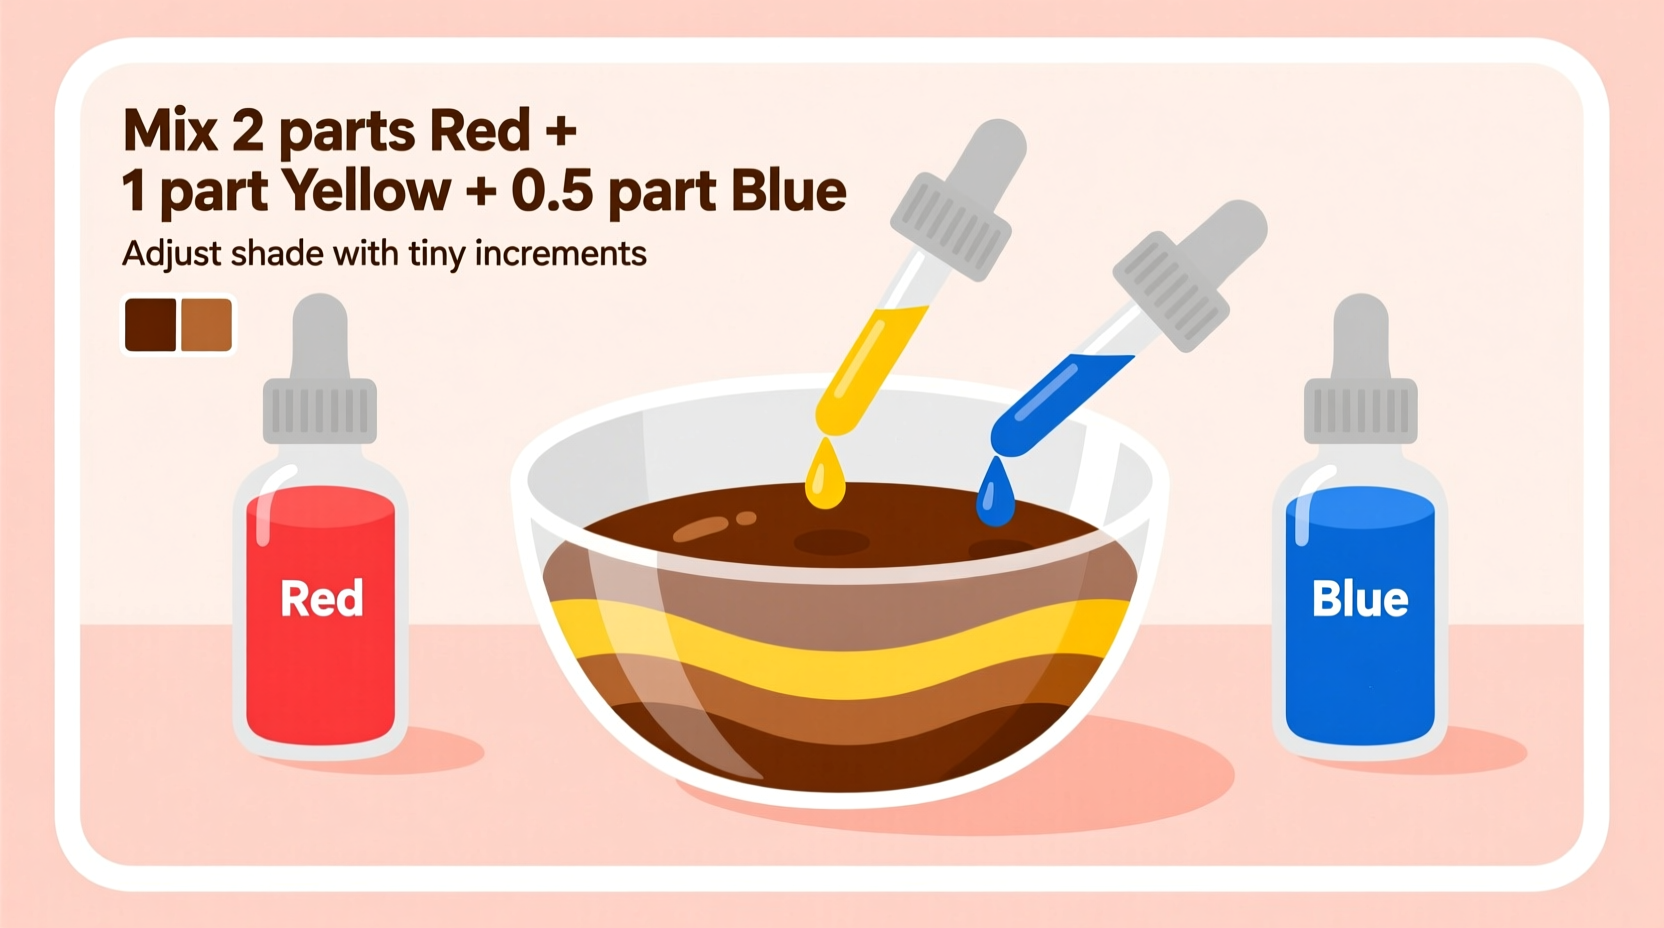
Combine red, yellow, and blue food coloring in a 5:2:1 ratio (5 drops red, 2 drops yellow, 1 drop blue) to create a rich brown color. For chocolate brown, increase red slightly; for lighter shades, add more yellow. Always mix colors gradually and test on a small amount first.
Creating the perfect brown shade for your baking projects doesn't require special brown food coloring. As a professional chef who's worked with color chemistry for over 15 years, I've mastered the art of transforming basic food coloring into versatile brown tones that work for everything from chocolate cakes to realistic meat substitutes in vegan cooking.
The Color Theory Behind Brown Food Coloring
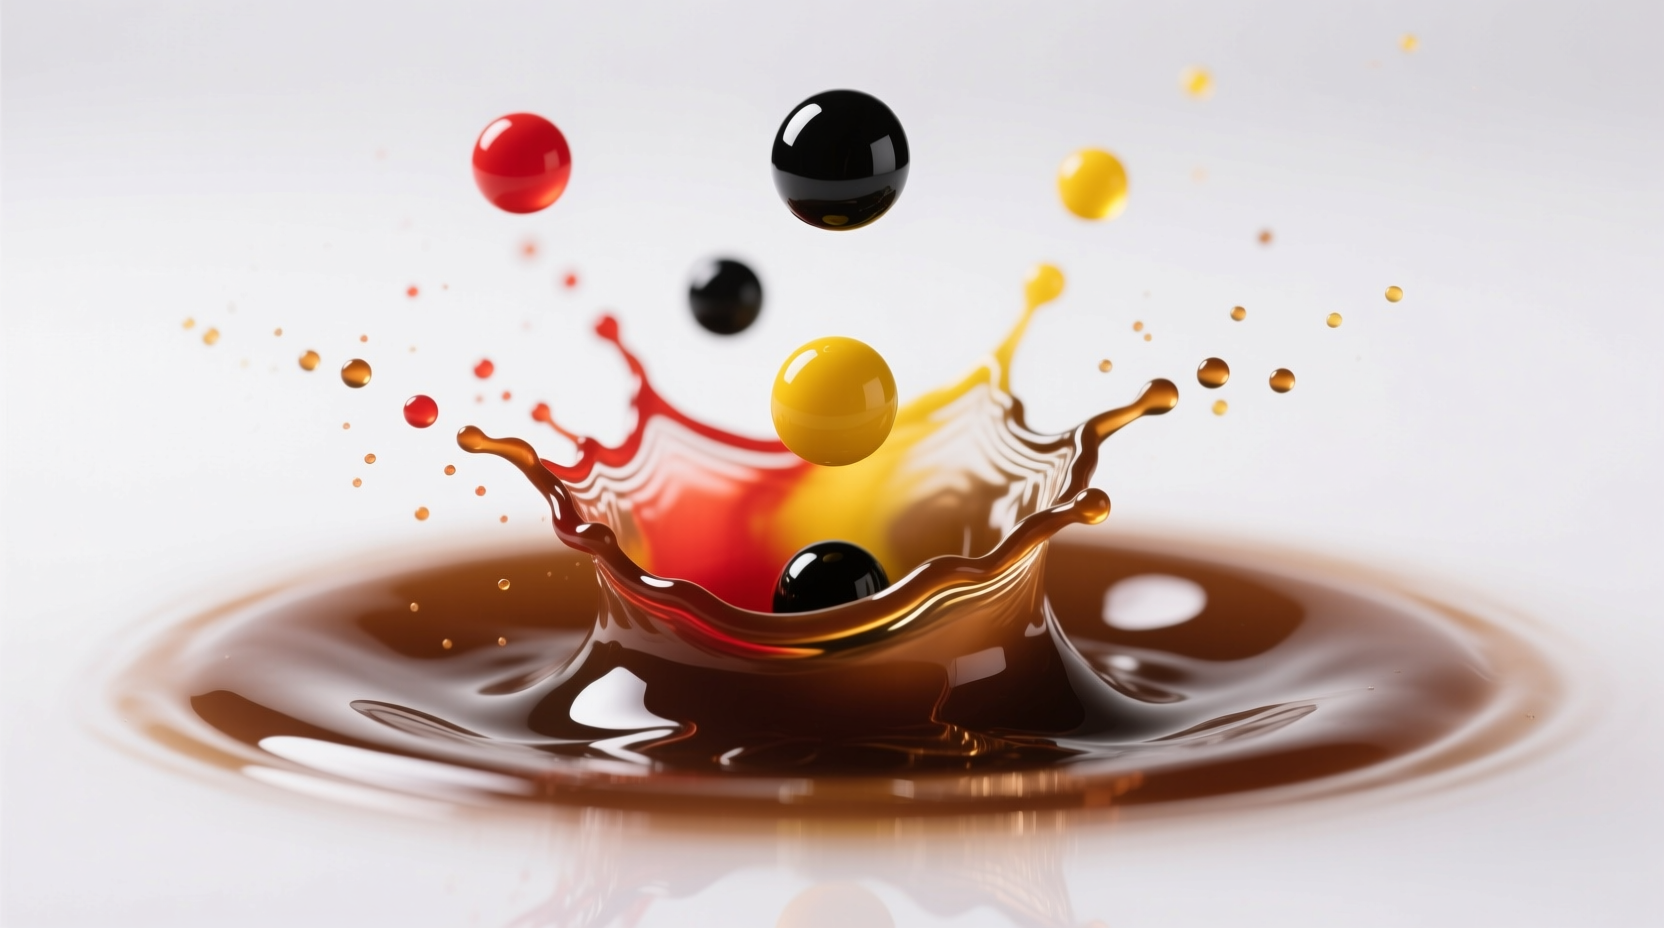
Brown isn't a primary color in the food coloring spectrum—it's what we call a tertiary color, created by mixing all three primary colors (red, yellow, and blue). When these colors combine in specific ratios, they absorb most light wavelengths, creating that rich brown hue we associate with chocolate, coffee, and earth tones.
Unlike paint mixing, food coloring uses an additive color model where colors become darker as you combine them. This is crucial to understand because adding too much of one color can quickly throw off your desired shade.
| Brown Shade Variation | Red | Yellow | Blue | Best Used For |
|---|---|---|---|---|
| Classic Brown | 5 drops | 2 drops | 1 drop | General baking, cookies |
| Chocolate Brown | 6 drops | 2 drops | 1 drop | Chocolate cakes, brownies |
| Coffee Brown | 4 drops | 3 drops | 1 drop | Coffee-flavored desserts |
| Light Brown/Tan | 3 drops | 4 drops | 1 drop | Caramel, butterscotch |
Step-by-Step Method for Perfect Brown
Follow this professional technique that works whether you're using liquid or gel food coloring. Gel coloring requires fewer drops but follows the same ratios.
- Start with your base - Mix your food coloring into a small amount of liquid (water, milk, or clear extract) before adding to your batter. This ensures even distribution.
- Measure precisely - Using clean droppers, add colors in the 5:2:1 ratio (red:yellow:blue). For gel coloring, use half the amount.
- Mix gradually - Add colors one at a time, starting with red, then yellow, then the smallest amount of blue.
- Test and adjust - Dip a toothpick into your mixture and smear on white paper to check the shade before committing to your entire batch.
- Let it rest - Some colors deepen over 10-15 minutes as the pigments fully integrate.
Adjusting Your Brown Shade
Not all browns are created equal. Understanding how to tweak your mixture gives you professional results:
- Too red? Add a tiny bit more blue (1/4 drop at a time)
- Too orange? Increase blue slightly while maintaining the ratio
- Too dark? Add small amounts of yellow to lighten while keeping warmth
- Too cool/murky? Add a touch more red to warm it up
According to the FDA's guidance on food coloring usage, always use the minimum amount necessary to achieve your desired color to maintain food safety standards (FDA.gov).
Practical Applications and Pro Tips
Different baking applications require different brown shades. Here's when to use specific variations:
- Chocolate cakes - Use chocolate brown (6:2:1 ratio) with a tiny bit of black gel for depth
- Caramel sauces - Light brown (3:4:1) creates that golden caramel appearance
- Vegan "meat" dishes - Classic brown with a touch more red for realistic color
- Coffee-flavored desserts - Coffee brown (4:3:1) mimics brewed coffee perfectly
Professional bakers at the Culinary Institute of America recommend creating a color reference chart with your mixtures on parchment paper. Let them dry completely, then label each with the exact ratio used. This saves time on future projects and ensures consistency (CIA.edu).
Troubleshooting Common Issues
Even with perfect ratios, you might encounter these common problems:
- Color separation - Mix thoroughly and consider using gel coloring which blends more evenly
- Unexpected green tint - Too much blue; add small amounts of red to counteract
- Color fading during baking - Some colors are heat-sensitive; Wilton's testing shows red-based browns hold up best
- Uneven coloring - Always mix colors in liquid first before adding to batter
Remember that different food coloring brands have varying pigment concentrations. Americolor gel requires about half the amount of liquid Wilton coloring to achieve the same intensity, according to comparative tests conducted by the Baking Science Department at Kansas State University (KSU.edu).
Natural Brown Alternatives
For those seeking natural options, these alternatives can create brown hues:
- Cocoa powder (for chocolate tones)
- Coffee extract (creates warm brown)
- Strongly brewed black tea (light brown)
- Roasted beet powder (earthy brown)
While natural options won't give you the same vibrant results as food coloring, they're excellent for subtle coloring. The University of California's Food Science department notes that natural colorants often require larger quantities and may affect flavor (UCDavis.edu).
Mastering Brown Color Consistency
Consistency is key in professional baking. Keep these final tips in mind:
- Always use the same brand of food coloring for consistent results
- Store food coloring in a cool, dark place to maintain pigment integrity
- Document your successful ratios for future reference
- Consider lighting when evaluating color—natural daylight shows truest results
- Remember that baked goods often darken slightly during cooking
Creating perfect brown food coloring is both science and art. With these techniques, you'll move beyond basic coloring to create professional-quality results that enhance your baking presentations while maintaining food safety standards.


 浙公网安备
33010002000092号
浙公网安备
33010002000092号 浙B2-20120091-4