
Perfectly cooked oven pork ribs require 3-4 hours at 275°F (135°C) with a simple dry rub, followed by optional sauce application in the final 30 minutes. This method yields tender, fall-off-the-bone ribs without specialized equipment. Total preparation and cooking time is approximately 4 hours, with 20 minutes of active preparation work.
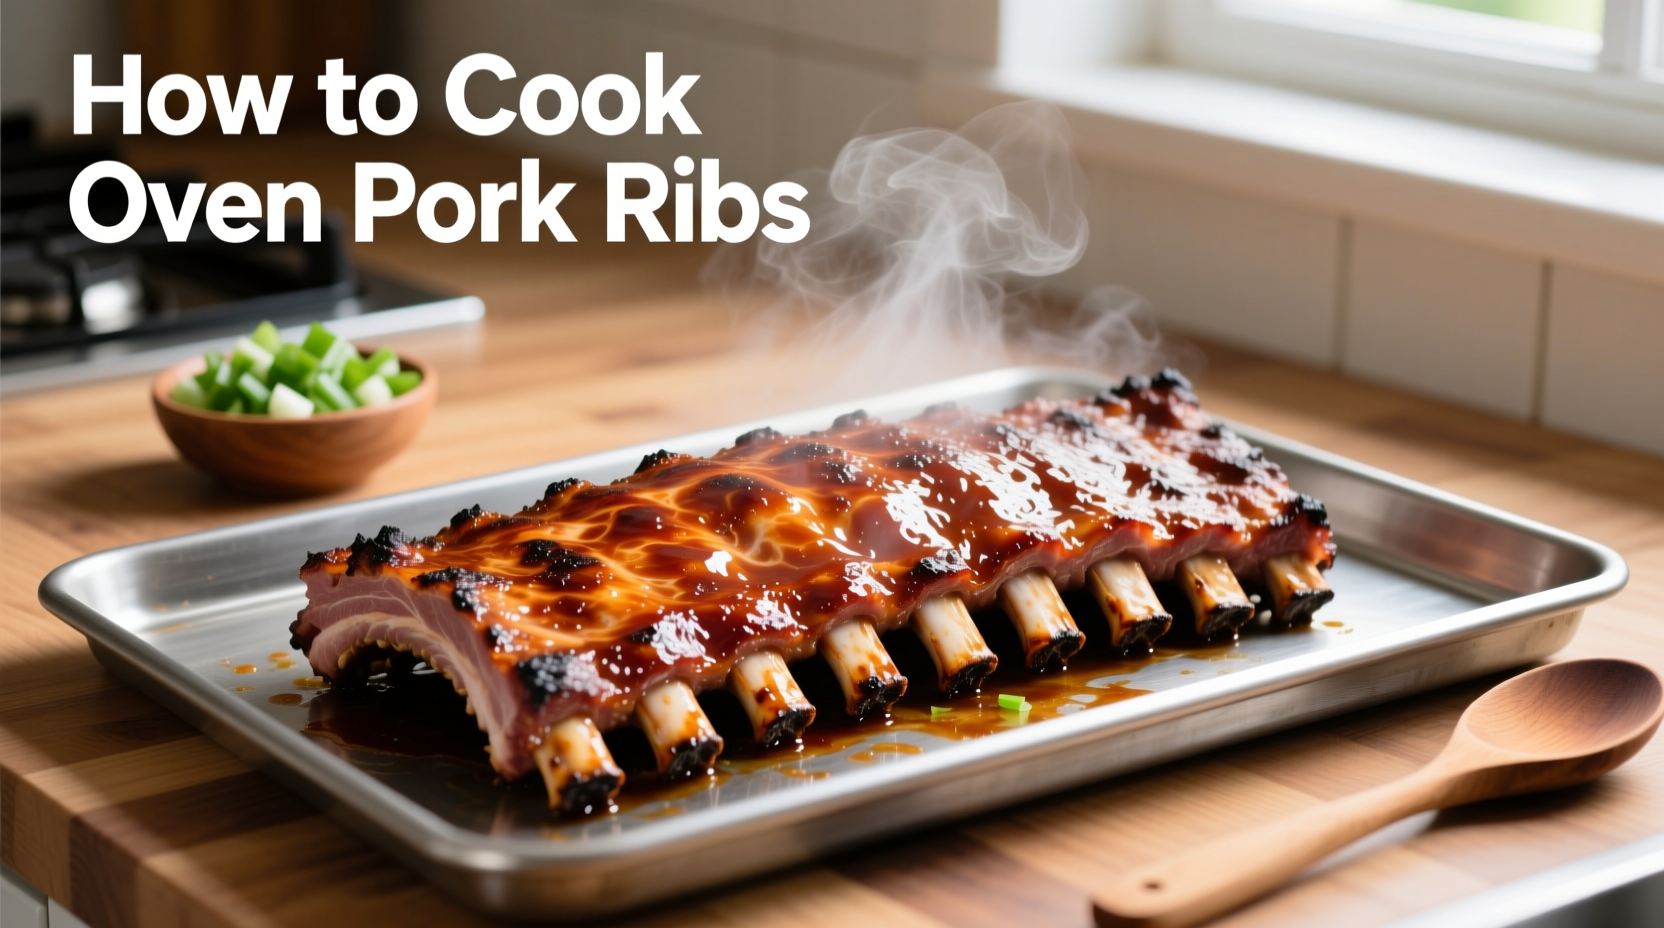
The Ultimate Guide to Foolproof Oven Pork Ribs
Nothing beats the satisfaction of serving perfectly tender pork ribs made entirely in your home oven. Forget complicated smokers or outdoor grills—this method delivers restaurant-quality results with minimal effort and maximum flavor. Whether you're cooking for a special occasion or perfecting your weeknight dinner routine, oven-baked ribs offer consistent results that impress every time.
Your Complete Oven Rib Preparation Timeline
Understanding the time commitment helps you plan your cooking adventure. Here's exactly what to expect from start to finish:
| Stage | Time Required | Key Actions |
|---|---|---|
| Preparation | 20 minutes | Trimming, membrane removal, seasoning |
| Initial Cooking | 2.5-3 hours | Low-temperature baking for tenderness |
| Finishing Stage | 30-60 minutes | Sauce application and caramelization |
| Resting | 15 minutes | Essential for juicy results |
This timeline follows the USDA Food Safety and Inspection Service guidelines for proper pork preparation, ensuring your ribs reach the recommended internal temperature of 145°F (63°C) with a 3-minute rest period for food safety.
Selecting Your Ribs: The Foundation of Flavor
Not all ribs are created equal. Your starting point determines your final result:
- Baby Back Ribs: Curved, leaner cuts from the loin area. Cook faster (2.5-3 hours) and offer more delicate flavor. Ideal for first-time rib makers.
- Spare Ribs: Flatter, meatier cuts from the belly. Require longer cooking (3-4 hours) but deliver richer flavor and more substantial portions.
- St. Louis Cut: Rectangular spare ribs with the brisket bone removed. Offers the best balance of meat and fat with uniform shape for even cooking.
Look for ribs with consistent pink color, minimal surface moisture, and good marbling. Avoid packages with excessive liquid or grayish discoloration.
Essential Equipment Checklist
You don't need specialized tools, but these items make the process smoother:
- Baking sheet with wire rack (prevents steaming)
- Aluminum foil (for wrapping stage)
- Meat thermometer (critical for perfect doneness)
- Sharp boning knife (for membrane removal)
- Mixing bowls (for dry rub preparation)
Step-by-Step Cooking Process
Preparation Phase: Setting Up for Success
Proper preparation separates good ribs from great ribs:
- Remove the membrane: Flip ribs bone-side up. Slide a butter knife under the membrane at one end, then grip with paper towel and peel away in one piece.
- Trim excess fat: Remove large chunks of surface fat but leave some for flavor and moisture.
- Apply dry rub: Massage ¼ cup of rub into all surfaces, including between bones. Let sit at room temperature for 30 minutes before cooking.
Dry Rub Formula: The Flavor Foundation
This balanced rub works for all rib types:
- ¼ cup brown sugar
- 2 tbsp paprika
- 1 tbsp garlic powder
- 1 tbsp onion powder
- 1½ tsp salt
- 1 tsp black pepper
- 1 tsp chili powder
- ½ tsp cayenne (optional for heat)
Mix thoroughly in a bowl before application. The sugar content helps with caramelization while the spices penetrate the meat during cooking.
Cooking Phase: The Low and Slow Method
Follow these precise steps for perfect texture:
- Preheat oven to 275°F (135°C)—this low temperature prevents drying.
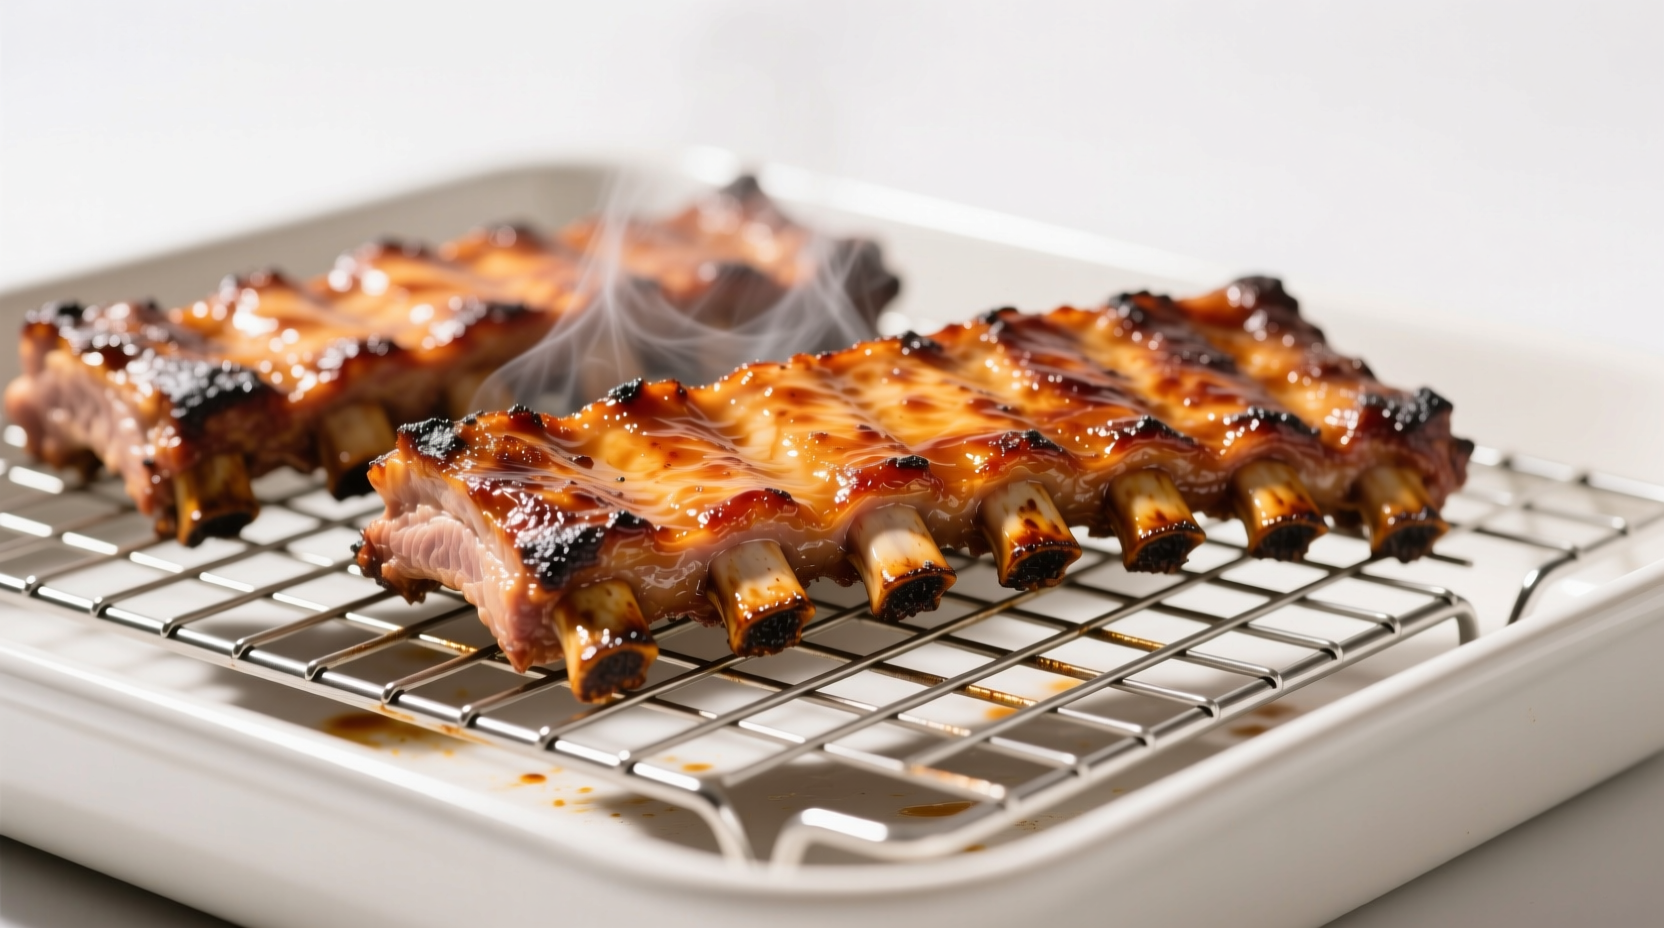
- Arrange ribs bone-side down on a wire rack placed over a foil-lined baking sheet.
- Cook uncovered for 2 hours until ribs begin to render fat.
- Wrap in foil with ¼ cup apple juice or broth ("the Texas crutch") for next 1-1.5 hours.
- Check temperature—ribs should reach 195-203°F (90-95°C) for optimal tenderness.
- Finish uncovered with sauce for 30 minutes at 300°F (150°C) for caramelization.
Doneness Indicators: Beyond the Thermometer
While a thermometer is essential, these visual cues confirm perfect cooking:
- Bend test: When lifted with tongs, ribs should bend easily and cracks may appear in the surface.
- Shrinkage: Meat should have pulled back about ¾ inch from the bone ends.
- Texture: Bones should wiggle slightly when twisted.
Remember that ribs continue cooking during the resting period, so remove them slightly before reaching your target temperature.
Troubleshooting Common Problems
Even experienced cooks encounter issues. Here's how to fix them:
- Dry ribs: You likely cooked at too high a temperature or skipped the foil-wrapping stage. Next time, reduce oven temperature by 25°F and ensure proper wrapping.
- Undercooked ribs: If ribs haven't reached 195°F after initial cooking, return to oven in foil for additional 30-minute increments.
- Burning sauce: Apply sauce only during the final 30 minutes and monitor closely. Sugar content in sauces burns easily.
- Uneven cooking: Rotate baking sheet halfway through cooking for consistent results, especially in ovens with hot spots.
Professional Flavor Variations
Once you've mastered the basic technique, experiment with these chef-approved variations:
- Asian-inspired: Replace dry rub with 3 tbsp soy sauce, 2 tbsp honey, 1 tbsp ginger, and 2 minced garlic cloves.
- Carolina-style: Use a vinegar-based sauce with mustard and red pepper flakes during the finishing stage.
- Coffee-rubbed: Add 2 tbsp finely ground coffee to your dry rub for deep, complex flavor.
Serving and Storage Tips
Maximize your results with these finishing touches:
- Resting is non-negotiable: Let ribs rest 15 minutes before cutting to retain juices.
- Cutting technique: Use a sharp knife between bones for clean portions.
- Reheating: Wrap in foil with a splash of broth and warm at 250°F for 20-30 minutes.
- Freezing: Cooked ribs freeze well for up to 3 months when properly wrapped.
Perfect Pairings for Your Oven Ribs
Complete your meal with these complementary sides:
- Creamy coleslaw (cuts through richness)
- Garlic roasted corn (adds sweetness)
- Buttery baked potatoes (classic pairing)
- Apple salad (bright, acidic contrast)
Frequently Asked Questions
Can I cook frozen pork ribs directly in the oven?
No, always thaw ribs completely in the refrigerator before cooking. Cooking frozen ribs leads to uneven cooking, with exterior overcooking before interior reaches safe temperature. Allow 24-48 hours for proper thawing depending on rib size.
Why do my oven ribs come out tough?
Tough ribs typically result from insufficient cooking time or temperature that's too high. Pork ribs require low-temperature cooking (225-275°F) for 3-4 hours to break down connective tissue. Ensure you're using a meat thermometer to verify internal temperature reaches 195-203°F for proper tenderness.
Should I boil ribs before baking?
Boiling ribs before baking is unnecessary and can lead to flavor loss. The low-and-slow oven method properly tenderizes ribs without pre-boiling. If you want to speed up the process slightly, the "Texas crutch" method (wrapping in foil with liquid during cooking) achieves similar tenderizing without water exposure.
How do I prevent ribs from drying out in the oven?
To prevent dryness: 1) Maintain proper low temperature (275°F maximum), 2) Use the foil-wrapping stage with liquid, 3) Don't skip resting time before serving, 4) Keep ribs covered during initial cooking stages, and 5) Monitor internal temperature to avoid overcooking past 203°F.
What's the difference between baking and roasting ribs?
Baking typically refers to cooking at lower temperatures (under 375°F) with consistent, surrounding heat, while roasting implies higher temperatures with potential for browning. For ribs, the low-temperature baking method (225-275°F) produces more tender results than roasting, which can cause exterior overcooking before interior is properly tenderized.


 浙公网安备
33010002000092号
浙公网安备
33010002000092号 浙B2-20120091-4