
Mailing food safely has become increasingly important as more people send homemade gifts, specialty products, and care packages across distances. Whether you're shipping cookies to a college student, sending regional delicacies to family, or operating a small food business, following proper procedures ensures your items arrive fresh and compliant with regulations. This comprehensive guide walks you through every step of the food mailing process based on current USPS guidelines and food safety best practices.
Understanding Food Shipping Regulations
Before packing your first box, familiarize yourself with the regulatory landscape. The United States Postal Service (USPS) permits mailing most non-perishable food items but imposes strict requirements for perishables. According to the USPS International Mail Manual, all food shipments must comply with both U.S. and destination country regulations. The Food and Drug Administration (FDA) requires that perishable foods maintain proper temperature control during transit to prevent bacterial growth.
| Food Category | Shipping Viability | Required Packaging | Maximum Transit Time |
|---|---|---|---|
| Dry goods (cookies, crackers) | High | Standard cardboard box | 14 days |
| Canned goods | Medium | Waterproof container + cushioning | 21 days |
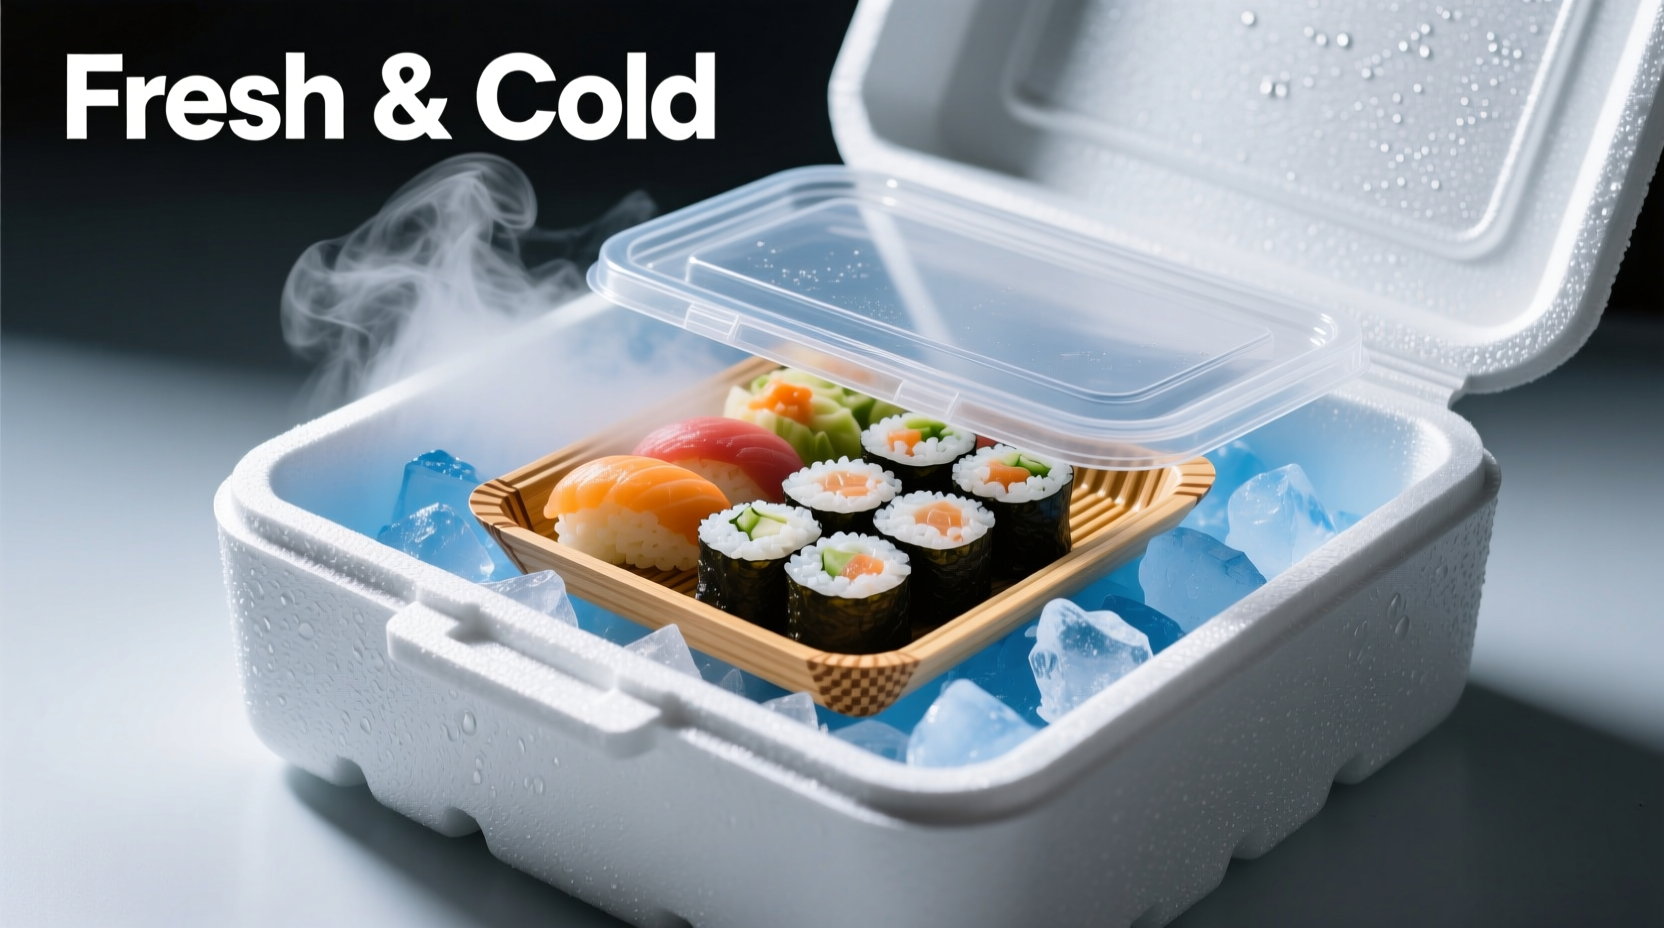
| Refrigerated items | Conditional | Insulated container + coolant | 2-3 days |
| Frozen foods | Conditional | Insulated container + dry ice | 2 days |
| Fresh produce | Low | Specialized packaging required | 1-2 days |
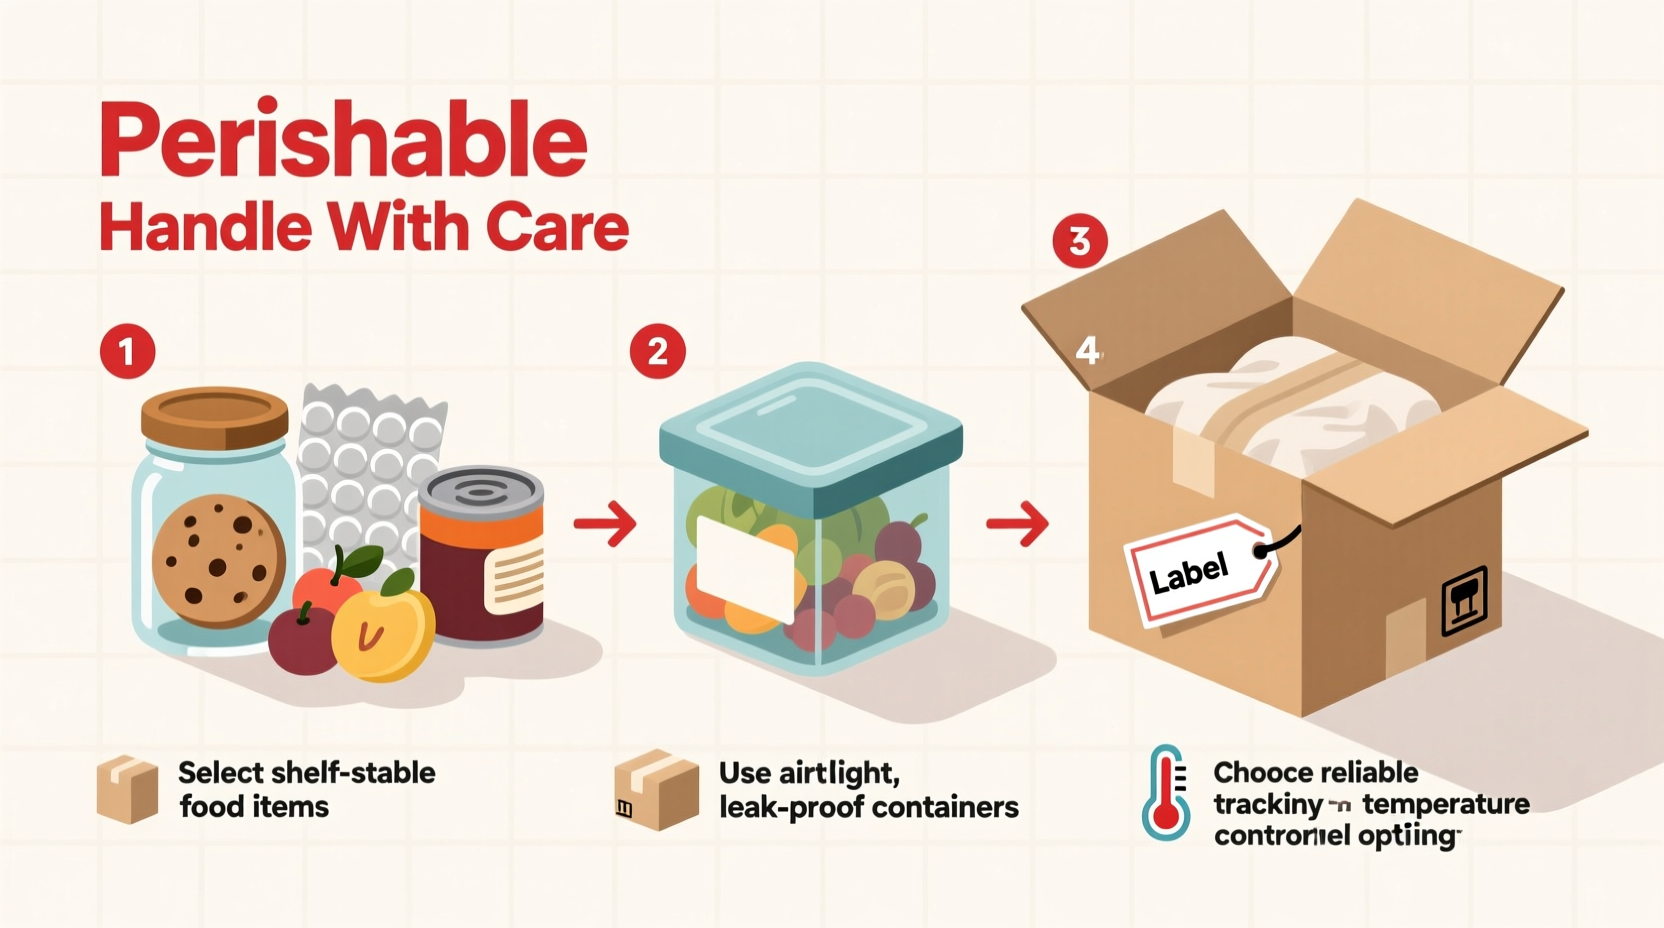
Step-by-Step Food Shipping Process
1. Select Appropriate Food Items
Not all foods travel well. Prioritize items with longer shelf lives or proper preservation. The USDA Food Safety and Inspection Service recommends avoiding mailing raw meats, unpasteurized dairy, and homemade canned goods without proper processing. Baked goods with low moisture content (like biscotti, shortbread, and fruitcakes) ship particularly well. If mailing perishables, ensure they'll reach their destination within safe timeframes—typically 24-48 hours for refrigerated items and 24 hours for frozen foods using expedited shipping.
2. Prepare Food for Shipping
Proper preparation prevents spoilage and damage. Allow baked goods to cool completely and consider double-wrapping items in food-safe plastic. For moist items like brownies, place a piece of bread inside the container to absorb excess moisture. The FDA recommends acidifying low-acid foods like tomatoes to pH 4.6 or lower for safe canning and shipping. Never ship food in containers that previously held non-food items, as chemical residues could contaminate your product.
3. Choose the Right Packaging System
Effective food shipping requires a multi-layer packaging approach. Start with food-safe containers, then add insulation, temperature control elements, and a sturdy outer box. For refrigerated items, use insulated foil bubble mailers or rigid coolers with frozen gel packs. Frozen foods require dry ice (solid carbon dioxide) following specific packaging guidelines—never use regular ice as it melts and creates moisture. When using dry ice, follow the Federal Aviation Administration's requirements for proper ventilation and labeling. Always place absorbent material at the bottom of the container to catch any condensation.
4. Complete Required Documentation
Proper labeling serves both regulatory compliance and recipient awareness. Clearly mark "Perishable" and "Keep Refrigerated" on the exterior of the package. For international shipments, include a detailed ingredient list and nutritional information as required by destination countries. When shipping with dry ice, attach the required USPS Form 1534 indicating the net weight of dry ice. Domestic shipments within the U.S. generally don't require special permits, but always verify current regulations before shipping.
5. Select the Appropriate Shipping Service
Transit time directly impacts food safety. For perishable items, choose expedited services with guaranteed delivery windows. USPS Priority Mail Express (1-2 days) works well for regional shipments, while FedEx Overnight or UPS Next Day Air provides more temperature-controlled options. Avoid weekend deliveries when possible, as packages may sit in warehouses or trucks without proper temperature control. Always purchase delivery confirmation and consider adding insurance for valuable food shipments. The shipping timeline matters significantly—perishable foods should spend no more than 24 hours in transit at room temperature, 48 hours when refrigerated, and 24 hours when frozen to maintain safety standards.
Common Food Shipping Mistakes to Avoid
Many food shipping failures stem from preventable errors. Don't ship food during extreme temperature seasons without additional protection—summer heat waves or winter cold snaps can compromise temperature control. Never use newspaper or non-food-safe materials for wrapping. Avoid overfilling containers, which can cause breakage during transit. Most importantly, don't assume all "shelf-stable" foods remain safe during shipping—factors like humidity and temperature fluctuations during transit can affect stability. The FDA reports that improper temperature control accounts for over 60% of food spoilage issues in shipped products.
Special Considerations for International Food Shipping
Shipping food across borders adds complexity. Many countries restrict or prohibit certain food imports. Check destination country regulations through resources like the U.S. Commercial Service export guides. Some nations ban all meat products, while others restrict fruits and vegetables due to agricultural concerns. Always declare food contents accurately on customs forms—misdeclaration can result in seizure or fines. Consider that transit times may be longer for international shipments, requiring additional temperature control measures. International food shipments typically require more documentation, including certificates of origin and phytosanitary certificates for plant-based products.
Troubleshooting Food Shipping Issues
If your food arrives spoiled, document the condition immediately with photographs. Contact the shipping carrier to file a claim if you purchased insurance. For recurring issues, review your packaging system—you may need additional insulation or more effective coolant. Consider shipping during cooler parts of the day or week (avoiding Mondays after weekend delays). For high-value shipments, invest in temperature monitoring devices that record conditions throughout transit. Remember that seasonal factors significantly impact shipping success—summer months require more robust cooling solutions while winter shipping may need insulation against freezing temperatures.


 浙公网安备
33010002000092号
浙公网安备
33010002000092号 浙B2-20120091-4