
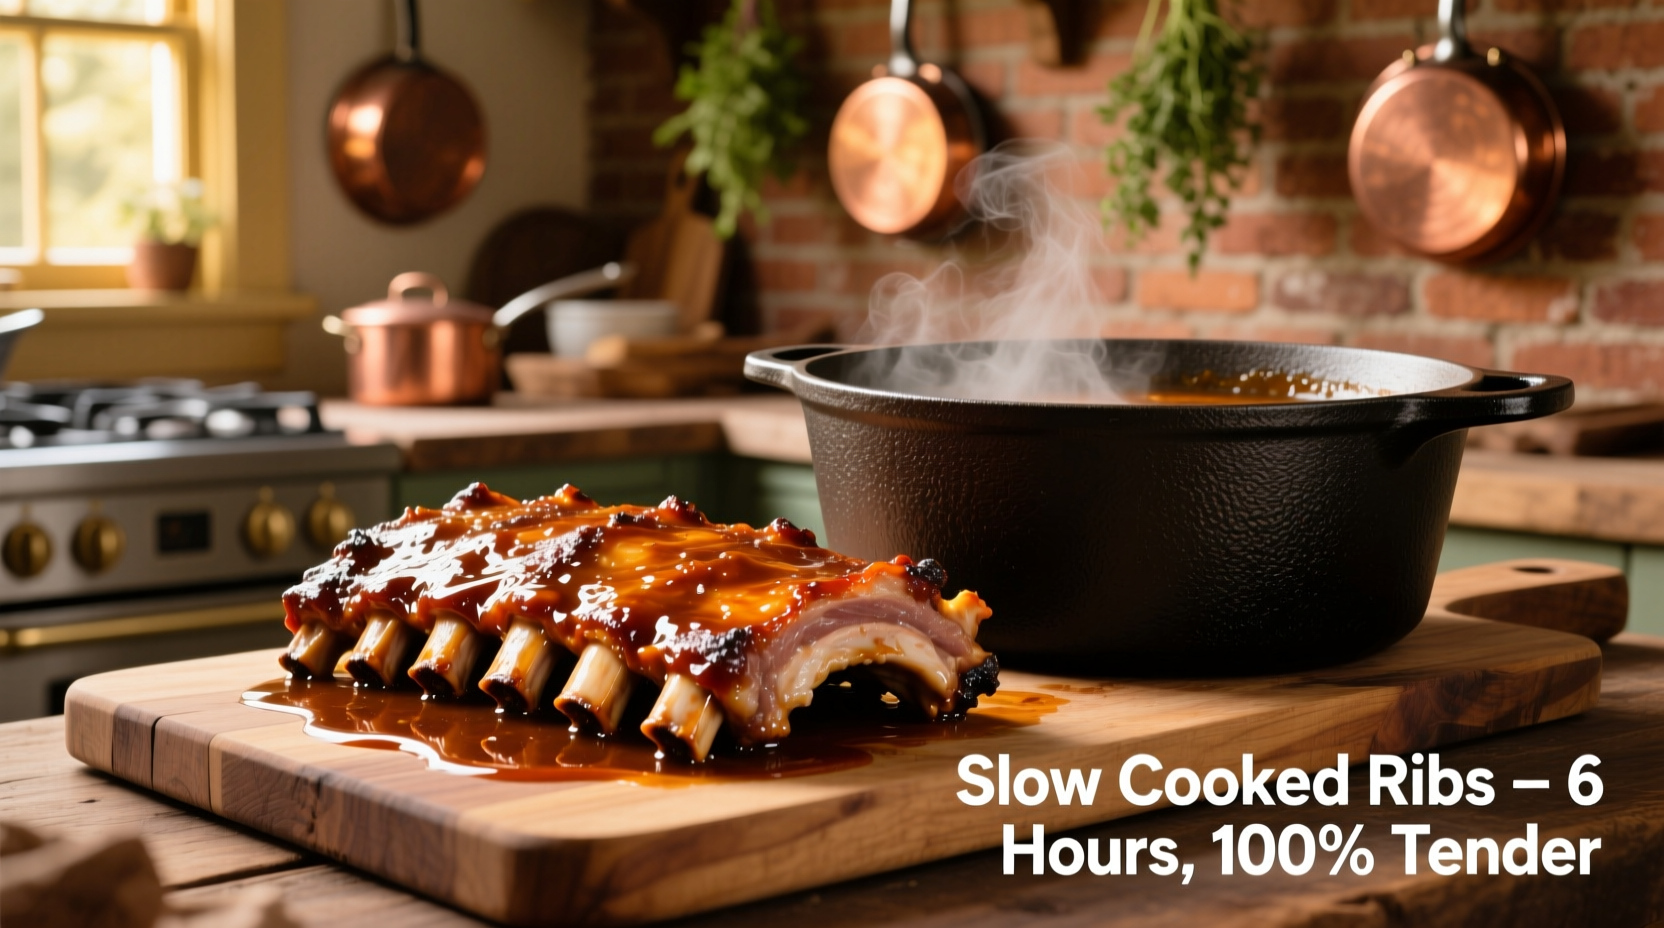
There's nothing quite like perfectly cooked slow cooked ribs—meat so tender it pulls away from the bone with gentle pressure, infused with smoky flavor and seasoned to perfection. Whether you're using a smoker, oven, or slow cooker, the science of low-and-slow cooking transforms tough connective tissues into succulent, melt-in-your-mouth goodness. In this comprehensive guide, you'll learn the exact techniques professional pitmasters use to achieve restaurant-quality results at home, avoiding common pitfalls that lead to dry or tough ribs.
Essential Equipment for Perfect Slow Cooked Ribs
Before you begin, gather these critical tools that make all the difference in your slow cooking process:
- Meat thermometer (digital probe preferred)
- Heavy-duty aluminum foil or butcher paper
- Rimmed baking sheet or rib rack (for oven method)
- Smoker, oven, or slow cooker (depending on your preferred method)
- Sharp boning knife for membrane removal
| Rib Type | Cooking Time | Internal Temp | Distinct Flavor Profile |
|---|---|---|---|
| Baby Back Ribs | 3-4 hours | 195-203°F | Milder, leaner, more tender |
| Spare Ribs | 5-6 hours | 200-205°F | Richer, fattier, more robust flavor |
| St. Louis Cut | 4-5 hours | 198-203°F | Balanced meat-to-fat ratio, uniform shape |
This comparison of rib varieties comes from the USDA Food Safety and Inspection Service guidelines, helping you select the right cut for your cooking method and desired outcome.
The Science Behind Slow Cooking Ribs
Understanding the transformation that occurs during slow cooking helps you achieve perfect results consistently. When ribs cook at low temperatures (225-250°F), several critical processes happen:
- Collagen breakdown - Connective tissue converts to gelatin at 160°F+, creating that signature tender texture
- Fat rendering - Intramuscular fat slowly melts, basting the meat from within
- Maillard reaction - Surface browning develops complex flavor compounds
- Smoke absorption - Wood smoke particles penetrate the meat (when using a smoker)
According to food science research from the USDA Agricultural Research Service, collagen conversion reaches optimal levels between 195-205°F, explaining why temperature monitoring is more reliable than timing alone.
Step-by-Step Preparation Process
Proper preparation sets the foundation for exceptional slow cooked ribs:
Membrane Removal Technique
The silver skin membrane on the bone side prevents seasoning penetration and causes uneven cooking. To remove it:
- Slide a butter knife under the membrane at one end
- Lift gently until you can grab it with a paper towel
- Pull firmly at a 45-degree angle to remove in one piece
Seasoning Application Method
For maximum flavor penetration:
- Pat ribs completely dry with paper towels
- Apply yellow mustard or olive oil as a binder
- Generously coat with dry rub, pressing into meat
- Refrigerate uncovered for 1-12 hours before cooking
Cooking Methods Compared
Each cooking method offers distinct advantages depending on your equipment and desired results:
Smoker Method (Recommended)
For authentic barbecue flavor, use indirect heat with wood chunks:
- Maintain steady 225-250°F temperature
- Use fruit woods like apple or cherry for mild smoke
- After 3 hours, wrap in foil with liquid ("the Texas crutch")
- Finish unwrapped for 30-60 minutes to set bark
Oven Method (Indoor Alternative)
When outdoor smoking isn't possible:
- Preheat oven to 275°F (slightly higher than smoker)
- Place ribs on rack over baking sheet with liquid
- Cover tightly with foil for first 2.5 hours
- Finish uncovered with sauce for caramelization
Slow Cooker Method (Quickest Option)
For guaranteed tenderness with minimal monitoring:
- Set slow cooker to low (not high)
- Add ½ cup liquid (apple juice, broth, or vinegar)
- Cook 6-8 hours without opening lid
- Broil briefly to set exterior after cooking
Critical Temperature Milestones
Monitoring internal temperature ensures perfect doneness:
- 160°F - Collagen begins breaking down
- 175-185°F - Meat starts pulling back from bones
- 195-205°F - Optimal tenderness (gelatin fully formed)
- 205°F+ - Risk of drying out if not properly wrapped
Food safety guidelines from the USDA Food Safety and Inspection Service confirm that pork becomes safe to eat at 145°F, but ribs require higher temperatures for proper texture development due to their connective tissue content.
Finishing Techniques for Restaurant-Quality Results
The final steps make the difference between good and exceptional slow cooked ribs:
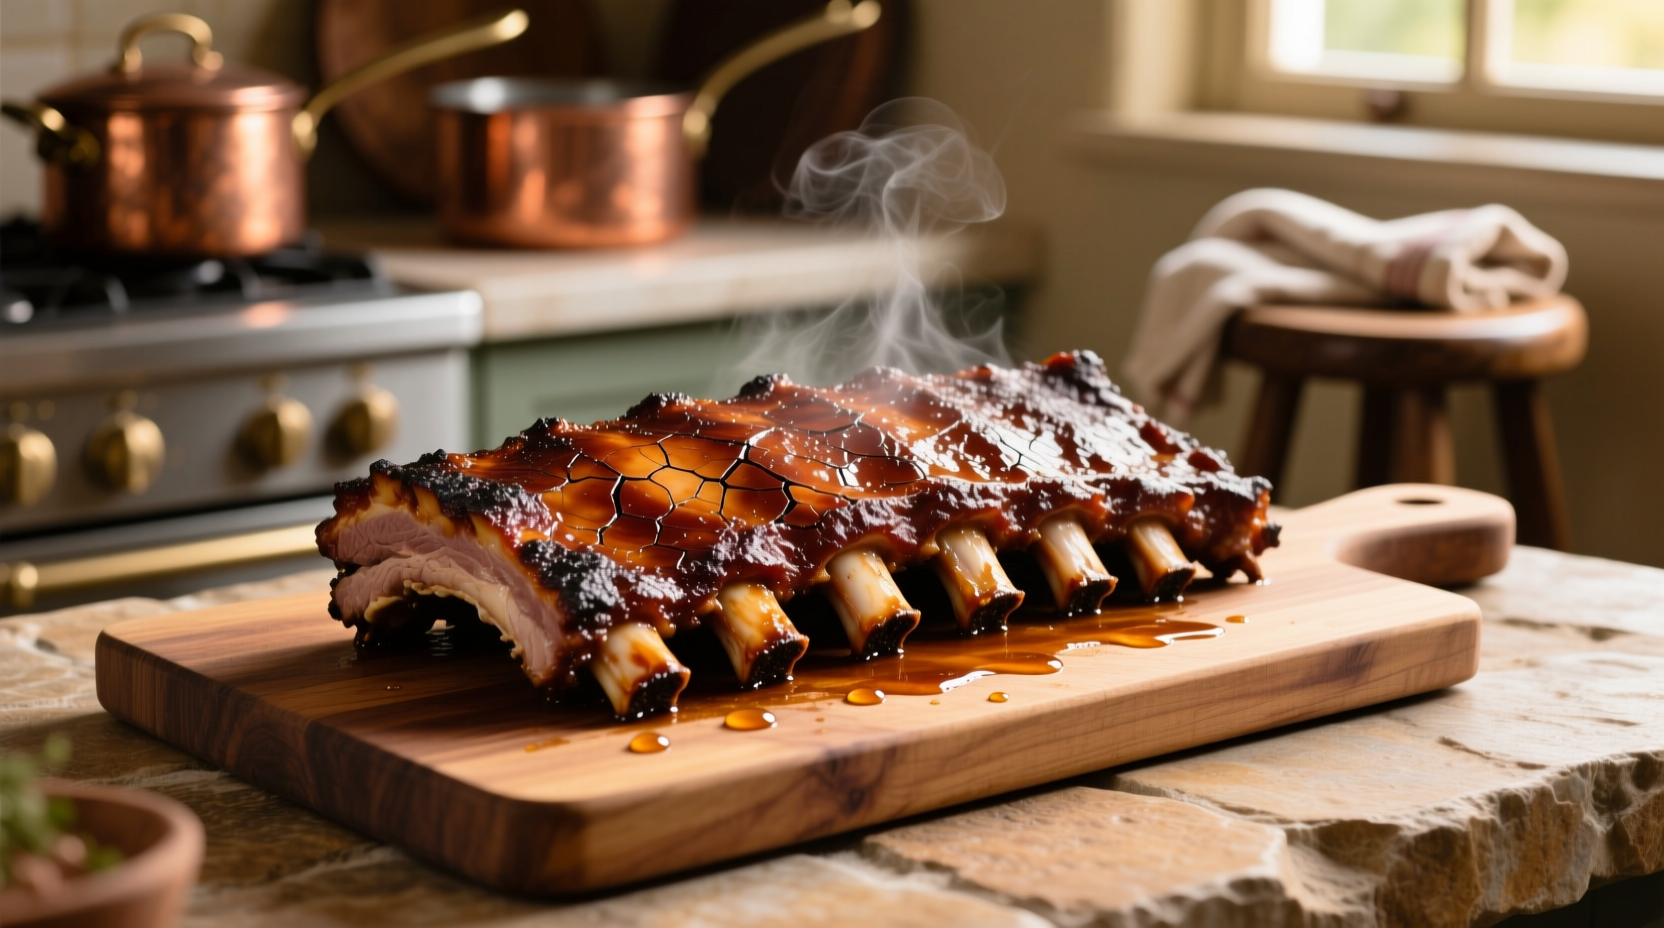
Bark Development
After the wrap phase, return ribs to heat source uncovered for 30-60 minutes. This allows moisture to evaporate, creating that desirable crispy exterior while maintaining interior tenderness.
Sauce Application Timing
Apply barbecue sauce during the last 15-30 minutes of cooking. Sugar in most sauces burns at temperatures above 265°F, so adding too early creates bitter flavors rather than the sweet caramelization you want.
The Bend Test
Professional pitmasters use this visual indicator of doneness: carefully lift the rack from one end using tongs. When properly cooked, the ribs should bend easily, forming a 45-degree angle with cracks appearing on the surface. Avoid the common mistake of overcooking until the meat falls completely off the bone—that's a sign of texture loss.
Troubleshooting Common Problems
Even experienced cooks encounter issues. Here's how to fix them:
Dry Ribs
Cause: Too high temperature or insufficient moisture during cooking
Solution: Maintain consistent low heat, use the Texas crutch method, and ensure proper resting time before serving
Tough Membrane
Cause: Silver skin not properly removed
Solution: Always remove membrane before seasoning and cooking
Burnt Exterior
Cause: Sauce applied too early or heat too high during finishing
Solution: Apply sauce during last 15 minutes and monitor closely during final cooking phase
Serving and Storage Guidelines
Proper handling after cooking preserves your hard work:
- Resting time: Allow ribs to rest 10-15 minutes before cutting
- Cutting technique: Use sharp knife between bones for clean separation
- Refrigeration: Store leftovers in airtight container for up to 4 days
- Reheating: Warm gently in 250°F oven with moisture to prevent drying
Frequently Asked Questions
How long should I cook ribs at 225 degrees?
Baby back ribs need 3-4 hours, while spare ribs require 5-6 hours at 225°F. Always check internal temperature (195-205°F) rather than relying solely on time, as rib thickness and cooker variations affect cooking duration.
Should I wrap ribs during slow cooking?
Yes, wrapping ribs (the Texas crutch method) after 3 hours helps accelerate collagen breakdown and prevents drying. Use either aluminum foil or butcher paper with a small amount of liquid like apple juice or broth for optimal results.
What's the difference between spare ribs and baby back ribs?
Baby back ribs come from the loin area, are leaner, more tender, and cook faster (3-4 hours). Spare ribs come from the belly area, have more fat and connective tissue, offer richer flavor, and require longer cooking (5-6 hours) to reach optimal tenderness.
Can I slow cook frozen ribs?
No, always thaw ribs completely in the refrigerator before slow cooking. Cooking frozen ribs creates uneven temperature distribution, potentially leaving some areas undercooked while others overcook, compromising both food safety and texture quality.


 浙公网安备
33010002000092号
浙公网安备
33010002000092号 浙B2-20120091-4