
Yes, you can successfully grow garlic from a single clove by planting it pointy-end up, 2 inches deep in well-draining soil during fall (4-6 weeks before first frost), spacing cloves 4-6 inches apart in rows 12-18 inches apart, and harvesting when the lower leaves turn brown the following summer. This simple process requires minimal equipment and yields fresh, flavorful garlic.
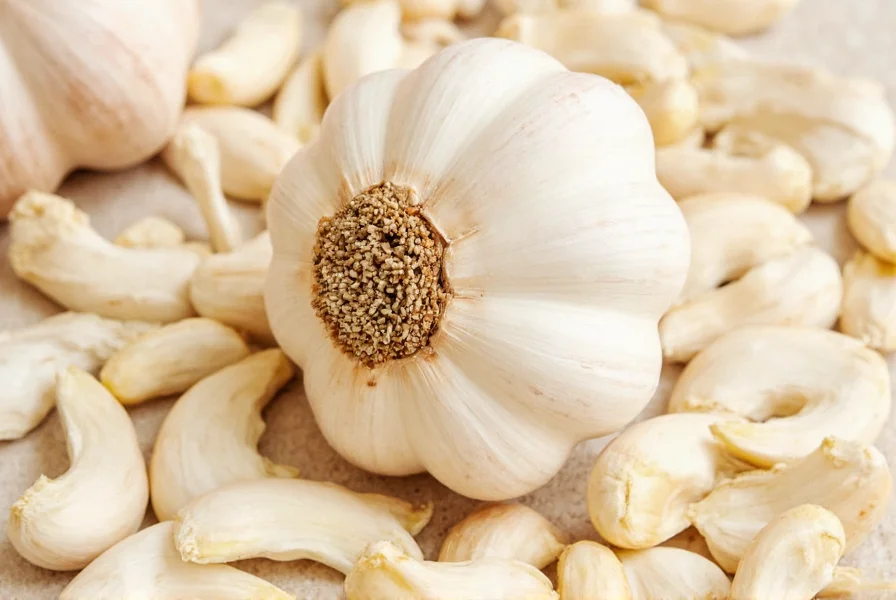
Garlic cultivation is one of the most rewarding gardening projects for both beginners and experienced growers. Unlike many vegetables that require seeds, garlic grows from individual cloves separated from a bulb. This method, called vegetative propagation, produces genetically identical plants to the parent bulb. When you learn how to grow garlic from clove properly, you'll enjoy homegrown garlic with superior flavor compared to store-bought varieties while saving money on future plantings.
Choosing the Right Garlic Variety for Planting
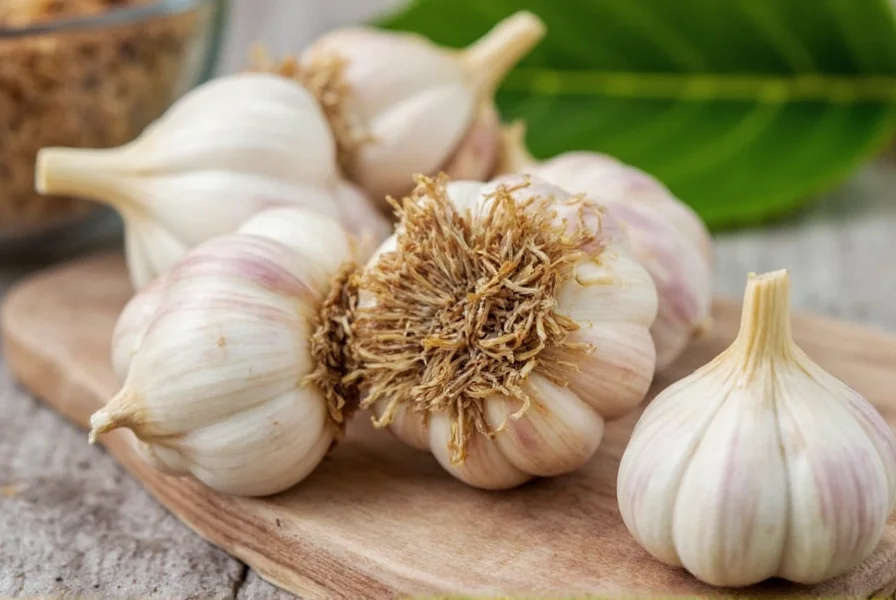
Selecting appropriate garlic varieties is crucial for successful cultivation. There are two main types: hardneck and softneck garlic. Hardneck varieties (like 'Music' or 'German Extra Hardy') produce a central flower stalk called a scape and generally offer more complex flavors, but have shorter storage life. They thrive in colder climates. Softneck varieties (such as 'Silverskin' or 'Inchelium Red') lack the central stalk, have multiple layers of cloves, store longer, and perform better in warmer regions.
For best results when learning how to plant garlic cloves, avoid using grocery store garlic, which may be treated to prevent sprouting or carry diseases. Instead, source certified disease-free bulbs from reputable garden centers or seed companies. Local farmers' markets often sell varieties proven to grow well in your specific climate zone.
Optimal Planting Time for Garlic Cloves
Timing significantly impacts your garlic harvest success. The ideal planting window occurs in fall, approximately 4-6 weeks before your region's first expected hard frost. This timing allows cloves to establish root systems before winter dormancy while preventing premature top growth. In most USDA zones 3-7, this means planting between September and November. Warmer climates (zones 8-10) can plant as late as December.
Planting too early risks excessive leaf growth vulnerable to winter kill, while planting too late prevents sufficient root development before freezing temperatures. If you miss the fall planting window, you can attempt spring planting, though yields will be smaller as the bulbs won't experience the necessary cold period for proper bulb formation.
Soil Preparation for Growing Garlic
Garlic thrives in well-draining soil rich in organic matter. Before planting, prepare your garden bed by removing weeds and debris. Test your soil pH, which should ideally range between 6.0 and 7.5. Amend overly acidic soil with garden lime and alkaline soil with elemental sulfur according to test results.
Create raised beds 4-6 inches high to improve drainage, especially important in regions with heavy spring rains. Incorporate 2-3 inches of well-rotted compost or aged manure into the top 6-8 inches of soil. Avoid fresh manure, which can burn developing roots. For heavy clay soils, add coarse sand or perlite to improve structure. Garlic particularly benefits from soil enriched with phosphorus and potassium, so consider adding bone meal or rock phosphate before planting.
| Soil Characteristic | Optimal Range | Amendment Solutions |
|---|---|---|
| pH Level | 6.0-7.5 | Lime (if too acidic), Sulfur (if too alkaline) |
| Drainage | Well-draining | Compost, Perlite, Raised beds |
| Organic Matter | 2-5% | Compost, Aged manure |
| Nitrogen Level | Moderate | Blood meal (early growth), Avoid excess (bulbing stage) |
Step-by-Step Garlic Planting Process
Follow these precise steps for successful garlic cultivation from cloves:
- Separate cloves: Gently break apart your garlic bulb into individual cloves 1-2 days before planting. Keep the papery husk intact and select only the largest, healthiest cloves for planting (save smaller ones for cooking).
- Prepare cloves: Some gardeners soak cloves in a solution of 1 quart water mixed with 1 tablespoon baking soda for 15-20 minutes to prevent fungal issues, though this step isn't essential for most home growers.
- Dig planting holes: Using a trowel or dibber, create holes 2-3 inches deep. In colder climates, plant slightly deeper (3 inches); in warmer zones, plant shallower (2 inches).
- Position cloves: Place each clove in a hole with the pointed end facing upward and the flat root end down. This orientation is critical for proper growth.
- Space properly: Position cloves 4-6 inches apart within rows, with rows spaced 12-18 inches apart to allow adequate room for bulb development.
- Cover and mulch: Fill holes with soil, then apply 3-6 inches of organic mulch (straw, shredded leaves, or grass clippings) to insulate roots during winter and suppress weeds.
Garlic Plant Care Throughout the Growing Season
Proper care ensures healthy garlic development. During winter, the mulch layer protects roots while allowing cold exposure necessary for bulb formation. In early spring, as temperatures warm, remove excess mulch to allow green shoots to emerge while maintaining some weed-suppressing coverage.
Water consistently during active growth periods (spring through early summer), providing about 1 inch of water weekly. Reduce watering in late spring as bulbs begin forming, and stop completely 2-3 weeks before harvest when lower leaves start yellowing. Overwatering during bulb formation causes rot and reduces storage life.
Fertilize garlic twice during the growing season: once in early spring with a balanced organic fertilizer, and again in late spring with a high-phosphorus formula to support bulb development. Avoid high-nitrogen fertilizers during bulb formation as they promote excessive leaf growth at the expense of bulb size.
For hardneck varieties, cut off scapes (flower stalks) when they curl but before straightening. Removing scapes redirects energy to bulb development, increasing final bulb size by 10-25%. Don't discard scapes—they're delicious in cooking!
Common Garlic Growing Problems and Solutions
While garlic is relatively pest-resistant, several issues may arise:
- White rot: This fungal disease causes yellowing leaves and white growth on bulbs. Prevent by rotating crops (don't plant garlic in the same spot more than once every 3-4 years) and ensuring proper drainage.
- Purple blotch: Characterized by purple lesions on leaves. Improve air circulation between plants and avoid overhead watering to prevent this issue.
- Nematodes: Microscopic worms that cause stunted growth. Use certified disease-free planting stock and practice crop rotation.
- Yellowing leaves: Can indicate overwatering, nutrient deficiency, or natural progression toward harvest. Check soil moisture and nutrient levels before assuming problems.
- Small bulbs: Often results from planting too late, insufficient spacing, or inadequate nutrients. Ensure proper planting timing and spacing for optimal bulb development.
Harvesting and Curing Your Garlic
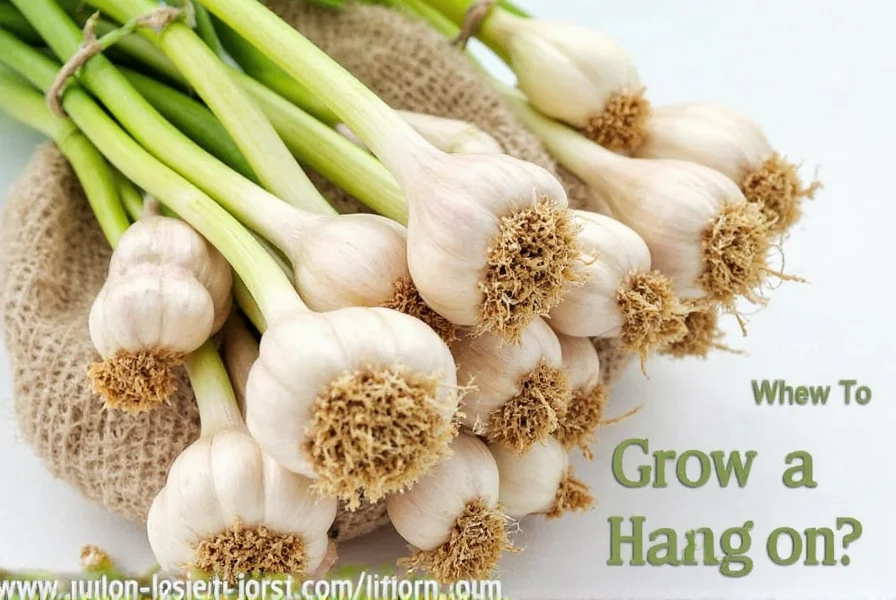
Timing your harvest correctly determines storage success. Harvest when approximately 40% of the leaves have turned brown (typically late spring to mid-summer, depending on planting date). For most fall-planted garlic, this occurs 7-8 months after planting. Dig carefully with a garden fork to avoid damaging bulbs.
After harvesting, cure garlic properly to maximize storage life. Bundle plants in groups of 10-15 and hang them in a warm, dry, well-ventilated area out of direct sunlight for 2-3 weeks. Alternatively, spread bulbs in a single layer on screens or racks. Properly cured garlic will have dry, papery outer skins, and the neck will be constricted.
Once cured, trim roots to 1/4 inch and stems to 1-2 inches. Remove excess dirt but preserve the protective outer wrappers. Store garlic in mesh bags or open containers in a cool (55-65°F), dark, dry location with good air circulation. Properly stored garlic typically lasts 6-8 months.
Using Your Homegrown Garlic
Homegrown garlic offers superior flavor compared to store-bought varieties. Use fresh garlic immediately after curing for the most intense flavor, or store for later use. Roast whole bulbs for a milder, sweeter flavor perfect for spreads. Chop cloves finely for cooking, remembering that smaller pieces deliver more intense flavor.
Save your largest, healthiest bulbs for next season's planting stock. Select cloves from these bulbs to maintain the genetic traits best suited to your growing conditions. This practice, called seed saving, gradually adapts your garlic to your specific garden environment over time.


 浙公网安备
33010002000092号
浙公网安备
33010002000092号 浙B2-20120091-4