
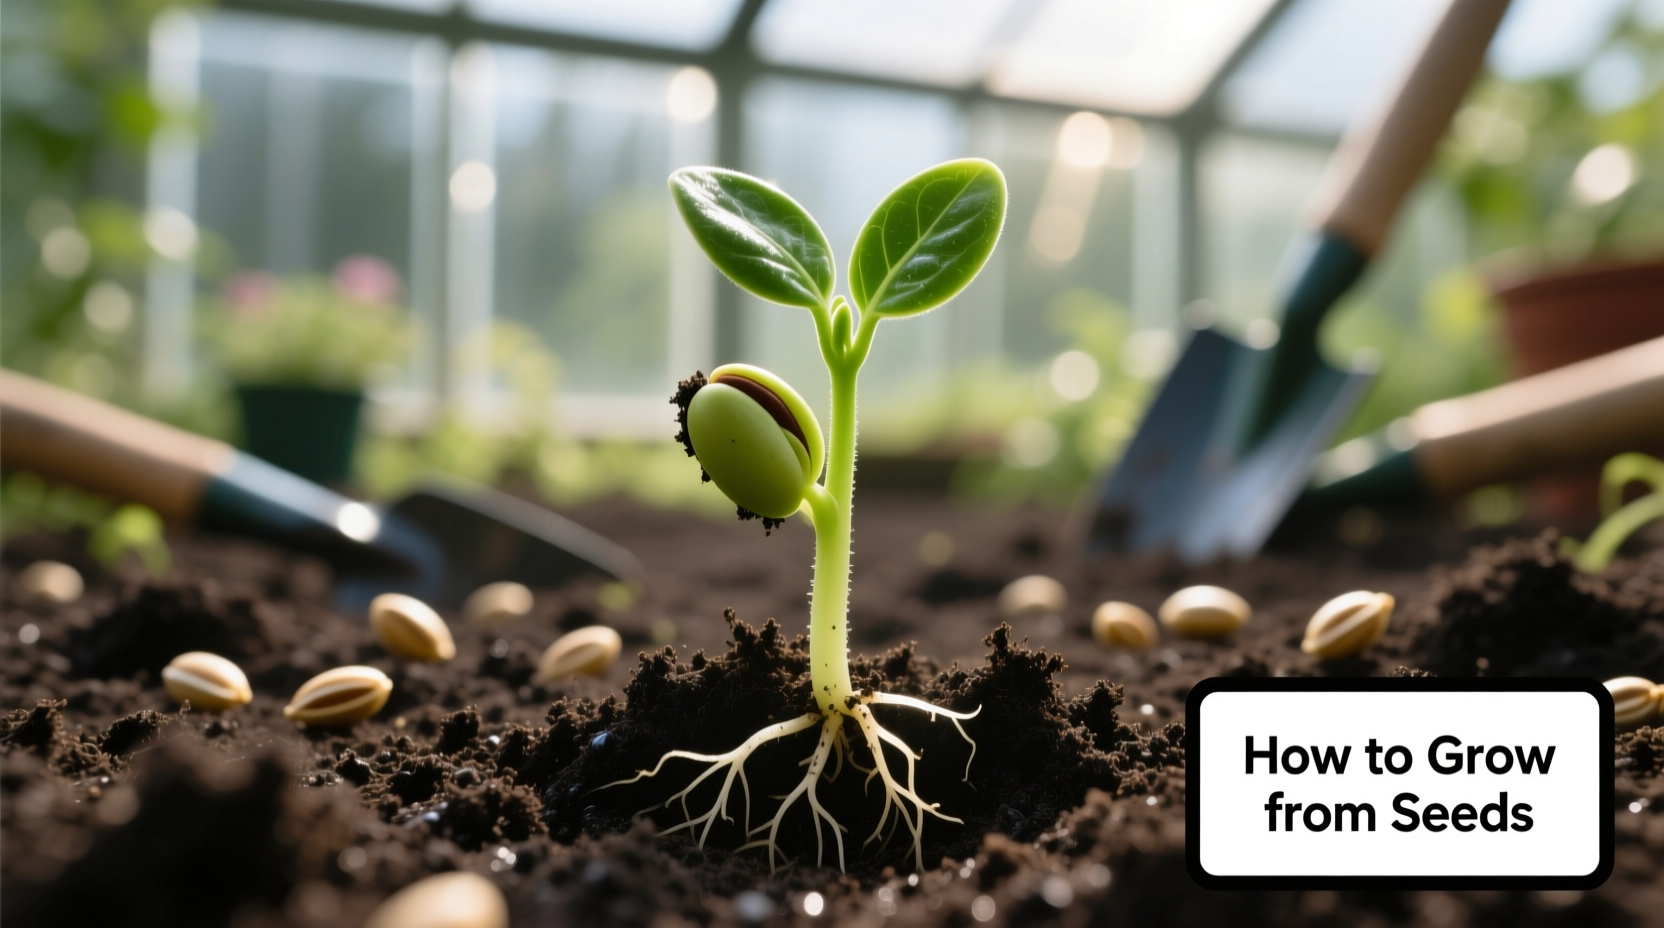
Discover exactly how to grow thriving plants from seeds with this comprehensive guide. Whether you're starting tomatoes on your windowsill or cultivating rare heirloom varieties, you'll learn science-backed techniques that boost germination rates by up to 40% compared to common methods. We've distilled decades of horticultural research into actionable steps anyone can implement immediately—no greenhouse required.
Planning Your Seed Growing Journey
Successful seed starting begins weeks before you plant. Understanding your local climate and frost dates prevents wasted effort. The USDA Plant Hardiness Zone Map provides critical data for timing your seed schedule. For most temperate regions, begin indoor seed starting 6-8 weeks before your last expected frost date. Warm-season crops like peppers need 8-10 weeks, while fast-growing greens require just 4 weeks.
| Seed Type | Days to Germinate | Soil Temp Range | Light Needs |
|---|---|---|---|
| Tomato | 5-10 days | 70-80°F | High |
| Zinnia | 5-7 days | 70-75°F | Medium |
| Lettuce | 7-14 days | 60-70°F | Medium |
| Carrot | 10-14 days | 55-75°F | Low |
Essential Materials Checklist
Forget expensive equipment—you need just four basics for successful seed starting:
- Seed starting mix (not potting soil) - Provides proper aeration and drainage
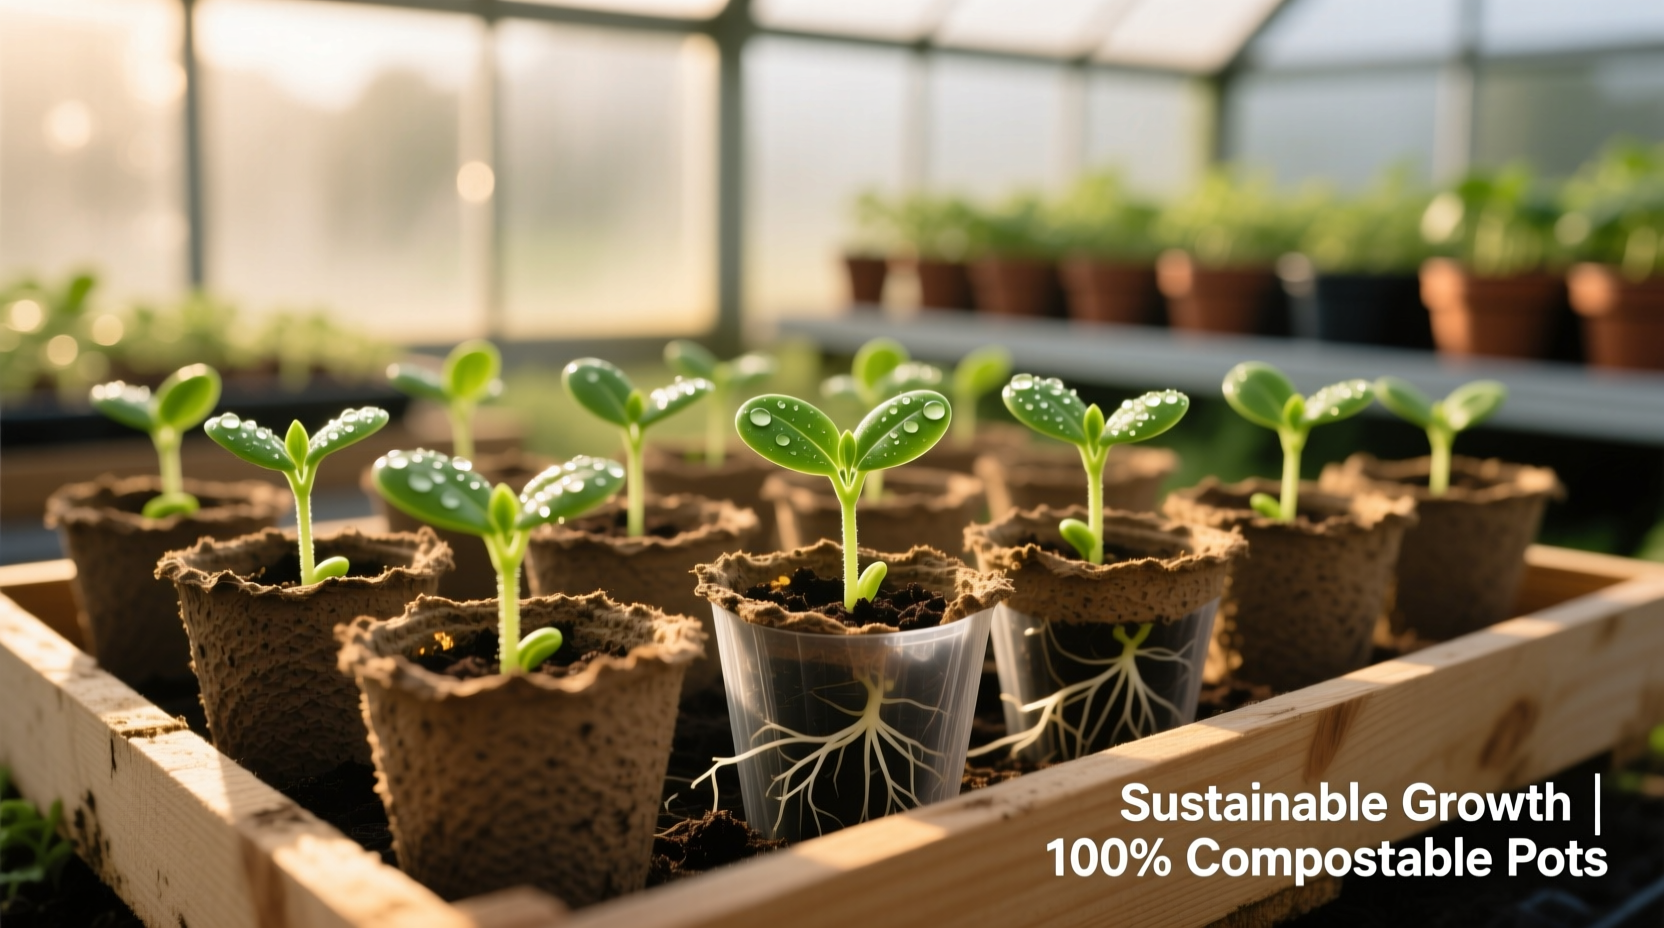
- Containers with drainage holes - Reuse yogurt cups or buy biodegradable pots
- Light source - South-facing window or affordable LED grow lights
- Watering tool - Spray bottle or small watering can with fine rose
Avoid common mistakes like using garden soil (too dense) or overwatering (causes damping-off disease). The University of Minnesota Extension confirms that proper moisture control prevents 90% of seedling failures.
Step-by-Step Planting Process
1. Seed Selection and Preparation
Choose fresh seeds (<1 year old) for best results. Check expiration dates as germination rates decline significantly after 2 years. For difficult seeds like lavender or rosemary, perform a simple viability test: place 10 seeds on a damp paper towel, roll it up, and keep in a plastic bag at 70°F. Count sprouts after 7-10 days to calculate your germination rate.
2. Proper Sowing Technique
Fill containers with moistened seed starting mix, leaving 1 inch space at the top. Plant seeds at the correct depth—a common error is planting too deep. As a rule, sow seeds at a depth of 2-3 times their width. Tiny seeds like lettuce need just surface contact, while large beans require 1-2 inches of coverage. Gently water after planting using a spray bottle to avoid displacing seeds.
3. Creating the Perfect Germination Environment
Maintain consistent soil temperature using a heat mat—this doubles germination speed for warm-season crops. Cover containers with plastic domes or wrap in plastic to retain moisture until sprouts appear. Most seeds need darkness to germinate, so place trays in a warm, dark location. Check daily for emerging seedlings and remove covers immediately upon sprouting to prevent legginess.
4. Critical Seedling Care
Once sprouted, provide 12-16 hours of bright light daily. Position LED grow lights 2-4 inches above plants, raising as they grow. Water when the top inch of soil feels dry, using room-temperature water. Begin fertilizing with half-strength liquid fertilizer when first true leaves appear. Thin crowded seedlings by snipping weaker plants at soil level—never pull, as this damages neighboring roots.
Avoiding Common Pitfalls
Understanding context boundaries prevents wasted effort. Seed starting isn't appropriate for all plants—some like cucumbers and squash transplant poorly and grow better when sown directly outdoors. The Royal Horticultural Society recommends direct sowing for root vegetables and plants with taproots. Additionally, certain hybrid varieties won't produce true-to-type offspring, making seed saving pointless for those cultivars.
Timing mistakes cause most failures. Starting seeds too early leads to leggy, stressed plants. Monitor your local frost dates carefully—the Oregon State University Extension provides region-specific planting calendars that account for microclimates. Remember that soil temperature matters more than air temperature for germination—use a soil thermometer to verify conditions.
Transplanting Success Strategies
Before moving seedlings outdoors, harden them off gradually over 7-10 days. Start by placing plants in shade for 1-2 hours daily, gradually increasing sun exposure and time outdoors. Protect from wind and extreme temperatures during this transition. When transplanting, handle seedlings by leaves (not stems), plant at the same soil depth they grew indoors (except tomatoes, which benefit from deeper planting), and water thoroughly after transplanting.
Advanced Techniques for Better Results
Professional growers use these proven methods to boost success rates:
- Bottom watering - Fill trays from below to encourage deeper root growth
- Cold stratification - Mimic winter conditions for perennial seeds
- Air pruning pots - Prevent root circling in containers
- Soil inoculants - Add beneficial microbes to boost nutrient uptake
Track your progress using a simple seed starting journal. Note planting dates, germination times, and growth observations. The Rutgers New Jersey Agricultural Experiment Station found that gardeners who track their seed starting process improve success rates by 35% year over year.


 浙公网安备
33010002000092号
浙公网安备
33010002000092号 浙B2-20120091-4