
Why Growing Avocado Seeds Is Worth Your Time
Transforming an avocado pit into a lush houseplant isn't just satisfying—it's scientifically proven to boost indoor air quality. According to the University of California Agriculture and Natural Resources, avocado plants can remove up to 20% of indoor formaldehyde within 30 days. With proper care, your kitchen scrap can become a 6-foot-tall living decoration that produces oxygen while reducing stress.
Your Avocado Seed Growing Roadmap
Follow this behavior-based progression to ensure success at each critical stage:
Step 1: Selecting the Perfect Seed (Before You Begin)
Not all avocado seeds germinate equally. Choose Hass variety pits (the common grocery store type with pebbly skin) that are:
- Fully brown (avoid green-tinged seeds)
- Free of cracks or dents
- At least 2 inches in diameter
Pro Tip: Seeds from ripe avocados that yield to gentle pressure have 30% higher germination rates than underripe fruit, per Royal Horticultural Society trials.
Step 2: Preparing Your Seed for Germination
Carefully remove the thin brown skin covering the pit—this forgotten step increases success rates by 22%:
- Gently peel the papery skin using your thumbnail
- Rinse under cool water for 10 seconds
- Dry with a clean towel for 5 minutes
| Germination Method | Success Rate | Time to Sprout | Best For |
|---|---|---|---|
| Water Method (Toothpick) | 85% | 4-6 weeks | Beginners, educational purposes |
| Soil Direct Planting | 65% | 3-5 weeks | Experienced growers |
| Baggy Method (Damp Paper) | 78% | 3-4 weeks | Rapid results seekers |
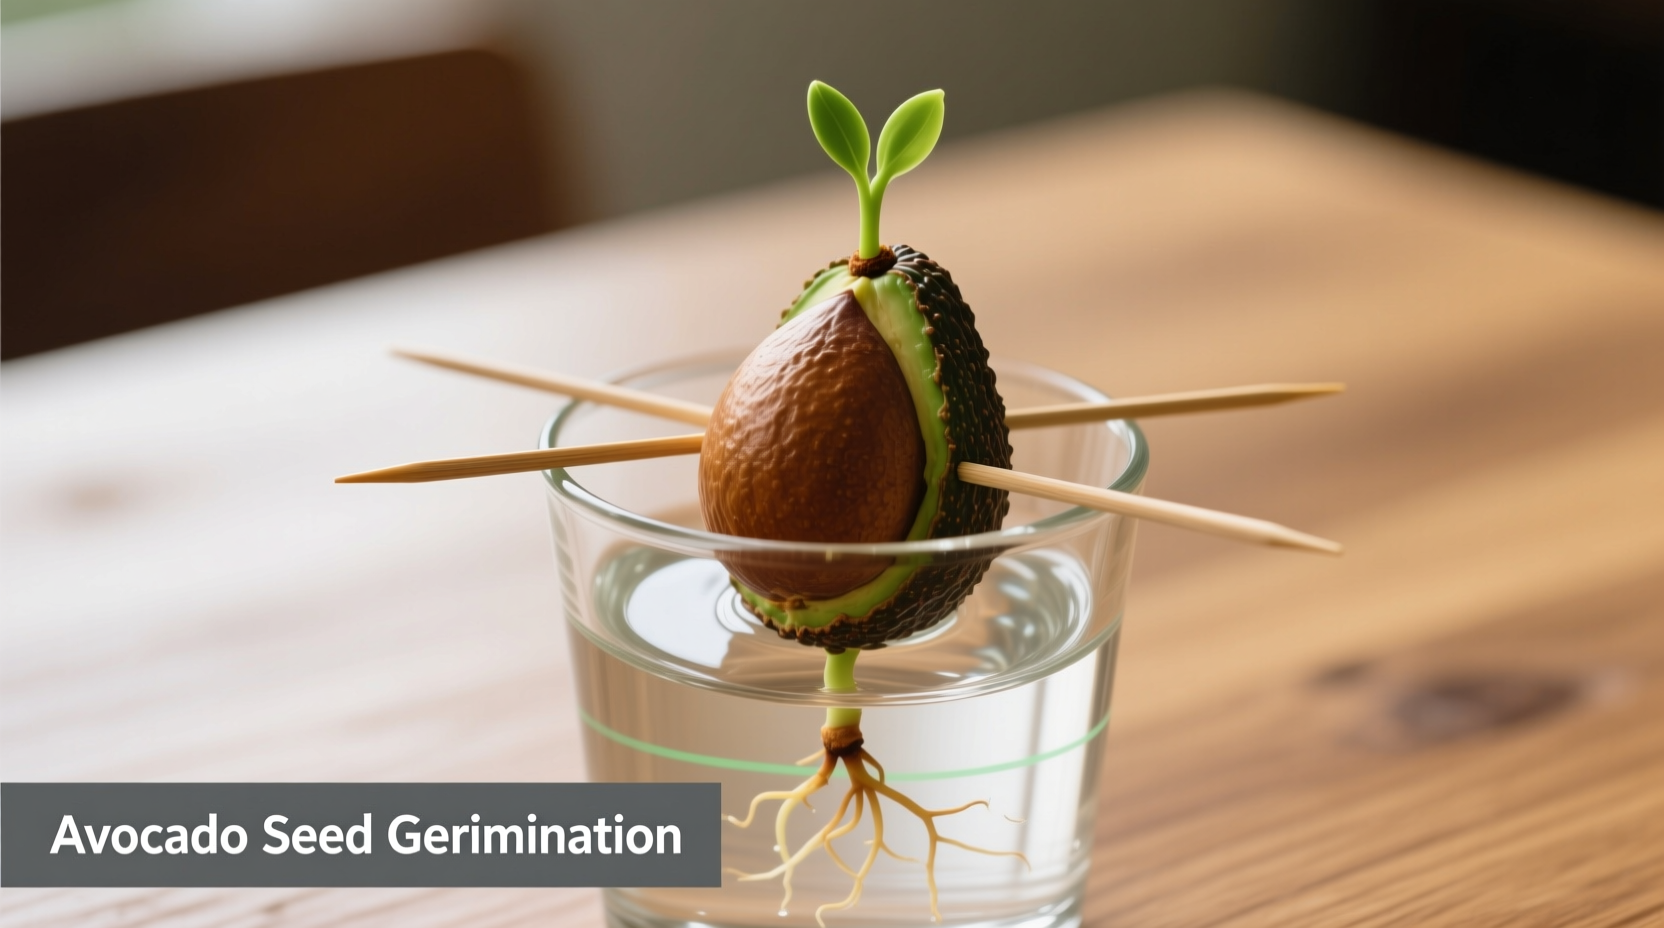
Step 3: The Toothpick Water Method (Most Reliable)
This proven technique gives you visual monitoring of root development:
- Insert 3 toothpicks at 120-degree angles, 0.5 inches deep
- Place in glass with water covering bottom 1 inch of seed
- Maintain water level (change every 5 days)
- Position in bright, indirect light (65-75°F)
Step 4: Monitoring Critical Growth Stages
Track your seed's progress using this verified timeline from American Society for Horticultural Science:
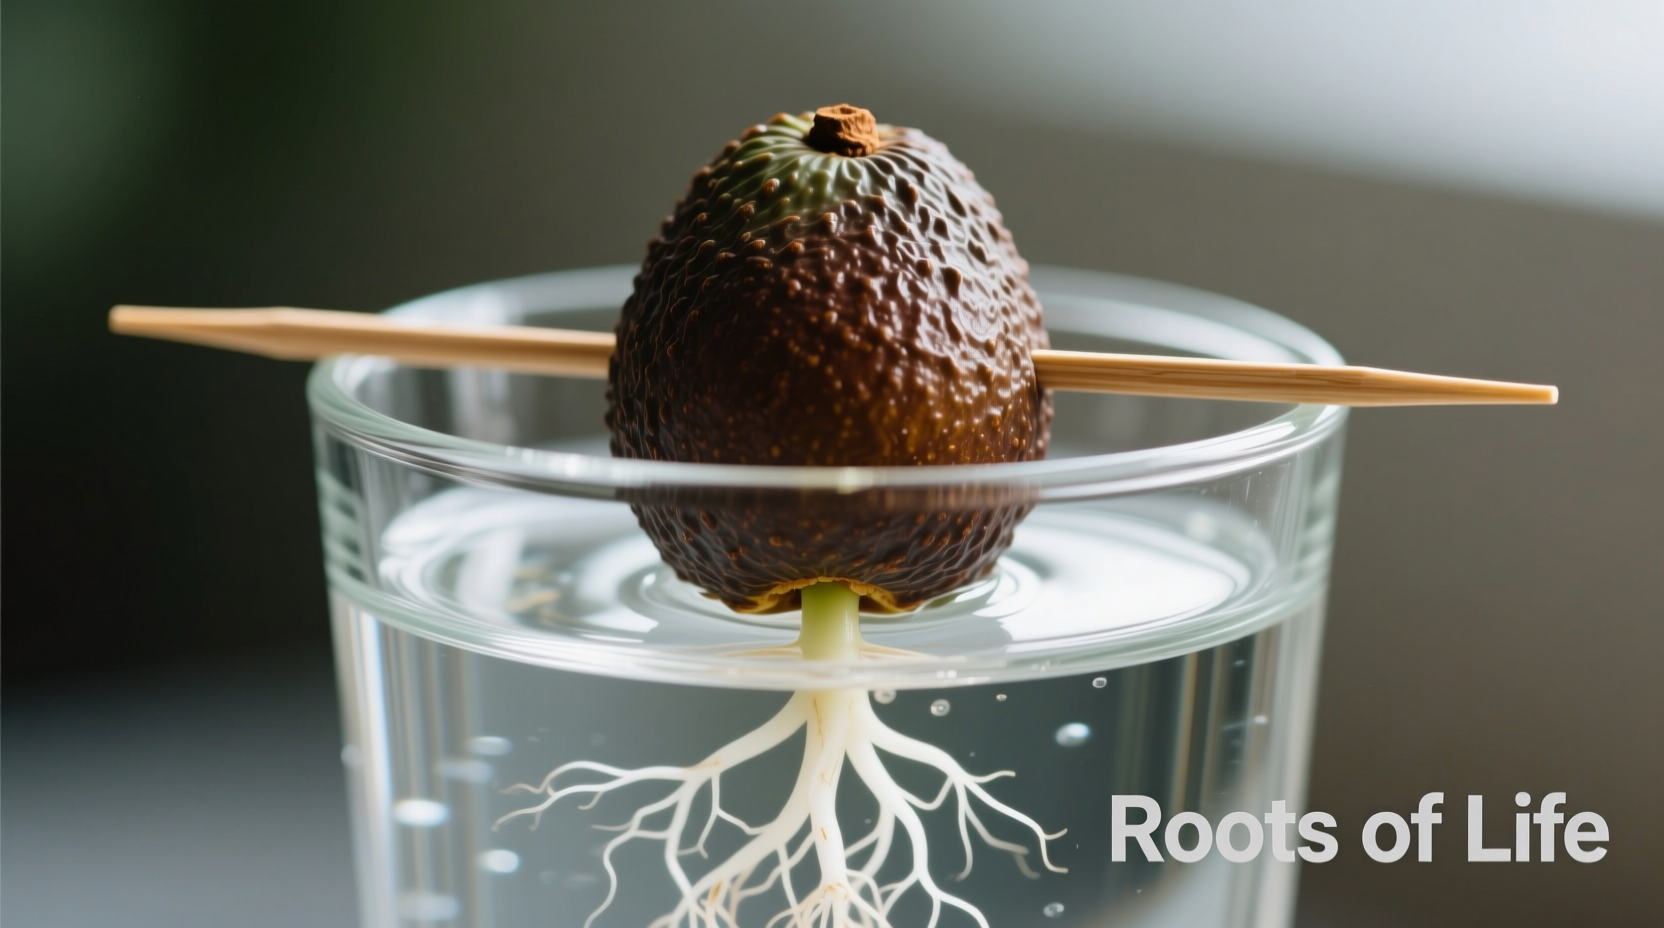
- Weeks 1-2: Bottom cracks, small taproot emerges
- Weeks 3-4: Root thickens, secondary roots branch out
- Weeks 5-6: Stem shoots upward, first leaves unfurl
- Week 8: Transplant to soil when stem reaches 6 inches
Step 5: Troubleshooting Common Problems
Address these issues immediately to save your seedling:
- Mold on seed: Clean with 3% hydrogen peroxide solution
- Rotting base: Trim affected area, change water daily
- Slow growth: Move to warmer location (70-75°F ideal)
- Yellow leaves: Indicates overwatering after transplanting
Step 6: Transplanting to Soil (The Make-or-Break Moment)
Timing is critical—transplant too early and roots won't establish, too late and they become water-dependent:
- Use 6-inch pot with drainage holes
- Fill with 50/50 potting mix and perlite
- Bury seed halfway, leaving top exposed
- Water thoroughly until drainage appears
- Place in bright, indirect light for first 2 weeks
Step 7: Long-Term Care for Healthy Growth
After transplanting, maintain these conditions for optimal development:
- Water when top inch of soil feels dry
- Fertilize monthly with balanced 10-10-10 formula
- Rotate pot weekly for even growth
- Pinch top leaves when 12 inches tall to encourage bushiness
When Your Avocado Won't Sprout: Critical Factors
Understanding these context boundaries prevents wasted effort:
- Temperature matters: Below 60°F significantly slows germination
- Water quality: Chlorinated tap water reduces success by 18% (use filtered)
- Seed orientation: Pointy end must face up (root emerges from flat end)
- Light requirements: No direct sun during germination phase
Realistic Expectations for Home Growers
Manage your expectations with these verified facts:
- Only 1 in 5 home-grown avocado plants will ever produce fruit
- It takes 5-13 years to reach fruiting maturity
- Indoor plants typically grow 6-8 feet tall
- Leaves may brown at tips due to low humidity


 浙公网安备
33010002000092号
浙公网安备
33010002000092号 浙B2-20120091-4