
Mastering Seed Germination: Your Complete Step-by-Step Guide
Starting plants from seeds saves money, expands your gardening options, and gives you complete control over your garden's foundation. Whether you're growing vegetables, flowers, or herbs, proper germination techniques determine your gardening success. This guide delivers science-backed methods that work for beginners and experienced gardeners alike.
Why Proper Germination Matters
Successful germination establishes healthy root systems and vigorous growth from day one. Plants started with proper germination techniques show 30-50% better survival rates after transplanting according to USDA gardening research. Understanding the biological process helps you troubleshoot problems before they become catastrophic.
The Science Behind Seed Sprouting
Germination begins when water penetrates the seed coat, activating enzymes that convert stored nutrients into energy. Oxygen fuels this metabolic process while temperature regulates speed. Most vegetable seeds require 48-72 hours of consistent moisture before visible sprouting occurs. This biological process explains why inconsistent watering causes the most common germination failures.
| Germination Method | Best For | Time to Sprout | Success Rate |
|---|---|---|---|
| Paper Towel | Small seeds, testing viability | 2-5 days | 85-95% |
| Seed-Starting Mix | Most vegetables, flowers | 3-10 days | 70-85% |
| Water Suspension | Lettuce, basil, cannabis | 1-3 days | 60-75% |
| Natural Soil | Direct sowing outdoors | 5-14 days | 40-65% |
Essential Preparation Checklist
Before starting, gather these critical supplies:
- Fresh, high-quality seeds (check expiration dates)
- Sterile seed-starting mix (not regular potting soil)
- Containers with drainage holes
- Thermometer and hygrometer
- Misting bottle for gentle watering
- Heat mat for temperature control
- Grow lights or south-facing window
Timing affects your success rate significantly. According to University of Minnesota Extension, starting seeds 4-6 weeks before your last frost date works best for most vegetables. Starting too early creates leggy plants while late starts reduce harvest potential.
Step-by-Step Germination Process
Method 1: The Paper Towel Technique (Best for Viability Testing)
- Moisten paper towel until damp but not dripping
- Place seeds 1 inch apart on half the towel
- Fold towel over seeds and place in sealed plastic bag
- Store in warm location (70-80°F) away from direct light
- Check daily for sprouting and moisture levels
- Transplant sprouted seeds into soil immediately
Method 2: Direct Soil Germination (Most Common Approach)
- Fill containers with moistened seed-starting mix
- Plant seeds at depth specified on packet (usually 2-3x seed width)
- Cover lightly with mix and mist surface
- Cover container with humidity dome or plastic wrap
- Place in warm location until sprouts appear
- Move to bright light immediately after sprouting
Environmental Control: The Secret to Success
Temperature requirements vary significantly by plant type. The Royal Horticultural Society recommends these optimal ranges:
- Cool-season crops (lettuce, peas): 60-70°F (15-21°C)
- Warm-season crops (tomatoes, peppers): 75-85°F (24-29°C)
- Tropical plants (eggplant, okra): 80-90°F (27-32°C)
Maintain consistent moisture without saturation. Seeds need oxygen as much as water - overwatering drowns emerging roots. Use bottom watering techniques once sprouts appear to encourage deeper root growth.
Germination Timeline: What to Expect Day-by-Day
Understanding the biological progression helps identify problems early:
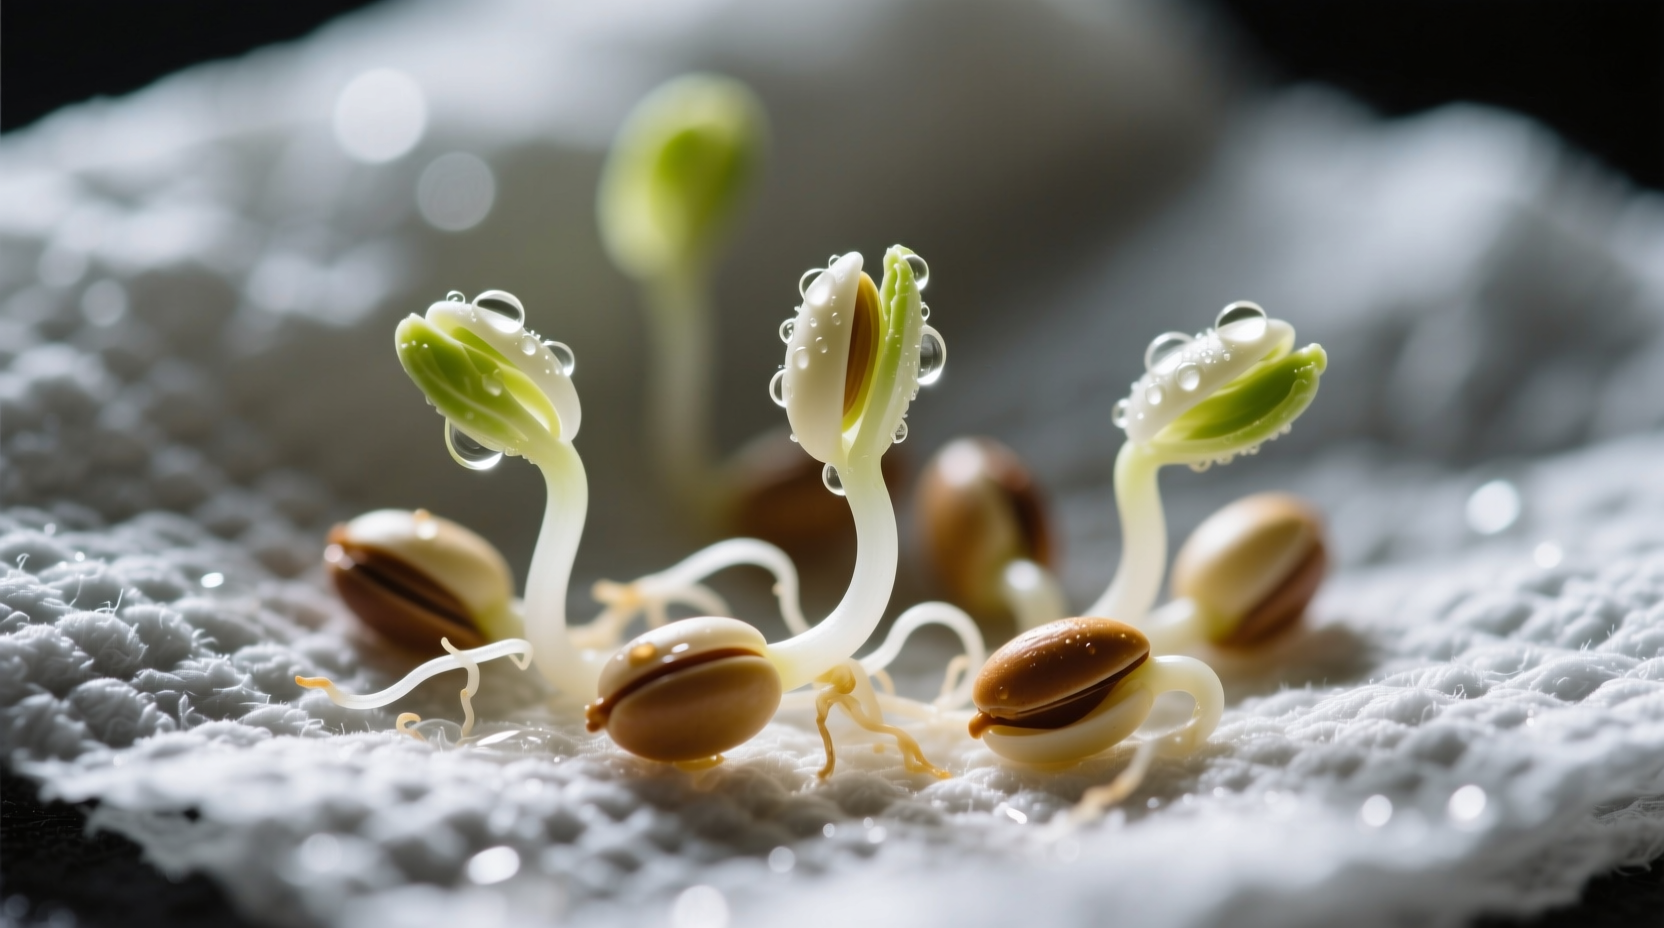
- Day 1-2: Water absorption swells seed, breaking dormancy
- Day 2-3: Radicle (first root) emerges seeking moisture
- Day 3-5: Hypocotyl (stem) pushes upward toward light
- Day 5-7: Cotyledons (seed leaves) expand for photosynthesis
- Day 7-10: True leaves develop, requiring increased light
Delays beyond these timeframes often indicate temperature issues, poor seed viability, or moisture problems rather than failed germination.
Troubleshooting Common Problems
No Sprouting After 10 Days
Possible causes include:
- Temperature too low (most common)
- Old or improperly stored seeds
- Planting too deep
- Insufficient moisture during critical first 48 hours
Mold Growth on Medium
Prevent mold by:
- Using sterile seed-starting mix
- Providing adequate air circulation
- Watering with chamomile tea (natural fungicide)
- Removing humidity covers once sprouts appear
Leggy, Weak Seedlings
Caused by:
- Insufficient light intensity
- Excessive heat after sprouting
- Overcrowded seedlings competing for resources
Transitioning to Healthy Growth
Once seeds sprout, your focus shifts to nurturing seedlings:
- Provide 14-16 hours of bright light daily
- Gradually reduce humidity over 3-5 days
- Begin fertilizing after first true leaves appear
- Thin crowded seedlings to prevent disease
- Start hardening off process 7-10 days before transplanting
Remember that germination success depends more on environmental consistency than complex techniques. The most successful gardeners maintain steady conditions rather than seeking complicated solutions.


 浙公网安备
33010002000092号
浙公网安备
33010002000092号 浙B2-20120091-4