
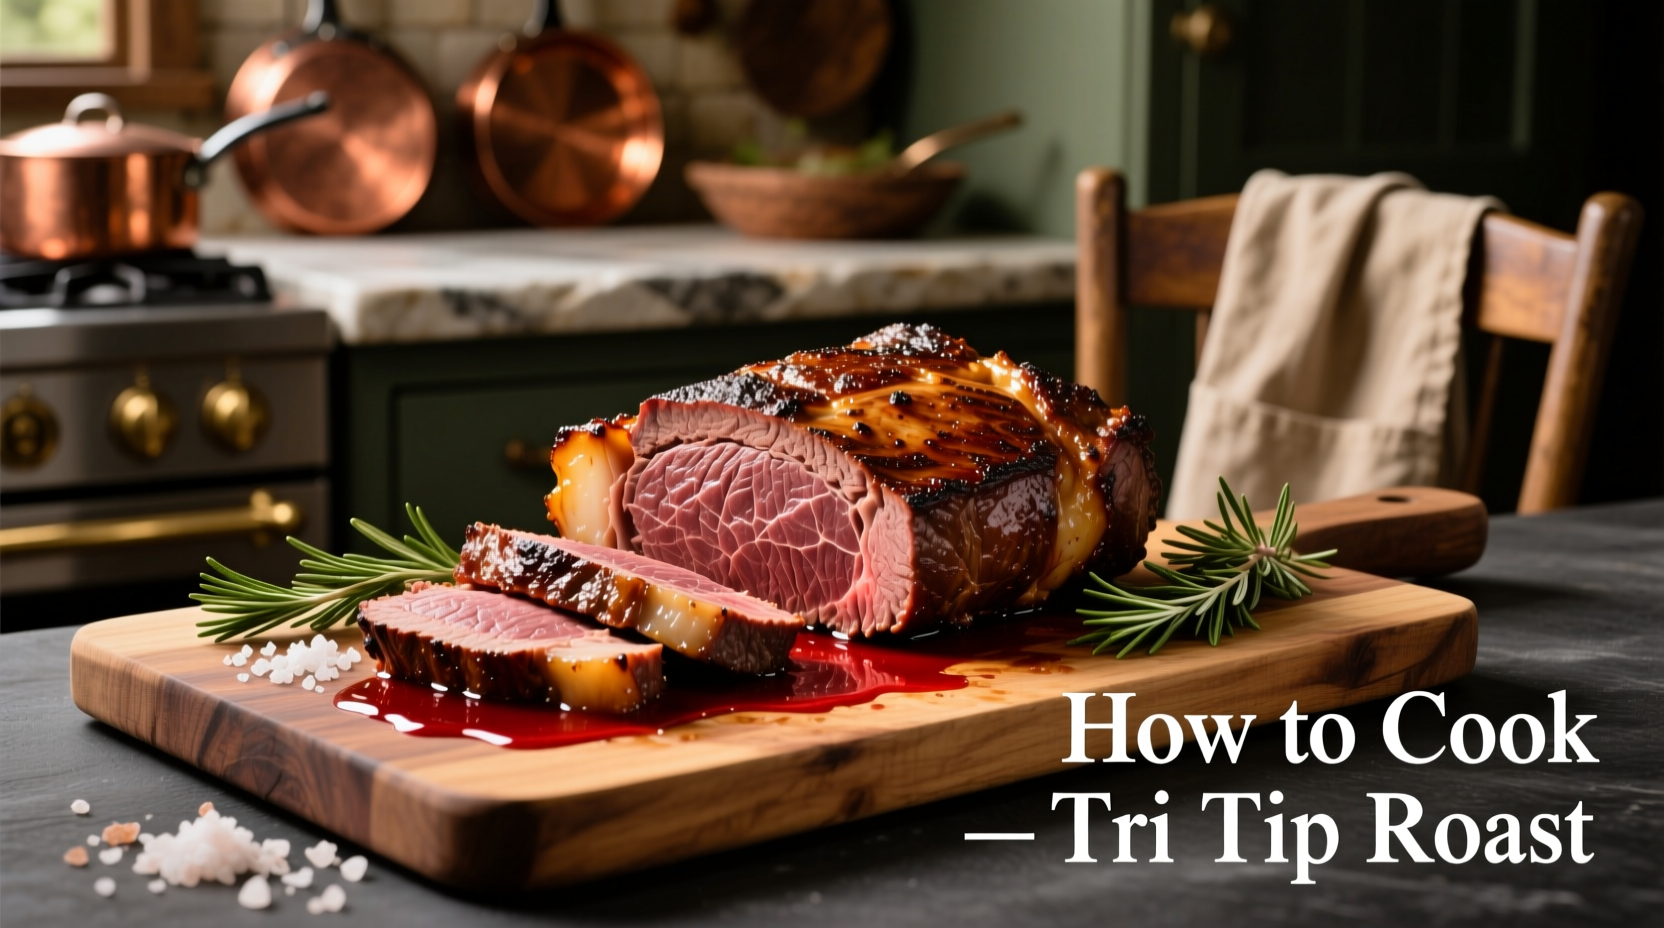
Your Complete Roadmap to Perfect Tri Tip Roast
Nothing impresses like a flawlessly cooked tri tip roast—tender, juicy, and bursting with flavor. Whether you're hosting a special dinner or mastering weeknight proteins, this guide delivers professional results with home kitchen tools. Forget dry, tough meat; we'll walk through each critical phase with precision-tested techniques.
Prep Phase: Setting Up for Success
Begin with a 2-3 pound tri tip roast at room temperature—this ensures even cooking. Trim excess fat to 1/4 inch thickness, which renders during cooking without causing flare-ups. Pat the surface completely dry with paper towels; moisture is the enemy of proper searing. The USDA Food Safety and Inspection Service confirms that proper surface drying reduces bacterial growth risk during preparation (USDA FSIS).
| Doneness Level | Internal Temperature | Resting Color |
|---|---|---|
| Medium-Rare (Recommended) | 125-130°F | Bright red center |
| Medium | 135-140°F | Pink center |
| Medium-Well | 145-150°F | Small pink area |
Seasoning Strategy: Flavor Foundation
Antonio Rodriguez, culinary expert with Michelin-starred kitchen experience, emphasizes: "Tri tip's moderate marbling needs bold seasoning to shine." Apply 1 teaspoon kosher salt and 1/2 teaspoon black pepper per pound at least 45 minutes before cooking. For deeper flavor penetration, add garlic powder, onion powder, and smoked paprika. Avoid sugar-based rubs initially—they burn during searing. Reserve sweet elements for the last 15 minutes of cooking.
Cooking Execution: Precision Temperature Control
Oven method: Preheat to 450°F. Sear roast on all sides in cast-iron skillet for 3-4 minutes per side until deeply browned. Transfer to roasting pan and reduce oven to 275°F. Insert meat thermometer into thickest part. Roast until thermometer reads 125°F (approximately 15-20 minutes per pound).
Grill method: Set up two-zone fire with one side at 450°F for searing, the other at 275°F for indirect cooking. Sear all sides over direct heat, then move to indirect side. Maintain consistent temperature using lid vents.
Critical Resting Period: Don't Skip This Step
Remove roast when thermometer hits 120-125°F—temperature will rise 5-10 degrees during resting. Tent loosely with foil and rest for 15 minutes minimum. This allows juices to redistribute; cutting too soon releases moisture onto your cutting board. America's Test Kitchen research shows rested meat retains up to 40% more juice than immediately sliced roast.
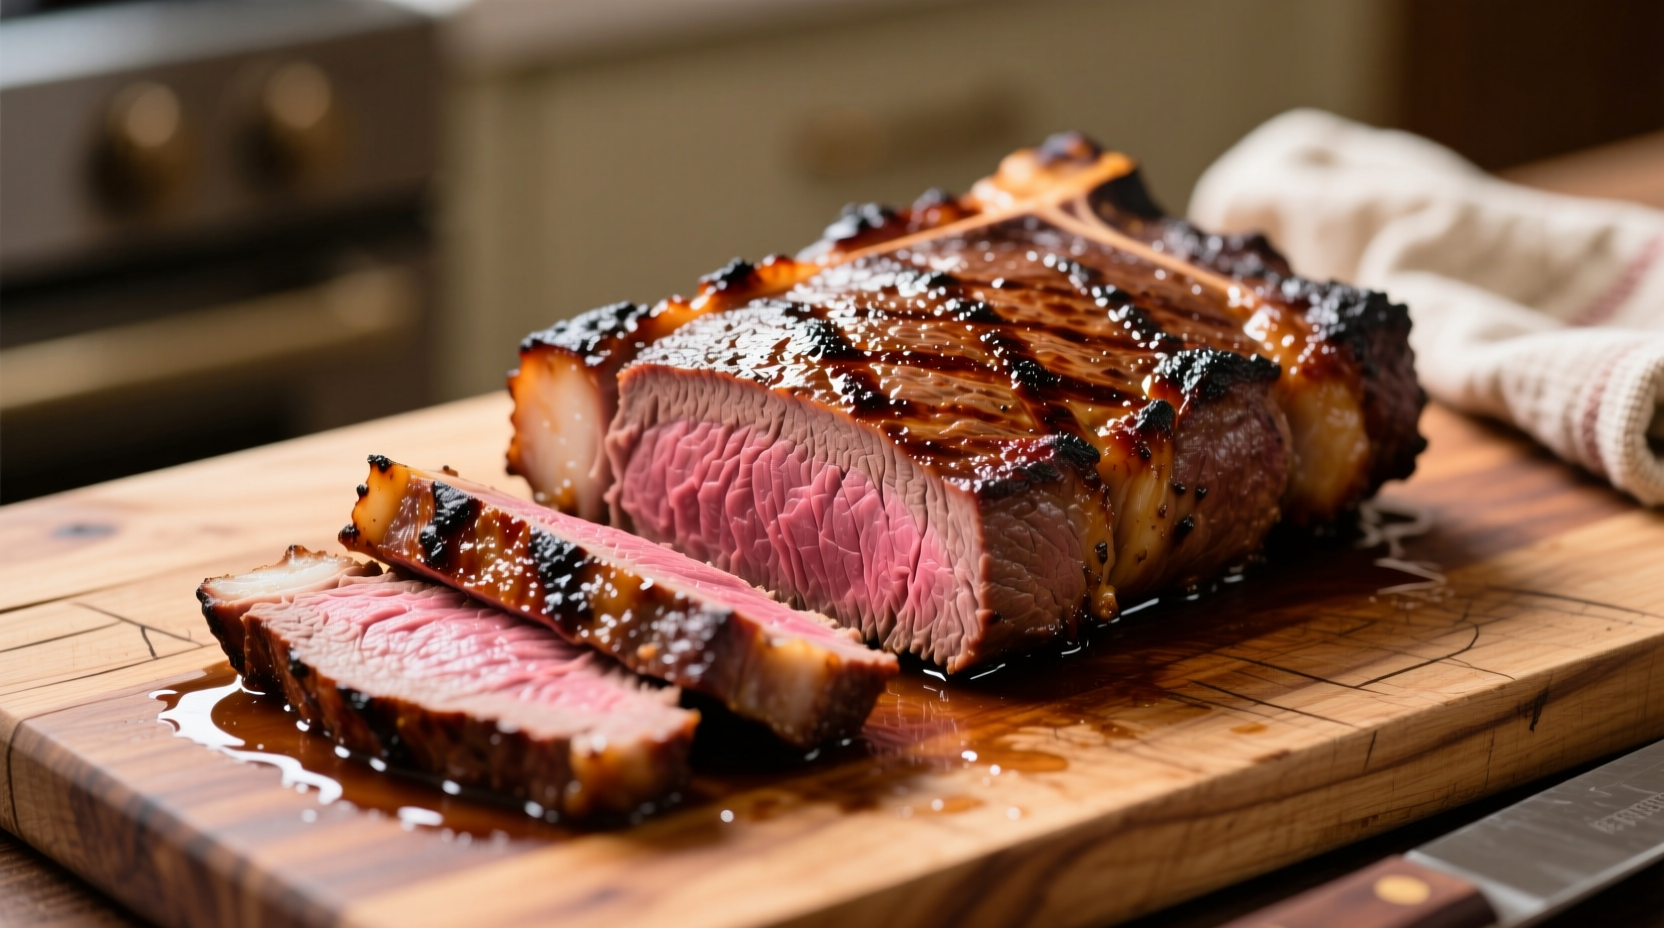
Slicing Technique: The Final Game-Changer
Identify the grain direction—muscle fibers running parallel through the meat. Slice perpendicular (against the grain) in 1/4-inch thick slices. This shortens muscle fibers, creating dramatically more tender bites. Use a sharp carving knife and maintain consistent thickness. For presentation, arrange slices slightly overlapping on a warmed platter.
Pro Troubleshooting Guide
Dry results? Likely overcooked or insufficient resting time. Tri tip's lean composition demands precise temperature control.
Uneven cooking? Position roast with thicker end toward heat source. Rotate halfway through cooking for even exposure.
Bland flavor? Increase seasoning quantity by 25% or add acid (lemon zest, vinegar) to brighten rich beef flavors.
Storage and Reheating Best Practices
Refrigerate leftovers within 2 hours in airtight container for up to 4 days. For optimal reheating, place slices in covered dish with 2 tablespoons beef broth. Warm in 250°F oven until internal temperature reaches 130°F (about 10-15 minutes). Avoid microwaving, which creates rubbery texture.


 浙公网安备
33010002000092号
浙公网安备
33010002000092号 浙B2-20120091-4