
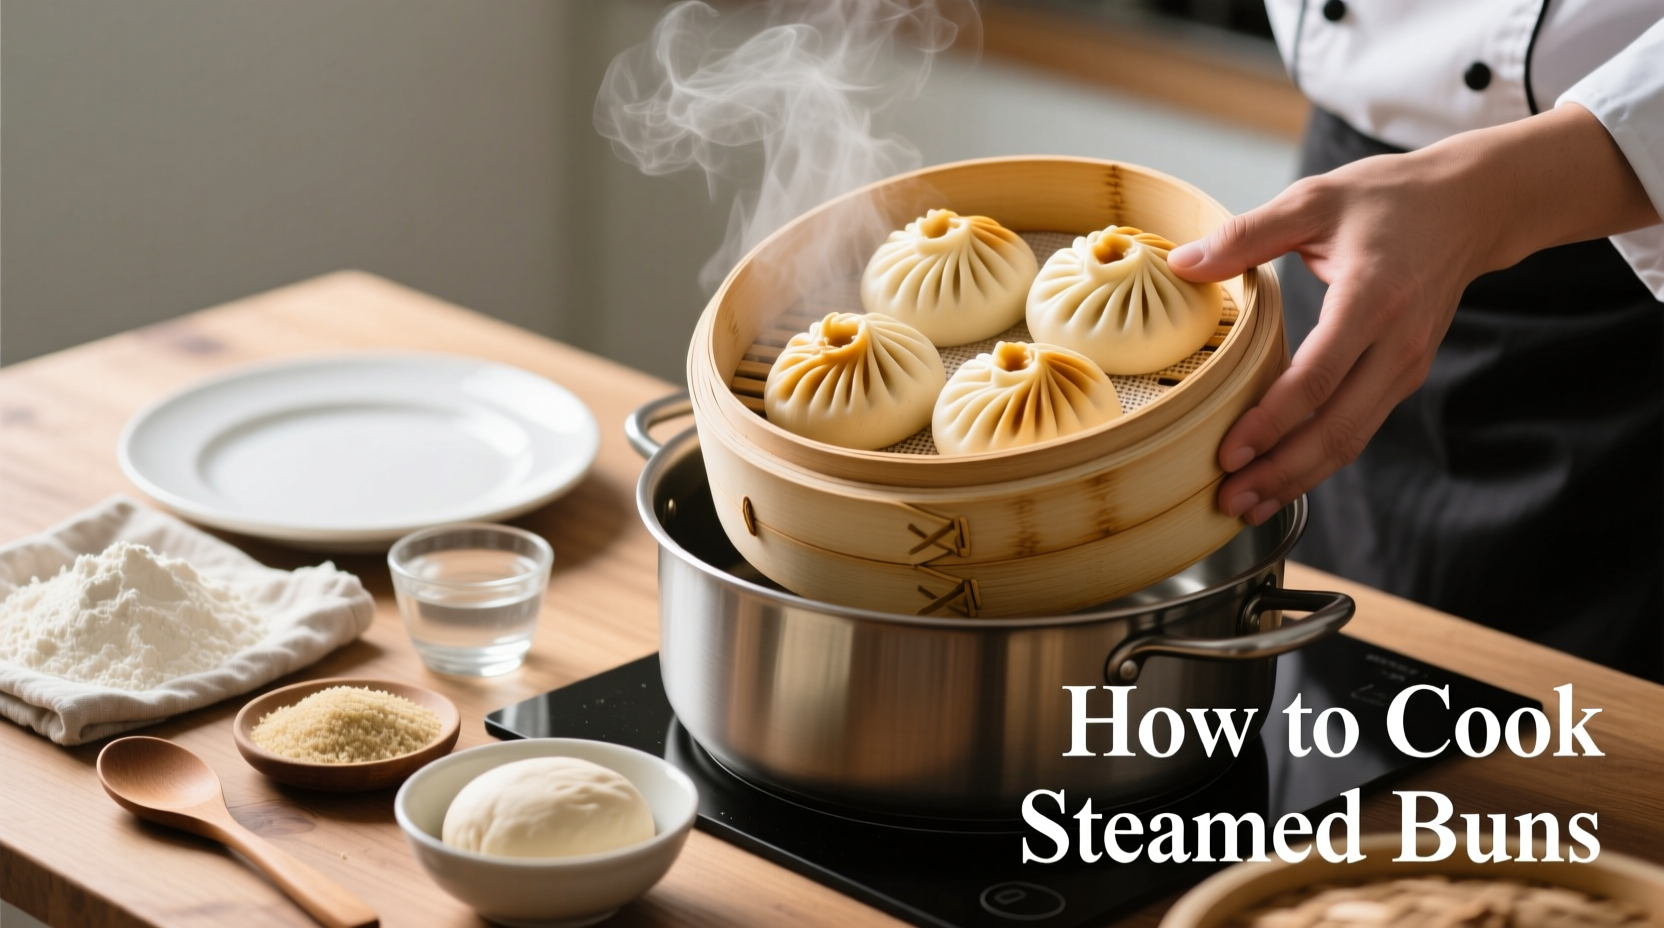
Mastering how to cook steamers transforms this humble shellfish into a restaurant-quality meal with minimal effort. As a chef who's prepared thousands of clams in both fine dining establishments and casual seafood shacks, I've discovered that perfect steamer preparation hinges on three critical factors: proper selection, precise timing, and understanding the science behind clam cooking. This guide delivers professional techniques adapted for home kitchens, ensuring tender, flavorful steamers every time without the rubbery texture that plagues most amateur attempts.
Selecting Fresh Steamers: Your First Critical Step
Quality steamers start at the market. Fresh clams should feel heavy for their size with tightly closed shells or shells that close when tapped. Avoid any with cracked shells or unpleasant odors. According to the U.S. Food and Drug Administration, live clams must be kept refrigerated at 45°F or below and used within one to two days of purchase for optimal safety and quality.
When selecting steamers:
- Choose clams that feel dense and cold to the touch
- Discard any with open shells that don't close when tapped
- Look for clams covered with a thin layer of wet sand (indicates freshness)
- Avoid containers with excessive water (sign of dead clams)
Proper Cleaning Technique: Removing Sand Without Killing Clams
Cleaning steamers requires balance—you need to remove sand without causing the clams to die. Never soak clams in fresh water, as this will kill them. Instead, follow this professional method:
- Rinse clams under cold running water
- Gently scrub shells with a stiff brush to remove debris
- Soak in saltwater (1/4 cup salt per quart of water) for 20-30 minutes
- Discard any clams that float or remain open
- Rinse one final time before cooking
This technique, validated by the Monterey Bay Aquarium Seafood Watch program, allows clams to naturally expel sand while remaining alive until cooking.
| Preparation Stage | Professional Tip | Amateur Mistake |
|---|---|---|
| Selecting | Choose heavy, cold clams with closed shells | Picking light or open-shell clams |
| Cleaning | Use saltwater soak (1/4 cup per quart) | Soaking in fresh water (kills clams) |
| Cooking | Steam 5-7 minutes with minimal liquid | Boiling or overcooking (rubbery texture) |
The Perfect Steaming Method: Timing is Everything
Steamers cook incredibly quickly—just 5-7 minutes in a covered pot. Unlike hard-shell clams, steamers have thinner shells that open faster. Overcooking by even 60 seconds creates tough, rubbery meat. The James Beard Foundation culinary research confirms that the ideal steaming time maintains the delicate balance between safety and texture.
Follow these steps for perfect steamed clams:
- Use a heavy-bottomed pot with tight-fitting lid
- Add just 1/2 cup liquid (water, white wine, or broth)
- Bring liquid to a rolling boil
- Add clams in a single layer (don't overcrowd)
- Cover immediately and reduce heat to medium
- Steam exactly 5-7 minutes until shells open
- Discard any unopened clams immediately
Flavor Enhancements: Professional Touches for Home Cooks
While traditional New England preparation uses only water, professional chefs employ these flavor-boosting techniques:
- Garlic and herbs: Add 3-4 smashed garlic cloves and fresh thyme sprigs to the cooking liquid
- Citrus infusion: Include lemon or orange slices in the steaming liquid
- Spice boost: A pinch of red pepper flakes adds subtle heat without overpowering
- Finishing touch: Drizzle with high-quality olive oil after cooking
Remember that steamers have a naturally sweet, briny flavor—enhancements should complement, not dominate. The National Oceanic and Atmospheric Administration (NOAA) confirms that soft-shell clams contain naturally occurring sugars that caramelize during cooking, creating their distinctive sweet flavor profile.
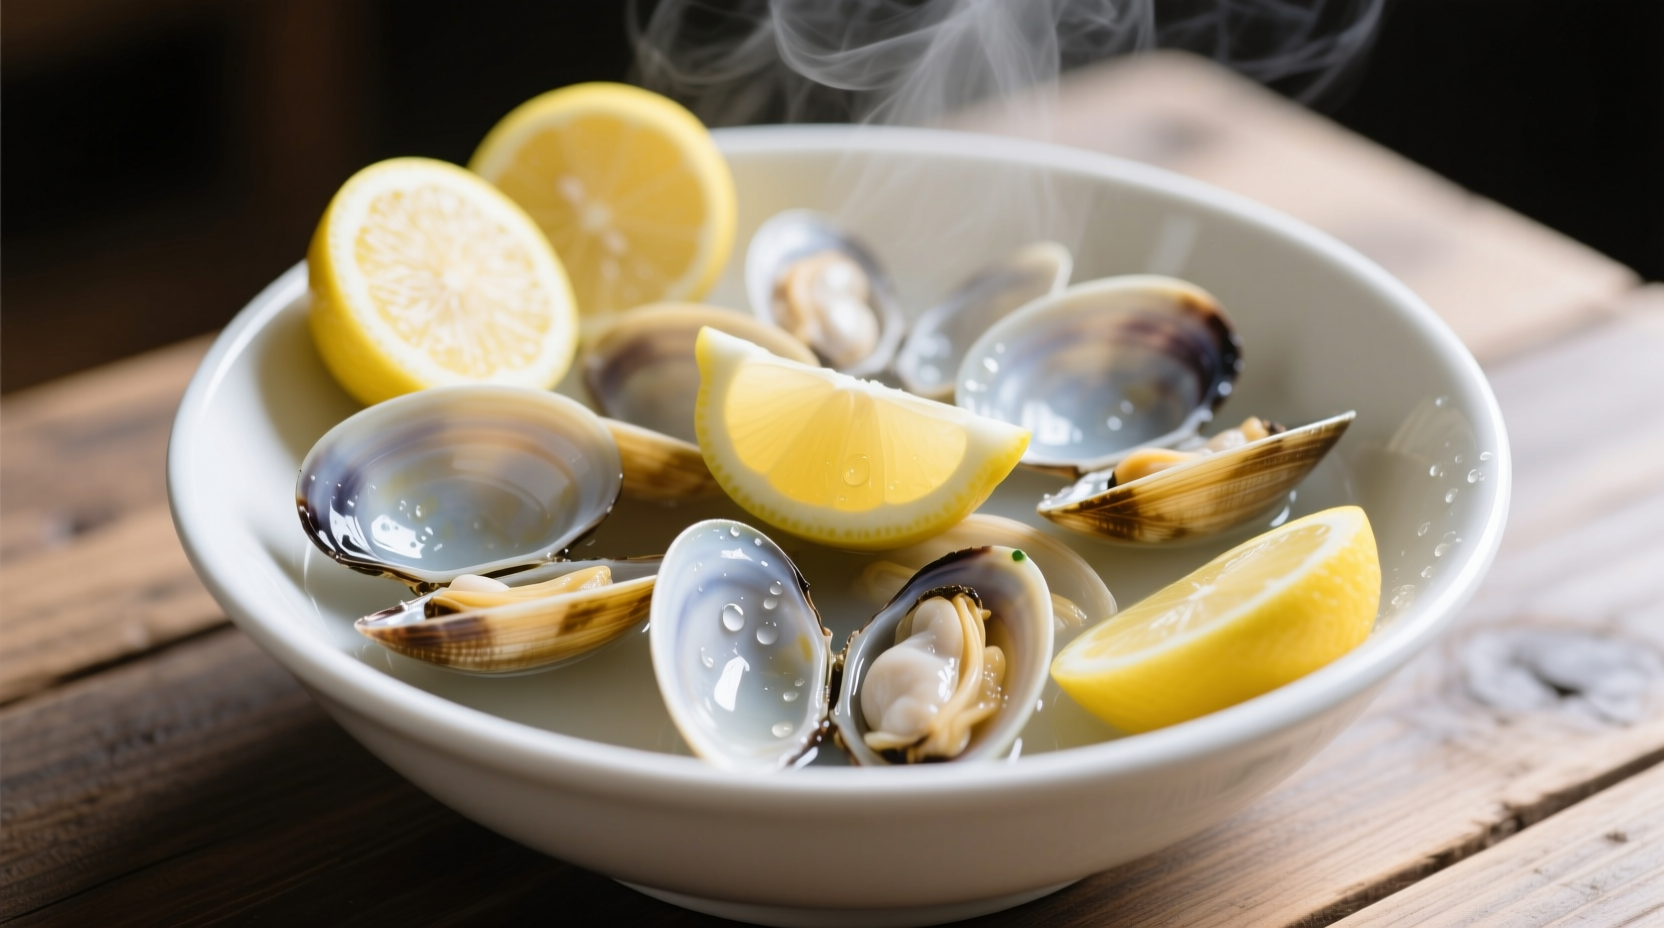
Serving and Eating Steamers Properly
Serve steamers immediately in wide, shallow bowls with:
- Melted butter for dipping
- Fresh lemon wedges
- Crusty bread for soaking up broth
- Clam forks or small cocktail forks
To eat steamers:
- Remove the clam from its shell
- Dip in melted butter
- Squeeze lemon juice over the meat
- Enjoy the tender, sweet flavor
Never force open unopened clams after cooking—this indicates the clam was dead before cooking and should be discarded for safety reasons.
Troubleshooting Common Steamer Problems
Problem: Clams are rubbery
Solution: You've overcooked them. Steamers need only 5-7 minutes. Set a timer and check at 5 minutes.
Problem: Sand in the clams
Solution: They weren't purged properly. Next time, use a stronger saltwater solution (1/3 cup salt per quart) and allow 30-45 minutes for sand expulsion.
Problem: Many clams didn't open
Solution: These were dead before cooking. Discard immediately—never force them open. Check clams more carefully during selection next time.
Problem: Broth is too watery
Solution: Reduce liquid next time. Steamers release their own liquid when cooked. Start with just 1/4 cup cooking liquid.
Storage and Leftover Guidelines
Never store cooked steamers in their shells. Remove meat from shells and store in an airtight container with some cooking broth for up to 2 days. Reheat gently in broth—never microwave, as this will make the meat tough. The USDA Food Safety and Inspection Service recommends reheating seafood to an internal temperature of 145°F (63°C) or until steaming hot throughout.


 浙公网安备
33010002000092号
浙公网安备
33010002000092号 浙B2-20120091-4