

The perfect grilled brisket requires a 12-16 hour cook at 225-250°F using indirect heat, with the flat at 203°F internal temperature for optimal tenderness. Start with a 12-14 lb USDA Choice brisket, trim excess fat to 1/4 inch, apply a simple salt-pepper-cornmeal rub, and use a two-zone charcoal setup with oak or hickory wood. Wrap at 165°F internal temperature during the stall phase, and rest for at least 2 hours before slicing against the grain.
Grilling brisket transforms a tough cut into melt-in-your-mouth perfection when executed correctly. As someone who's cooked hundreds of briskets across Texas barbecue pits and backyard grills, I've refined a method that delivers consistent results even for beginners. This comprehensive guide walks you through every critical step, eliminating guesswork so you can serve restaurant-quality brisket at your next gathering.
Why Grilled Brisket Deserves Your Attention
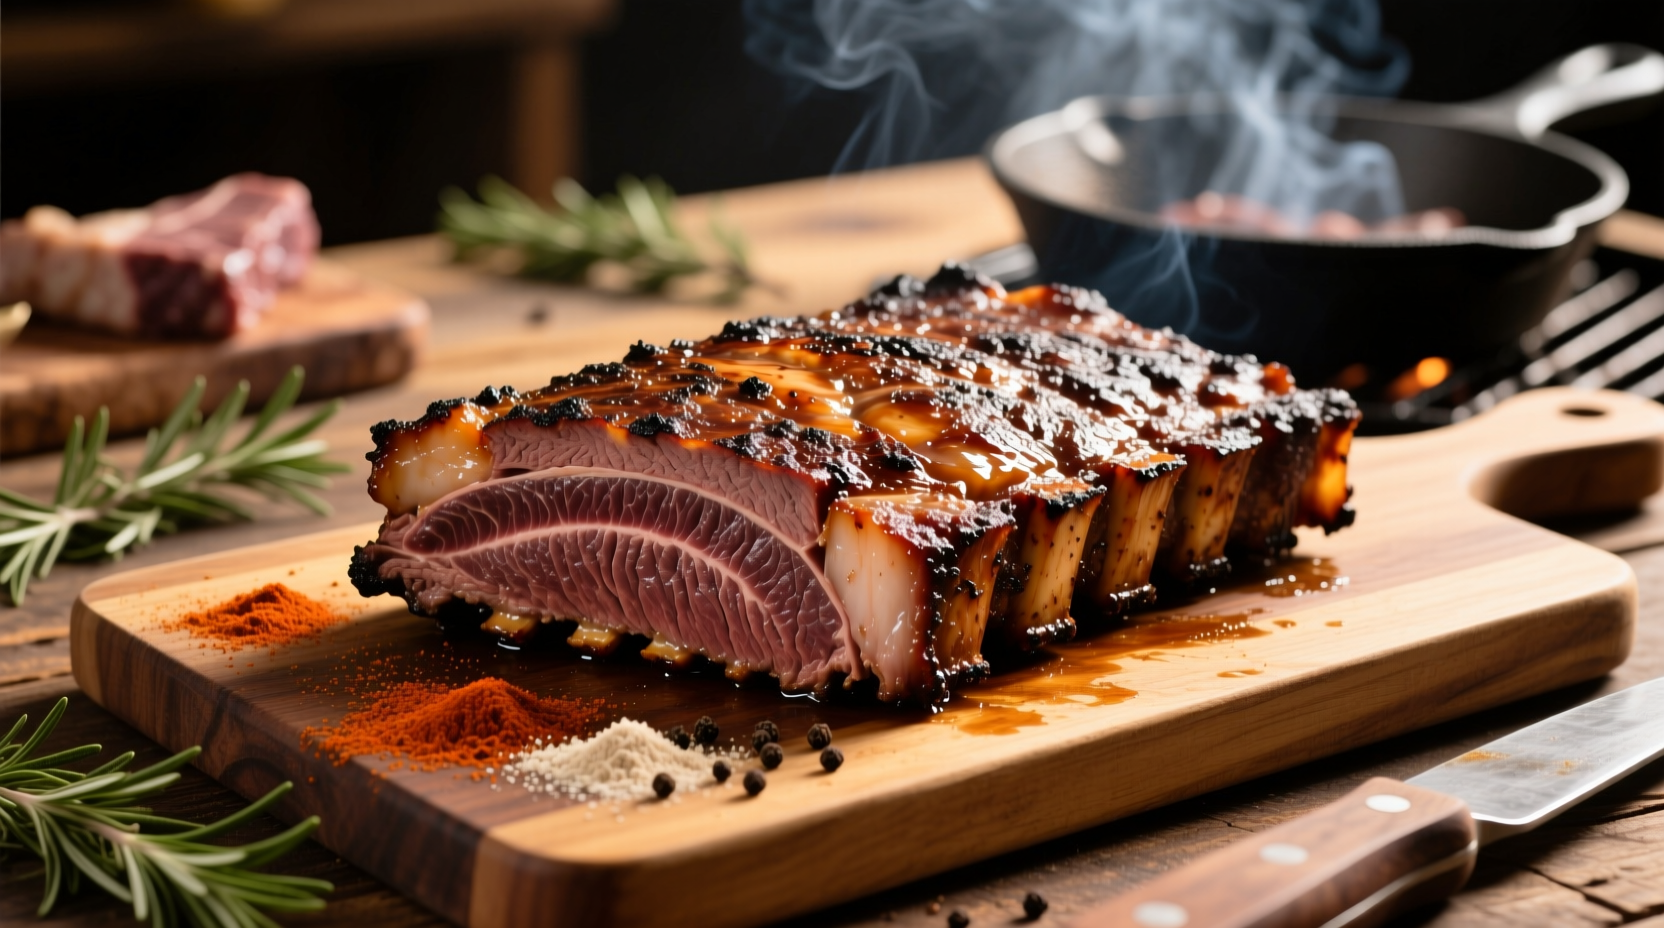
Brisket's transformation from inexpensive, tough cut to culinary masterpiece represents one of barbecue's greatest triumphs. Unlike oven-roasted versions, grilling imparts subtle smoky notes while maintaining precise temperature control. The key lies in understanding how low-and-slow cooking breaks down collagen into gelatin without drying the meat. Properly grilled brisket should pull apart with minimal pressure while retaining structural integrity when sliced.
Essential Preparation: Setting Up for Success
Before fire meets meat, proper preparation determines your outcome. Select a USDA Choice grade brisket with even marbling throughout—Prime grade offers more fat but requires careful trimming. The ideal weight range is 12-14 pounds, which fits most standard grills while providing enough meat for proper heat retention during cooking.
Trimming Technique That Makes a Difference
Trimming isn't just cosmetic—it affects heat penetration and fat rendering. Follow these steps:
- Remove the hard fat cap down to 1/4 inch thickness
- Round off sharp edges that might burn
- Cut away any silver skin on the meat side
- Shape the point to match the flat's thickness
Professional pitmasters recommend using a flexible boning knife for precision. Remember: fat equals flavor, but too much prevents smoke absorption and creates uneven cooking.
Rub Application Science
While complex rubs tempt many beginners, brisket shines with simplicity. The classic Texas-style salt-pepper-cornmeal combination works because:
- Salt penetrates deep into the meat (about 1/4 inch per 24 hours)
- Coarse black pepper provides aromatic complexity without bitterness
- Cornmeal helps form a consistent bark and absorbs excess moisture
Apply rub generously 12-24 hours before cooking, then let the brisket sit uncovered in the refrigerator. This dry-brine process enhances flavor penetration and bark formation.
Grill Setup: Creating the Ideal Cooking Environment
Successful brisket grilling requires precise temperature control. Here's how to configure different grill types:
Charcoal Grill Configuration
For Kamados, kettle grills, or offset smokers:
- Arrange charcoal on one side for indirect heat
- Place wood chunks on hot coals for smoke
- Set up a drip pan under the meat on the cool side
- Maintain 225-250°F using top and bottom vents
Gas Grill Adaptation
When using propane:
- Turn on only one burner side for indirect heat
- Place a smoker box with wood chips over the active burner
- Keep the meat at least 6 inches from direct flame
- Monitor temperature with a separate grill thermometer
| Wood Type | Flavor Profile | Best For | Burning Temperature |
|---|---|---|---|
| Hickory | Strong, bacon-like | Traditional Texas style | 225-275°F |
| Oak | Mild, versatile | All-day cooks | 225-300°F |
| Mesquite | Intense, earthy | Short cooks only | 200-250°F |
| Pecan | Sweet, nutty | Fall flavors | 225-275°F |
According to USDA Food Safety and Inspection Service guidelines, smoking meat requires maintaining temperatures above 140°F to prevent bacterial growth during the critical "danger zone" period. The two-zone setup ensures consistent heat while allowing quick relocation if flare-ups occur.
The Cooking Process: Mastering Time, Temperature, and Technique
Understanding the brisket cooking timeline prevents common mistakes. The process follows distinct phases that require different approaches:
Phase 1: The Initial Cook (0-4 hours)
During this stage, the brisket absorbs smoke flavor while heating gradually. Maintain 225-250°F and monitor the temperature rise. The brisket should gain about 30°F per hour initially. Resist the urge to open the grill frequently—each peek loses significant heat.
Phase 2: The Stall (150-170°F internal)
When internal temperature reaches 150-170°F, evaporation causes a temperature plateau lasting 2-6 hours. This critical phase determines bark quality. You have two options:
- Natural stall: Continue cooking unwrapped for superior bark formation
- Texas crutch: Wrap in butcher paper at 165°F to power through the stall
Butcher paper outperforms aluminum foil by allowing some moisture escape while speeding cooking. The USDA Meat and Poultry Hotline confirms that wrapping doesn't compromise food safety when temperatures remain above 140°F.
Phase 3: The Finish (195-205°F internal)
As collagen fully converts to gelatin, the brisket becomes tender. Check for doneness by probing with a thermometer—the tip should slide in like butter. The ideal flat temperature is 203°F, while the point can reach 208°F for maximum tenderness.
Resting and Slicing: The Final Crucial Steps
Resting isn't optional—it allows juices to redistribute. Follow these steps:
- Remove brisket when done and place in an empty cooler
- Wrap loosely in towels to maintain temperature
- Rest for 2-4 hours (minimum 2 hours for proper reabsorption)
- Slice against the grain with a sharp knife
Slicing technique makes or breaks your presentation. Separate the point from the flat first, then slice each section perpendicular to the muscle fibers. The flat requires thinner slices (1/4 inch) while the point can handle slightly thicker cuts.
Troubleshooting Common Grilling Challenges
Even experienced grillers encounter issues. Here's how to handle frequent problems:
Dry Brisket Recovery
If your brisket turns out dry:
- Slice thinner than usual (1/8 inch)
- Serve with au jus made from drippings
- Chop for sandwiches with barbecue sauce
Temperature Fluctuations
When grill temperature drops:
- Add pre-lit charcoal (never dump fresh coals directly)
- Check for wind exposure affecting the fire
- Verify thermometer accuracy with ice water test
Serving Suggestions for Maximum Enjoyment
Traditional Texas barbecue pairs grilled brisket with:
- White bread and pickles for palate cleansing
- Vinegar-based coleslaw to cut richness
- Sweet baked beans for complementary texture
- Raw onion slices for sharp contrast
Leftover brisket shines in breakfast tacos, sandwiches, or as the star of a hearty soup. Properly stored in its juices, it maintains quality for up to 4 days in the refrigerator.
Advanced Considerations for Seasoned Grillers
Once you've mastered basics, consider these refinements:
- Experiment with different wood combinations
- Try a salt-only rub to highlight natural beef flavor
- Adjust cooking temperature based on ambient conditions
- Practice the "bend test" to gauge tenderness without thermometer
Remember that brisket cooking evolves with experience. The Texas A&M Meat Science department notes that environmental factors like humidity and wind significantly impact cooking times, requiring adaptive techniques rather than rigid adherence to timers.


 浙公网安备
33010002000092号
浙公网安备
33010002000092号 浙B2-20120091-4