
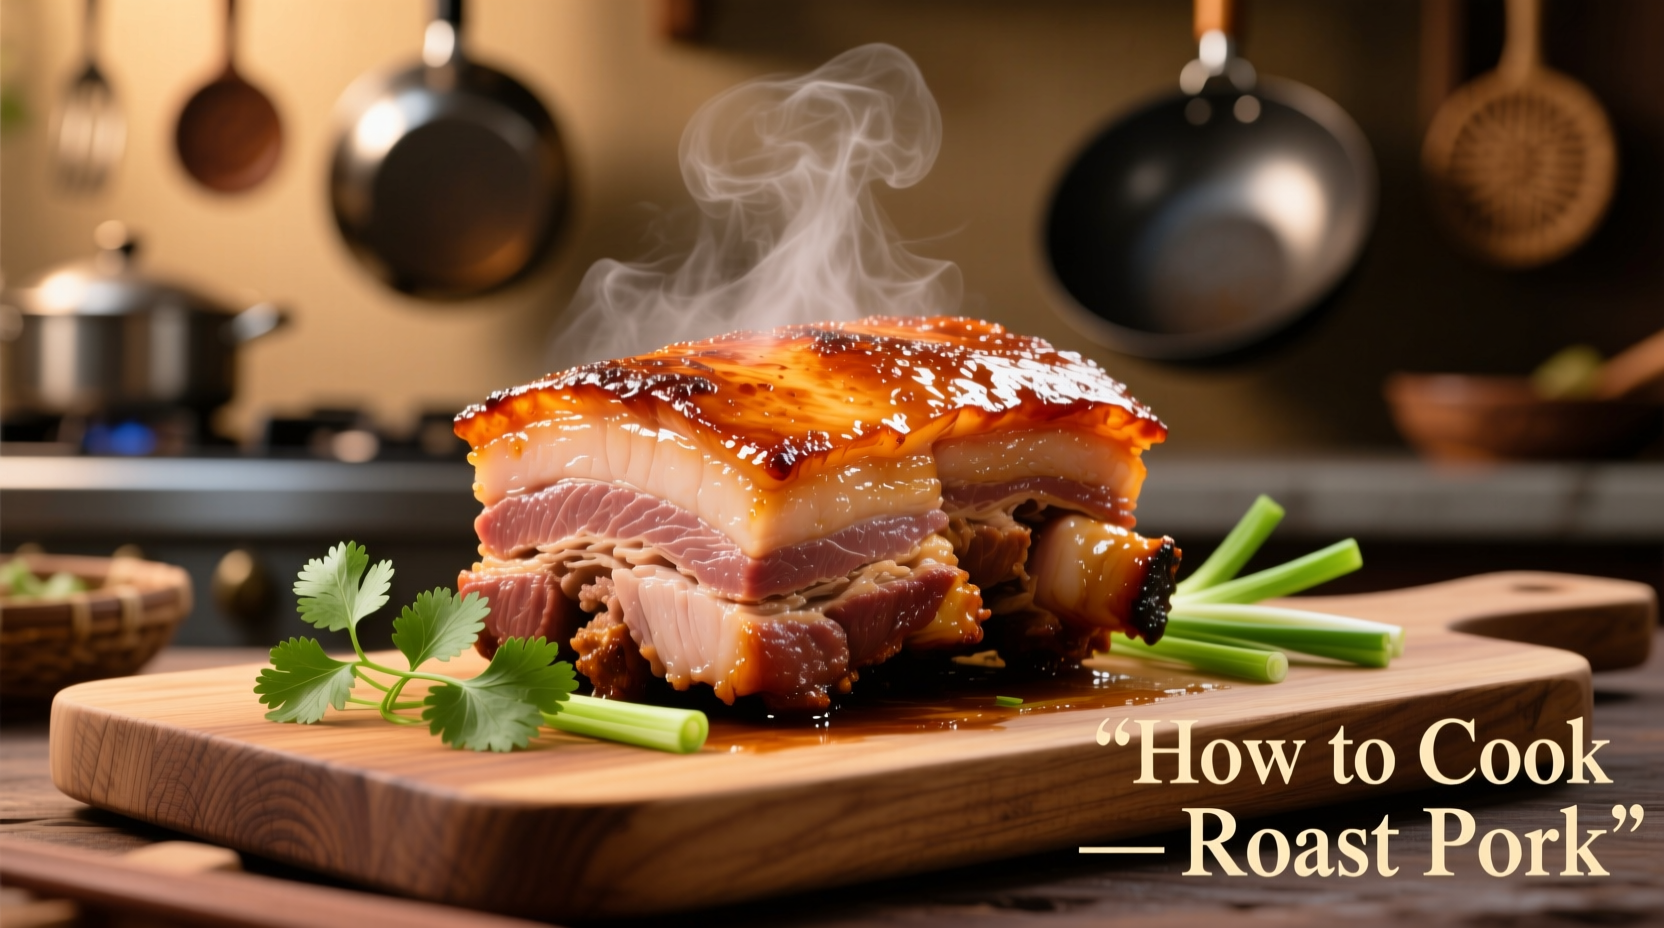
Picture slicing into roast pork with shattering golden crackling and succulent pink meat that practically melts in your mouth. This professional chef-tested method delivers foolproof results every time—no dry meat or soggy skin. You'll master temperature control, salt timing, and resting techniques that transform ordinary pork into an extraordinary centerpiece. Whether it's Sunday dinner or holiday celebration, these steps guarantee restaurant-quality results with minimal fuss.
Prep Like a Pro: Before You Turn On the Oven
Skipping proper preparation causes 90% of roast pork failures. Start with these non-negotiable steps 1-2 hours before cooking:
- Choose the right cut: Bone-in pork loin (for leaner meat) or shoulder (for richer flavor). USDA recommends selecting cuts with even marbling—avoid pale or watery meat (USDA Food Safety).
- Score the skin deeply: Use a sharp knife to cut ¼-inch deep lines in a diamond pattern. This breaks fat pockets and creates crackling channels.
- Salt timing is critical: Rub 1 tbsp coarse salt ONLY on skin 60 minutes pre-cooking. Moisture extraction begins immediately—too early causes sogginess, too late prevents crackling.
The Roasting Process: Temperature Control Secrets
Professional kitchens use this two-phase method for perfect texture. Set up your oven correctly:
- Place rack in lower third of oven (prevents skin burning)
- Use convection setting if available (promotes even crisping)
- Never cover pork—steam softens skin
| Pork Weight | High-Heat Phase | Finishing Temp | Total Time |
|---|---|---|---|
| 3-4 lbs | 30 mins @ 425°F | 145°F internal | 1.5-1.75 hours |
| 5-6 lbs | 35 mins @ 425°F | 145°F internal | 2-2.25 hours |
| 7+ lbs | 40 mins @ 425°F | 145°F internal | 2.5-3 hours |
Phase 1: The Crisping Blast
Roast uncovered at 425°F (220°C) for 30-40 minutes. This renders fat and puffs the skin. Do not open oven—heat loss ruins crackling.
Phase 2: Gentle Finish
Reduce to 325°F (165°C). Insert thermometer into thickest part (avoiding bone). Cook until 145°F internal temperature—never over 150°F. USDA confirms this is safe with 3-minute rest (USDA Food Safety).
Resting & Carving: Where Most Fail
Resting isn't optional—it's food science. Juices redistribute when proteins relax:
- Tent loosely with foil (traps steam without softening skin)
- Rest minimum 15 minutes (20 for roasts over 5 lbs)
- Carve against the grain with sharp knife
Skipping rest loses up to 40% of juices. As Harold McGee explains in On Food and Cooking, "Muscle fibers contract during cooking, squeezing out moisture. Resting allows fibers to reabsorb liquids."
Troubleshooting Guide: Fix Common Mistakes
Skin not crispy? You likely didn't dry skin thoroughly before salting or opened the oven during Phase 1. Solution: Pat skin bone-dry with paper towels 10 minutes pre-salting.
Meat dry? Overcooking is the culprit. Invest in a leave-in thermometer. Pork continues cooking during rest—pull at 140°F for perfect 145°F final temp.
Uneven browning? Rotate pan 180° halfway through Phase 1. Oven hot spots cause inconsistent crisping.
When This Method Applies (And When It Doesn't)
This technique works perfectly for loin and shoulder cuts but not for pork belly—which requires longer low-temperature cooking. Avoid using this for thin chops; the high-heat blast would overcook them. Always adjust for your specific cut—thicker roasts need lower finishing temperatures to prevent exterior burning.


 浙公网安备
33010002000092号
浙公网安备
33010002000092号 浙B2-20120091-4