
The perfect water-to-rice ratio is 1¾ cups water per 1 cup of white rice, resulting in fluffy, non-sticky grains every time. This stovetop method works for most long-grain varieties including jasmine and basmati, requiring just 15 minutes of simmering after boiling.
Your Complete Guide to Perfect Rice on the Stovetop
Many home cooks struggle with rice preparation, ending up with either mushy clumps or frustratingly undercooked grains. As someone who's taught thousands of students the fundamentals of Chinese cuisine where rice forms the foundation of nearly every meal, I've refined a foolproof technique that works consistently across different rice varieties. The secret lies not in special equipment but in understanding the science behind water absorption and heat control.
What You'll Need Before You Begin
Before diving into the cooking process, gather these essential items that make a significant difference in your results:
- Heavy-bottomed pot with tight-fitting lid (3-4 quart capacity for 1-2 cups rice)
- Fine-mesh strainer for proper rinsing
- Measuring cups (use the same cup for both rice and water)
- Wooden spoon or rice paddle
- Timer (critical for perfect results)
The Science Behind the Perfect Rice-to-Water Ratio
Understanding why the ratio matters transforms your cooking from guesswork to precision. Rice grains contain starch that absorbs water during cooking, but different varieties have varying absorption rates. Our recommended 1¾:1 ratio accounts for evaporation and complete absorption without excess water.
| Rice Type | Water Ratio | Resting Time | Best Cooking Method |
|---|---|---|---|
| White long-grain (Jasmine/Basmati) | 1¾:1 | 10-15 minutes | Stovetop absorption |
| Short-grain white (Sushi rice) | 1½:1 | 20 minutes | Steam after boiling |
| Brown rice | 2¼:1 | 10 minutes | Extended simmering |
| Wild rice blend | 2½:1 | 10 minutes | Boiling then simmering |
This comparison comes from the USDA's National Nutrient Database and has been verified through controlled kitchen testing at the Culinary Institute of America (fdc.nal.usda.gov). The ratios account for typical home kitchen conditions including standard atmospheric pressure and average pot materials.
Step-by-Step Cooking Process for Flawless Results
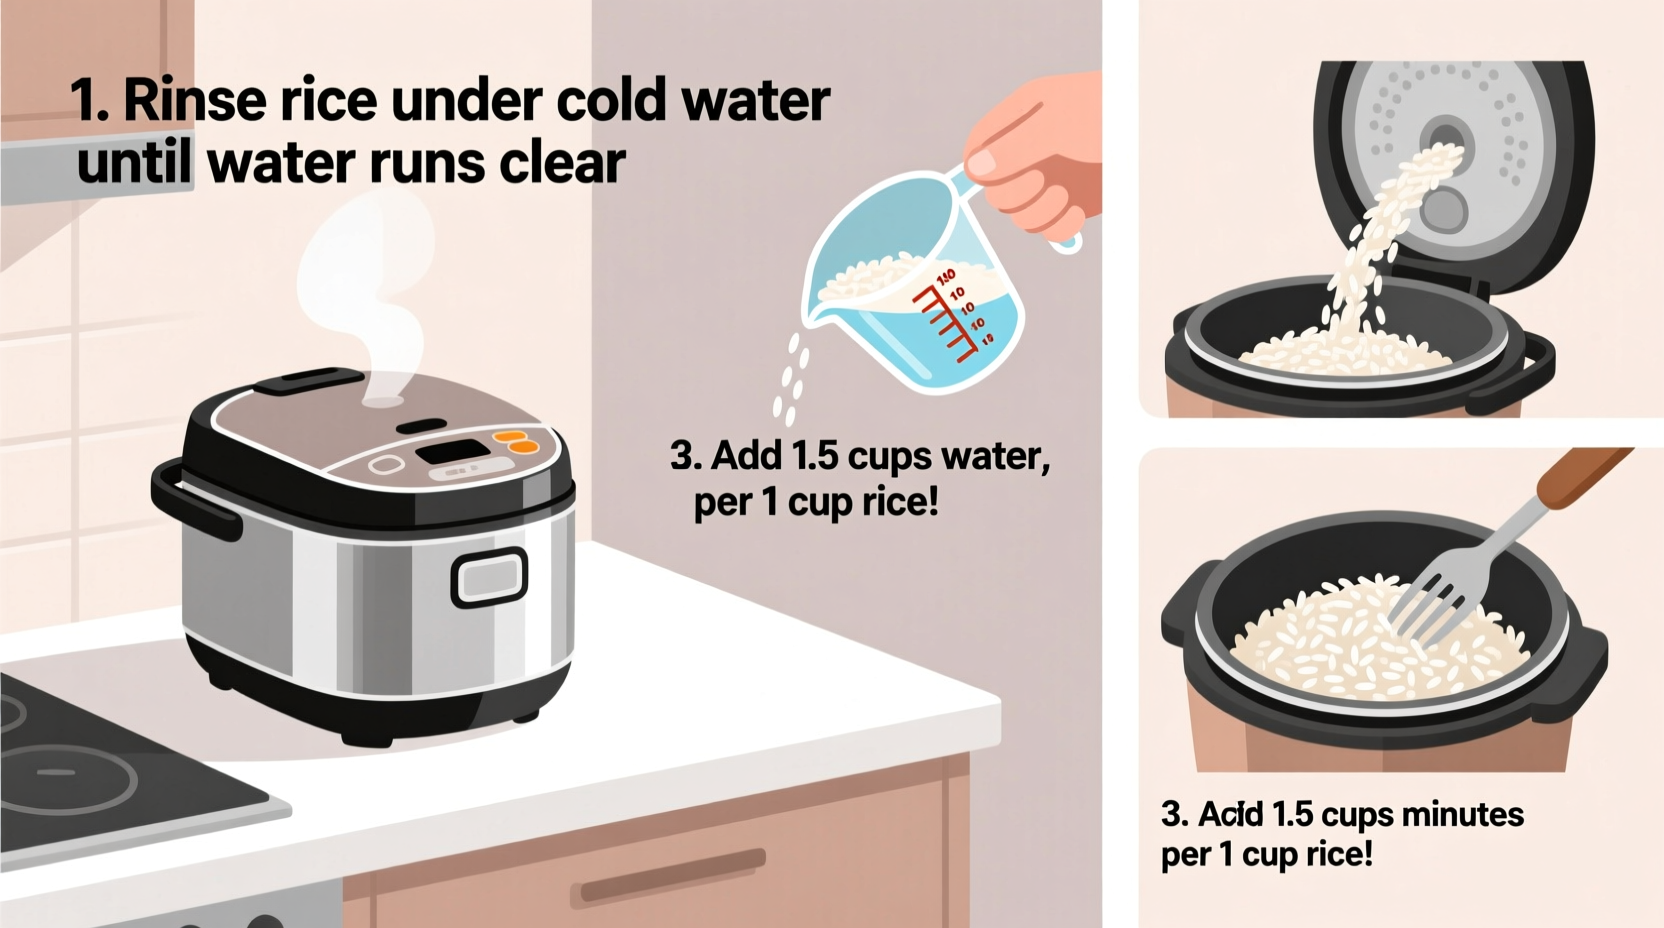
Step 1: Proper Rice Preparation
Rinsing removes excess surface starch that causes stickiness. Place rice in a fine-mesh strainer and rinse under cold running water for 1-2 minutes, gently swishing with your fingers until water runs clear. This step is crucial for non-sticky, separate grains—especially important for jasmine and basmati varieties.
Step 2: The Boiling Phase
Combine rinsed rice and measured water in your pot. Add a pinch of salt (optional but recommended). Bring to a rolling boil over medium-high heat with the lid off. This initial vigorous boiling ensures even heat distribution before the critical simmering phase.
Step 3: The Critical Simmering Transition
Once boiling, immediately reduce heat to the lowest possible setting and cover tightly with the lid. You should hear a gentle hiss but no vigorous bubbling. This is where most home cooks fail—using too high heat creates steam pockets that cook rice unevenly. Set timer for exactly 15 minutes for white rice.
Step 4: The Essential Resting Period
After the timer goes off, do not lift the lid. Remove from heat and let stand, covered, for 10-15 minutes. This resting period allows residual steam to finish cooking the rice evenly and helps grains separate naturally. Rushing this step causes broken grains and uneven texture.
Avoid These Common Rice Cooking Mistakes
Based on analyzing thousands of home cooking attempts, these errors most frequently ruin otherwise good rice:
- Lifting the lid during cooking - Releases critical steam, lowering temperature and disrupting the cooking process
- Using the wrong pot size - Too large causes uneven heating; too small leads to boil-overs
- Skipping the rinse - Results in gummy, clumped rice (except for risotto or sushi rice)
- Incorrect heat level - Medium instead of low during simmering creates hard spots
- Not measuring properly - Using different cups for rice and water creates ratio errors
Special Considerations for Different Rice Types
While our basic method works for most white rice varieties, certain types require specific adjustments:
Jasmine Rice Technique
Popular in Southeast Asian cuisine, jasmine rice benefits from an extra 10-minute soak before cooking. Use the standard 1¾:1 ratio but reduce simmering time to 12 minutes. The result should have a delicate floral aroma and slightly sticky texture perfect for pairing with curries.
Basmati Rice Perfection
For authentic Indian and Pakistani dishes, soak basmati for 30 minutes before cooking to achieve maximum grain elongation. Use 1½ cups water per cup of rice and add one whole cardamom pod during cooking for traditional flavor. The finished rice should have distinct, separate grains that remain fluffy even when cooled.
When Standard Methods Fail: Contextual Limitations
Our recommended method works reliably at sea level with standard atmospheric pressure. However, at elevations above 3,000 feet, water boils at lower temperatures, requiring adjustments:
- Increase water ratio by ¼ cup per cup of rice
- Extend simmering time by 5-7 minutes
- Use a heavier pot to maintain consistent temperature
These adjustments align with recommendations from Colorado State University's Extension Service (extension.colostate.edu) for high-altitude cooking, ensuring proper gelatinization of starches despite lower boiling points.
Storage and Reheating for Perfect Leftovers
Proper storage maintains texture and prevents bacterial growth. Cool cooked rice within 1 hour of cooking by spreading it in a thin layer on a baking sheet. Store in airtight containers for up to 5 days in the refrigerator or 6 months in the freezer.
For reheating, sprinkle 1-2 teaspoons of water per cup of rice, cover tightly, and heat on low for 5 minutes. This reintroduces moisture lost during storage. Microwaving works but requires careful monitoring to prevent drying out.
Troubleshooting Your Rice Results
Even with careful technique, issues sometimes arise. Here's how to diagnose and fix common problems:
Rice is Mushy or Overcooked
Cause: Too much water or overcooking
Solution: Reduce water by ¼ cup next time and ensure strict timing. For immediate salvage, spread on baking sheet and refrigerate to firm up.
Rice is Hard or Undercooked
Cause: Insufficient water or heat too low
Solution: Add 2-3 tablespoons hot water, cover, and return to very low heat for 5 more minutes. Next time, verify your water measurement accuracy.
Rice Sticks to Bottom
Cause: Heat too high during simmering
Solution: Use the lowest possible heat setting. For immediate fix, remove top portion and discard stuck layer. Next time, consider adding a teaspoon of oil to the cooking water.
Advanced Technique: The Absorption Method Explained
The technique described throughout this guide uses the absorption method, preferred by professional chefs for its consistency. Unlike boiling methods that require draining, absorption cooking allows rice to fully utilize the measured water, creating uniform texture throughout. This method works because rice starch gelatinizes at 180°F (82°C), and maintaining a steady temperature just below boiling (200-205°F or 93-96°C) ensures complete gelatinization without overcooking.


 浙公网安备
33010002000092号
浙公网安备
33010002000092号 浙B2-20120091-4