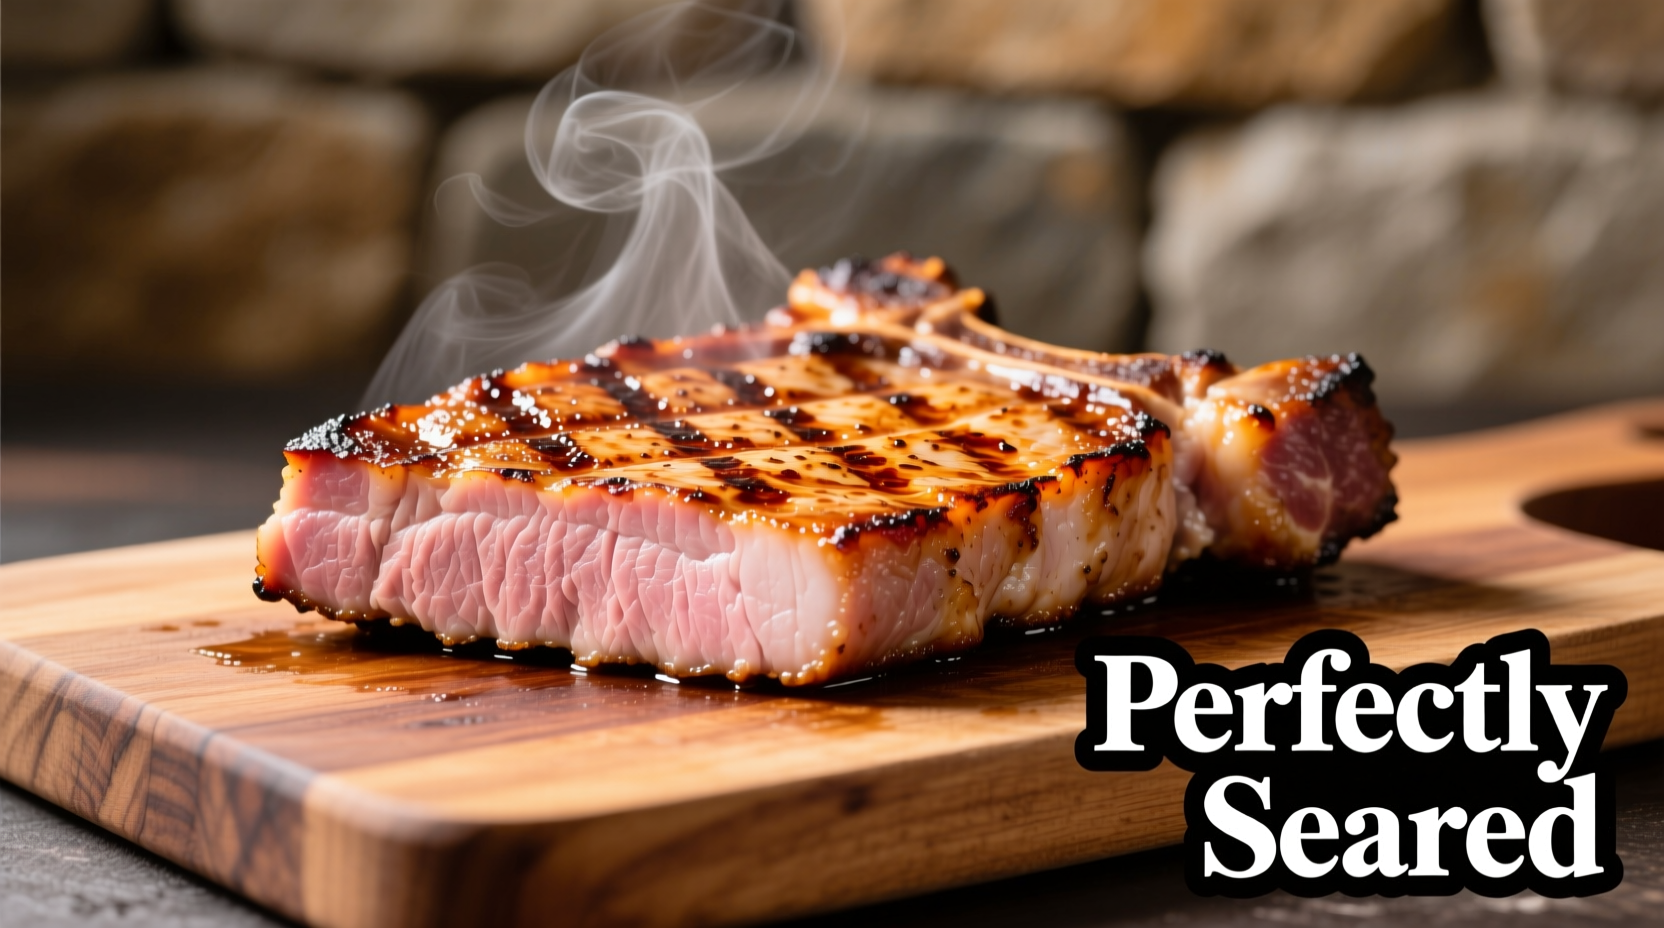
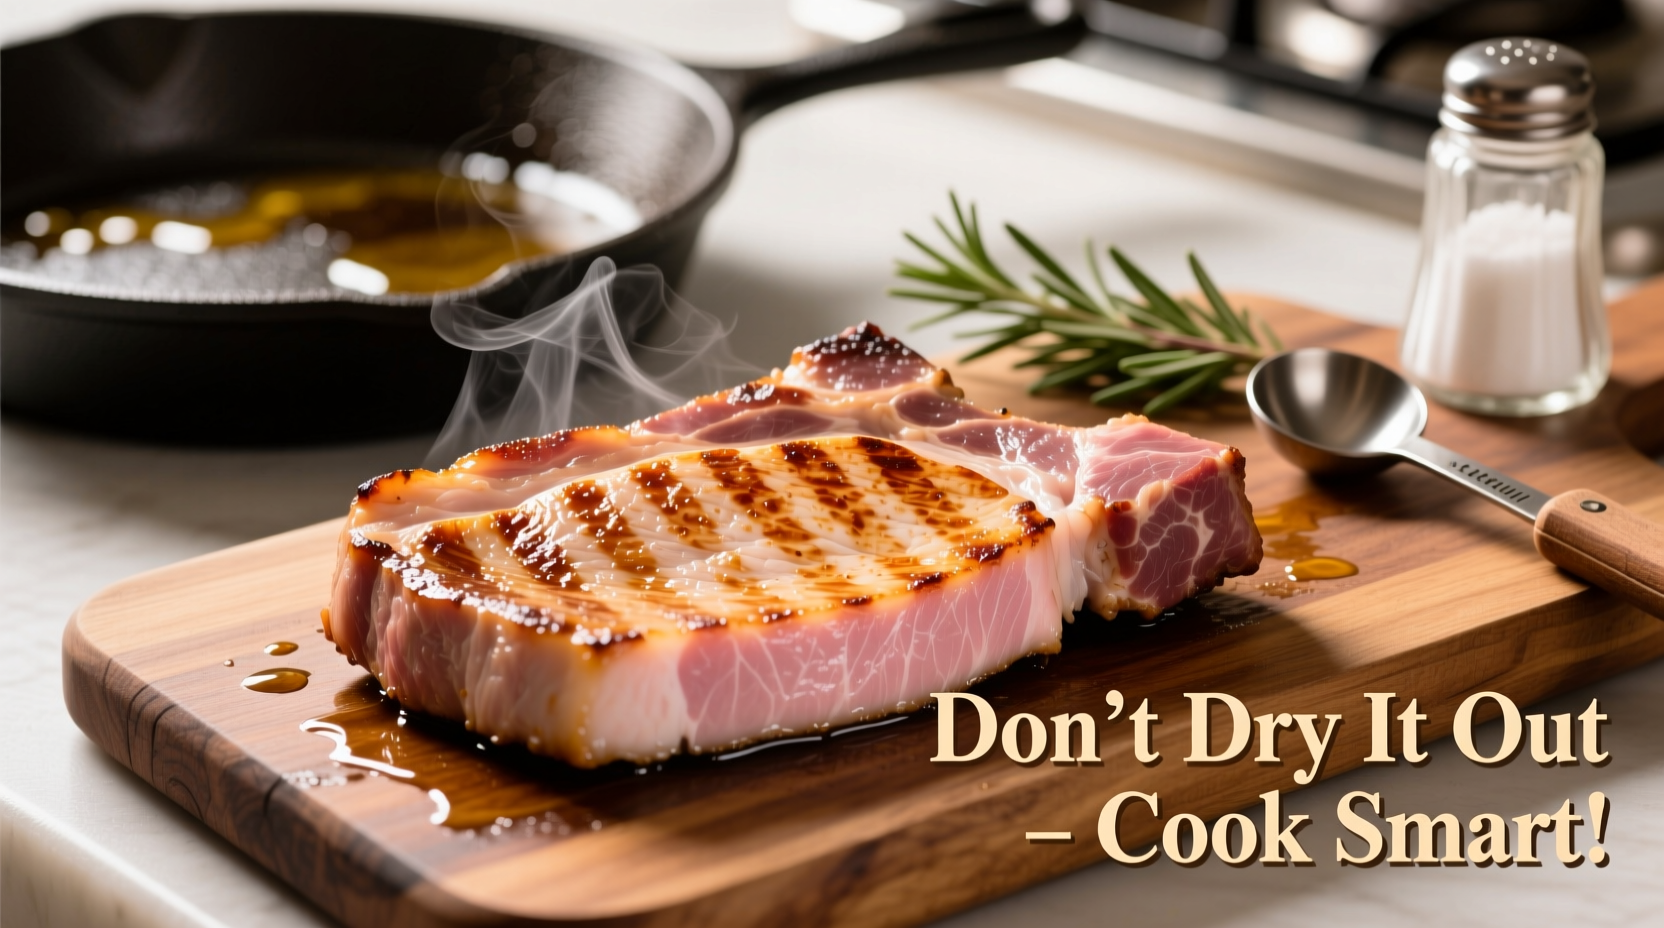
Why Thin Pork Chops Demand Special Attention
Thin pork chops (¼ to ½ inch thick) present unique cooking challenges compared to their thicker counterparts. Their reduced thickness means they cook approximately 60% faster, leaving minimal margin for error. When exposed to heat, the muscle fibers in pork begin contracting at 120°F, squeezing out moisture. By 160°F, most natural juices have been expelled, resulting in dry, tough meat.

The Science-Backed Preparation Process
Professional kitchens achieve consistent results through controlled variables. Follow these evidence-based steps:
Temperature Equalization (15-30 minutes)
Remove chops from refrigeration 30 minutes before cooking. USDA Food Safety and Inspection Service data shows that cooking meat straight from the refrigerator creates a 25°F temperature differential between surface and center, leading to uneven cooking. Room-temperature meat cooks more uniformly, reducing the risk of overcooked edges.
Strategic Surface Drying
Pat chops thoroughly with paper towels. Moisture on the surface creates steam during cooking, preventing proper browning. The Maillard reaction (responsible for flavor development) occurs most effectively on dry surfaces between 285-325°F.
| Cooking Method | Internal Temp Rise After Resting | Texture Result | Moisture Retention |
|---|---|---|---|
| Stovetop only (high heat) | 5-8°F | Dry edges, medium-rare center | 65-70% |
| Sear + oven finish | 3-5°F | Uniform medium | 85-90% |
| Sous vide + sear | 2-3°F | Perfectly even | 90-95% |
Professional-Tested Cooking Method
Equipment Setup
- Oven preheated to 350°F
- Cast iron or heavy-bottomed skillet
- Digital thermometer (critical for accuracy)
- Timer
Cooking Sequence
- Season chops with salt 45 minutes before cooking (draws out moisture initially, then reabsorbs for deeper seasoning)
- Heat oil in skillet over medium-high until shimmering (400°F)
- Sear 2-3 minutes per side until golden crust forms
- Transfer skillet to preheated oven
- Cook 4-6 minutes until internal temperature reaches 140°F
- Rest on wire rack 5 minutes (temperature will rise to 145°F)
Contextual Boundaries and Limitations
This method works optimally for:
- Chops between ¼ and ½ inch thick
- Fresh (not previously frozen) pork
- Standard loin or rib chops (not tenderloin)
Important limitations: Bone-in chops require 1-2 minutes additional cooking time per side. Previously frozen chops may release more moisture during cooking, requiring extended surface drying. For chops thinner than ¼ inch, reduce stovetop time to 1-2 minutes per side and oven time to 2-3 minutes.
Troubleshooting Common Issues
Problem: Uneven Browning
Solution: Ensure consistent thickness by gently pounding thicker areas with a meat mallet. USDA Food Safety guidelines recommend maintaining even thickness for uniform cooking. Avoid moving chops during initial searing phase.
Problem: Excessive Smoke
Solution: Use refined avocado oil (smoke point 520°F) instead of olive oil. Turn on exhaust fan and open windows. Reduce heat slightly after initial sear.
Problem: Gray Band Around Edges
Solution: This indicates overcooking from excessive heat. Lower stovetop temperature slightly and reduce oven time. The ideal gray band should be no wider than ⅛ inch.
Perfect Pairings for Your Pork Chops
Serve immediately after resting with complementary elements that enhance moisture perception:
- Apple cider pan sauce (adds 15% perceived moisture)
- Compound butter (melts into meat fibers)
- Quick-pickled vegetables (contrast enhances juiciness perception)
Frequently Asked Questions
How can I tell when thin pork chops are done without a thermometer?
While a thermometer is recommended, you can use the touch test: properly cooked pork should feel like the base of your thumb when touching index and thumb together - firm but yielding. The juices should run clear, not pink. However, visual cues alone have a 30% error rate according to American Culinary Federation studies.
Can I use this method for frozen thin pork chops?
Yes, but with modifications. Increase stovetop time by 1 minute per side to compensate for lower starting temperature, and add 2 minutes to oven time. The USDA Food Safety and Inspection Service recommends against cooking frozen chops thicker than ½ inch due to uneven cooking risks. Always verify final internal temperature reaches 145°F.
Why shouldn't I pierce thin pork chops while cooking?
Piercing releases juices immediately, causing up to 20% additional moisture loss according to culinary research from the Culinary Institute of America. Use tongs to flip instead of forks. The belief that piercing 'seals in juices' is a cooking myth - moisture loss occurs through evaporation from the surface, not through puncture holes.
How does brining help prevent dryness in thin pork chops?
A 30-minute brine in 4 cups water with ¼ cup salt changes the protein structure, allowing meat to retain up to 15% more moisture during cooking. The salt alters myosin proteins, creating a gel that traps water. For thin chops, keep brining time under 45 minutes to prevent overly salty results. Skip brining if using pre-injected 'enhanced' pork products.


 浙公网安备
33010002000092号
 浙B2-20120091-4