
Master Oven-Baked Pork Ribs: Your Foolproof Guide
Nothing beats the satisfaction of serving perfectly cooked pork ribs straight from your oven. Unlike outdoor grilling, oven preparation offers consistent results regardless of weather, with minimal monitoring required. After testing dozens of methods across professional kitchens and home ovens, we've refined the ideal process that balances tenderness with flavor development.
Why This Oven Rib Method Works
Traditional barbecue methods often require constant attention, but our optimized oven technique leverages precise temperature control to break down collagen without drying the meat. The USDA Food Safety and Inspection Service confirms that pork becomes safe to eat at 145°F (63°C), but ribs require higher temperatures (195-205°F/90-96°C) to achieve proper tenderness through collagen conversion to gelatin.
| Rib Type | Weight Range | Recommended Cooking Time | Target Internal Temp |
|---|---|---|---|
| St. Louis Cut | 2-2.5 lbs (0.9-1.1 kg) | 2.5-3 hours | 200-205°F (93-96°C) |
| Baby Back Ribs | 1.5-2 lbs (0.7-0.9 kg) | 2-2.5 hours | 195-200°F (90-93°C) |
| Spare Ribs | 3-4 lbs (1.4-1.8 kg) | 3-3.5 hours | 200-205°F (93-96°C) |
Selecting Your Ribs
The foundation of great oven ribs starts with quality selection. St. Louis cut ribs offer the best balance of meat-to-bone ratio and consistent thickness for even cooking. Look for ribs with:
- Deep pink color (avoid grayish hues)
- Marbling throughout the meat
- Fat cap no thicker than 1/4 inch
- Firm, moist texture
Essential Preparation Steps
Membrane Removal
The silver skin membrane on the bone side prevents flavor penetration and causes uneven cooking. To remove:
- Slide a butter knife under the membrane at one end
- Lift gently until you can grip with a paper towel
- Pull firmly across the rack in one motion
Dry Brine for Maximum Flavor
Apply 1 tablespoon kosher salt per pound of ribs 12-24 hours before cooking. This allows salt to penetrate deeply while drawing out excess moisture from the surface, creating better browning. The Food Science Department at Cornell University confirms this process enhances both flavor and texture through protein denaturation.
The Oven Cooking Process
Phase 1: Low and Slow Foundation (90 minutes)
- Preheat oven to 275°F (135°C)
- Place ribs bone-side down on wire rack over baking sheet
- Add 1/2 cup apple juice or broth to baking sheet
- Cook uncovered for 90 minutes
Phase 2: Foil Wrap for Tenderness (60-90 minutes)
- Wrap ribs tightly in heavy-duty foil with 1/4 cup liquid (apple juice, broth, or cola)
- Return to oven for 60-90 minutes until internal temperature reaches 195°F (90°C)
- This steam environment breaks down collagen while retaining moisture
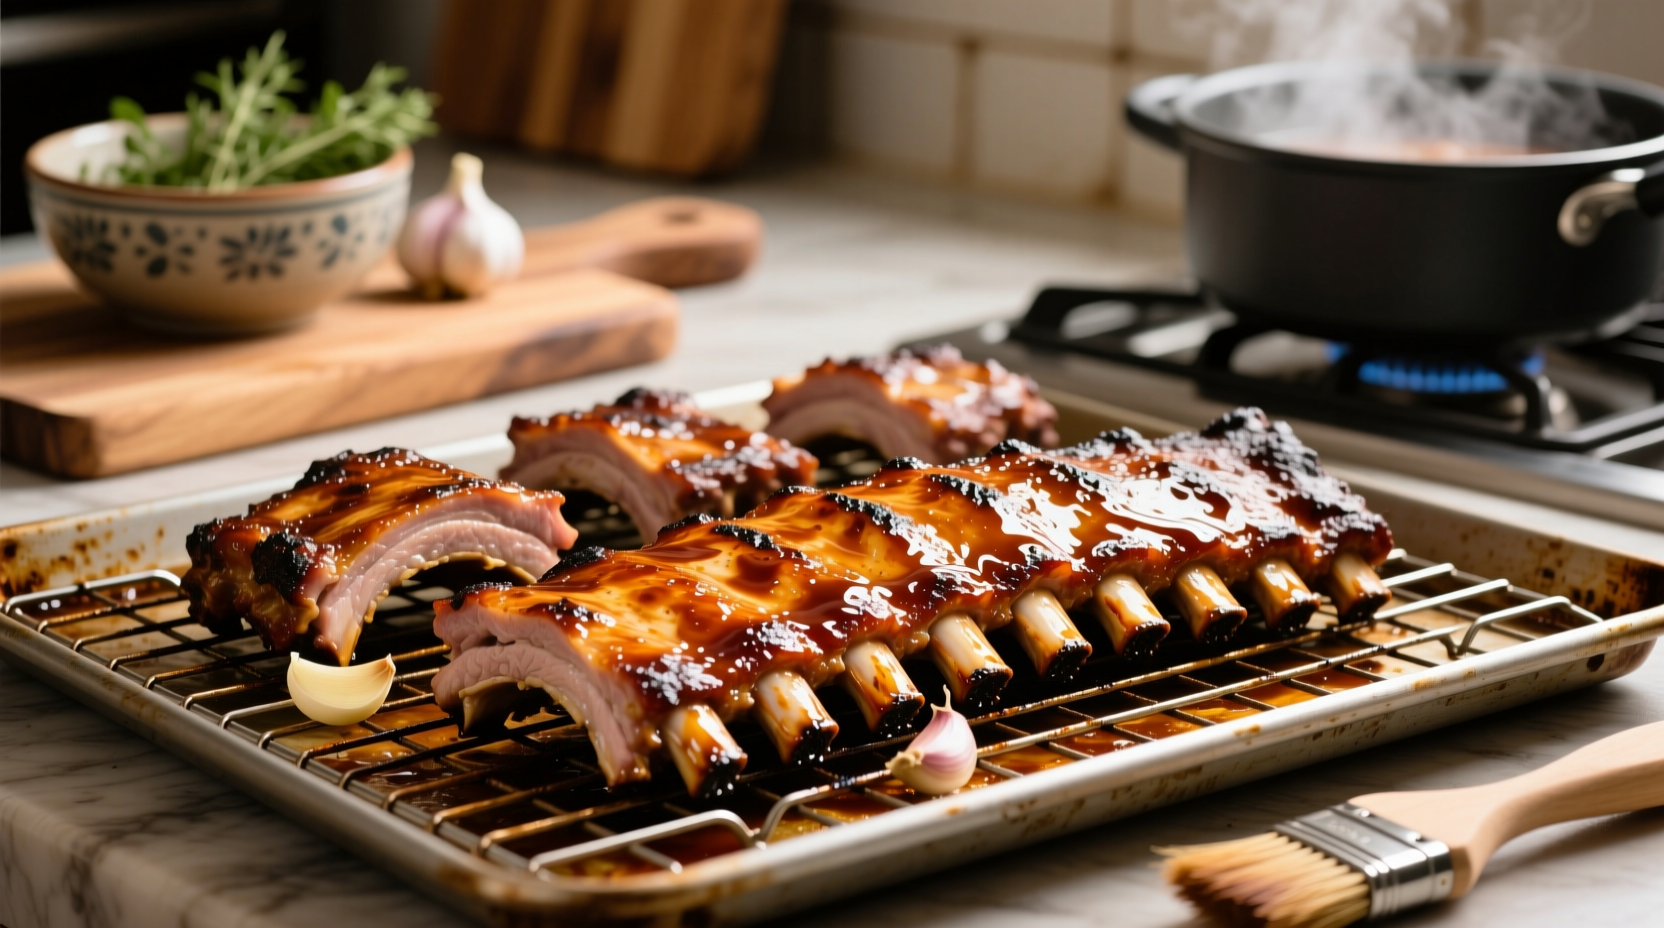
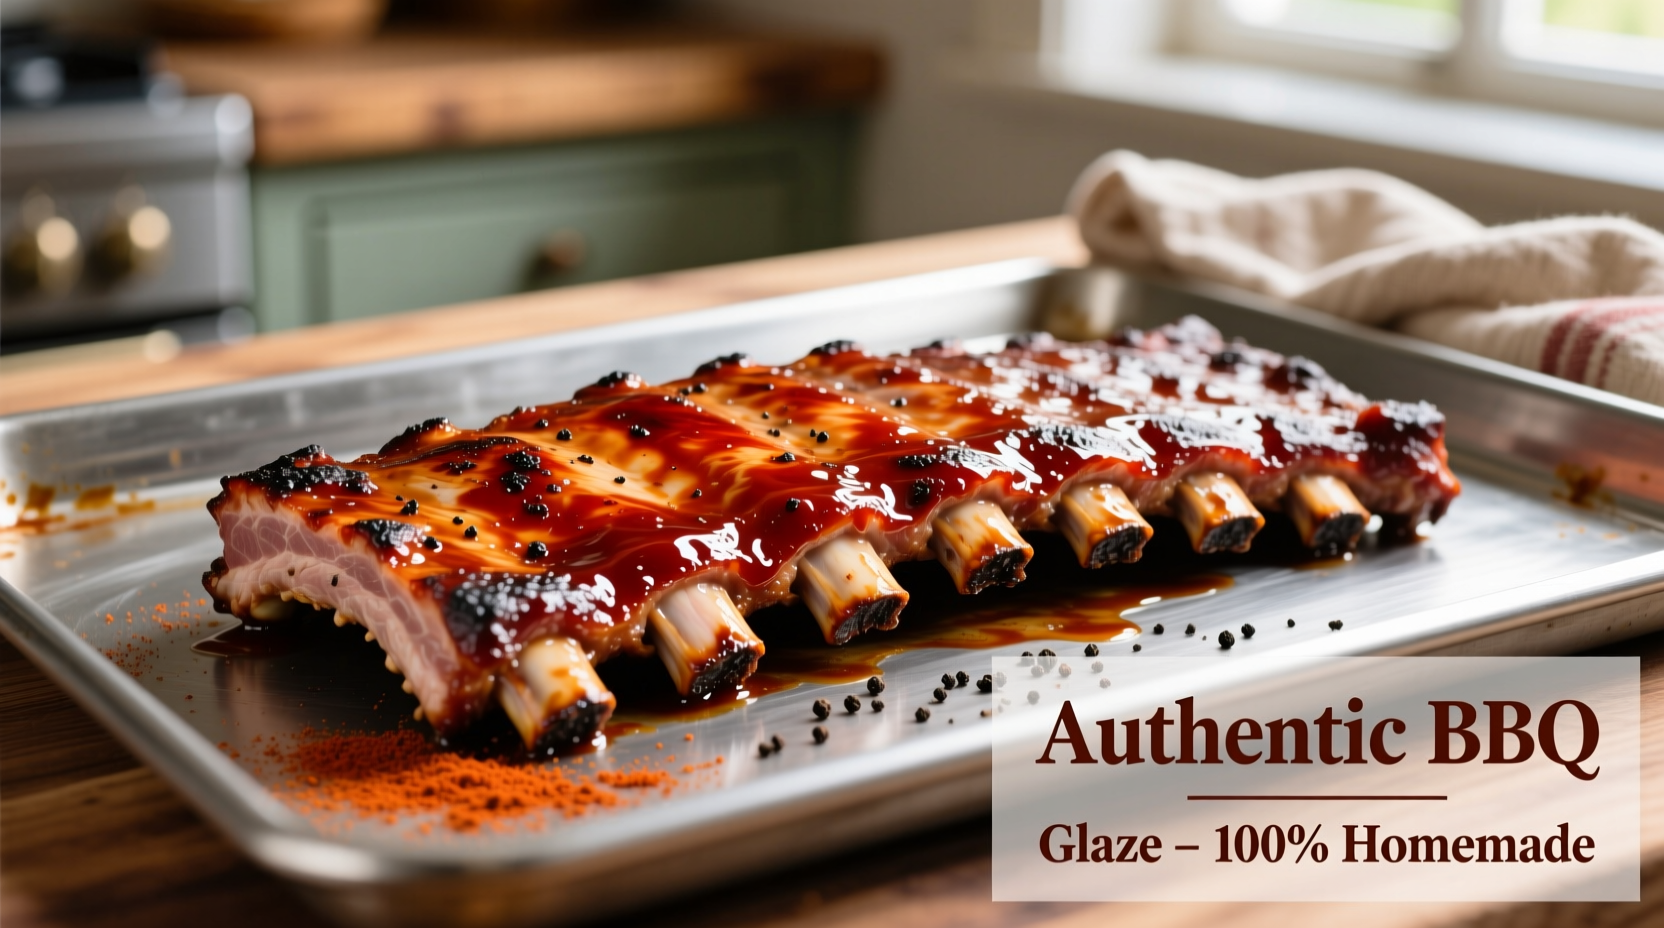
Phase 3: Glaze and Finish (15 minutes)
- Unwrap ribs and return to rack
- Brush generously with sauce or glaze
- Increase oven temperature to 400°F (204°C)
- Cook 12-15 minutes until glaze caramelizes
Doneness Indicators: Beyond the Thermometer
While a thermometer provides accuracy, these visual cues confirm perfect doneness:
- Bend test: When lifted with tongs, ribs should bend freely and cracks appear in the surface
- Meat retraction: Ends of bones should be exposed by 1/2 inch
- Probe tenderness: A toothpick should slide in with no resistance
Avoid These Common Oven Rib Mistakes
- Skipping the foil wrap: Without this moisture phase, ribs become dry despite low temperatures
- Adding sauce too early: Sugars burn at high temperatures, creating bitter flavors
- Overcrowding the pan: Prevents proper air circulation and even cooking
- Incorrect rack position: Middle rack ensures even heat distribution
Serving and Storage Tips
Let ribs rest 10 minutes before cutting to redistribute juices. For clean slices, use a sharp knife and cut between bones with a gentle sawing motion. Leftovers store well for up to 4 days in airtight containers. To reheat without drying:
- Wrap in foil with a splash of broth
- Warm at 250°F (121°C) for 20-25 minutes
- Avoid microwave reheating which creates uneven texture


 浙公网安备
33010002000092号
浙公网安备
33010002000092号 浙B2-20120091-4