
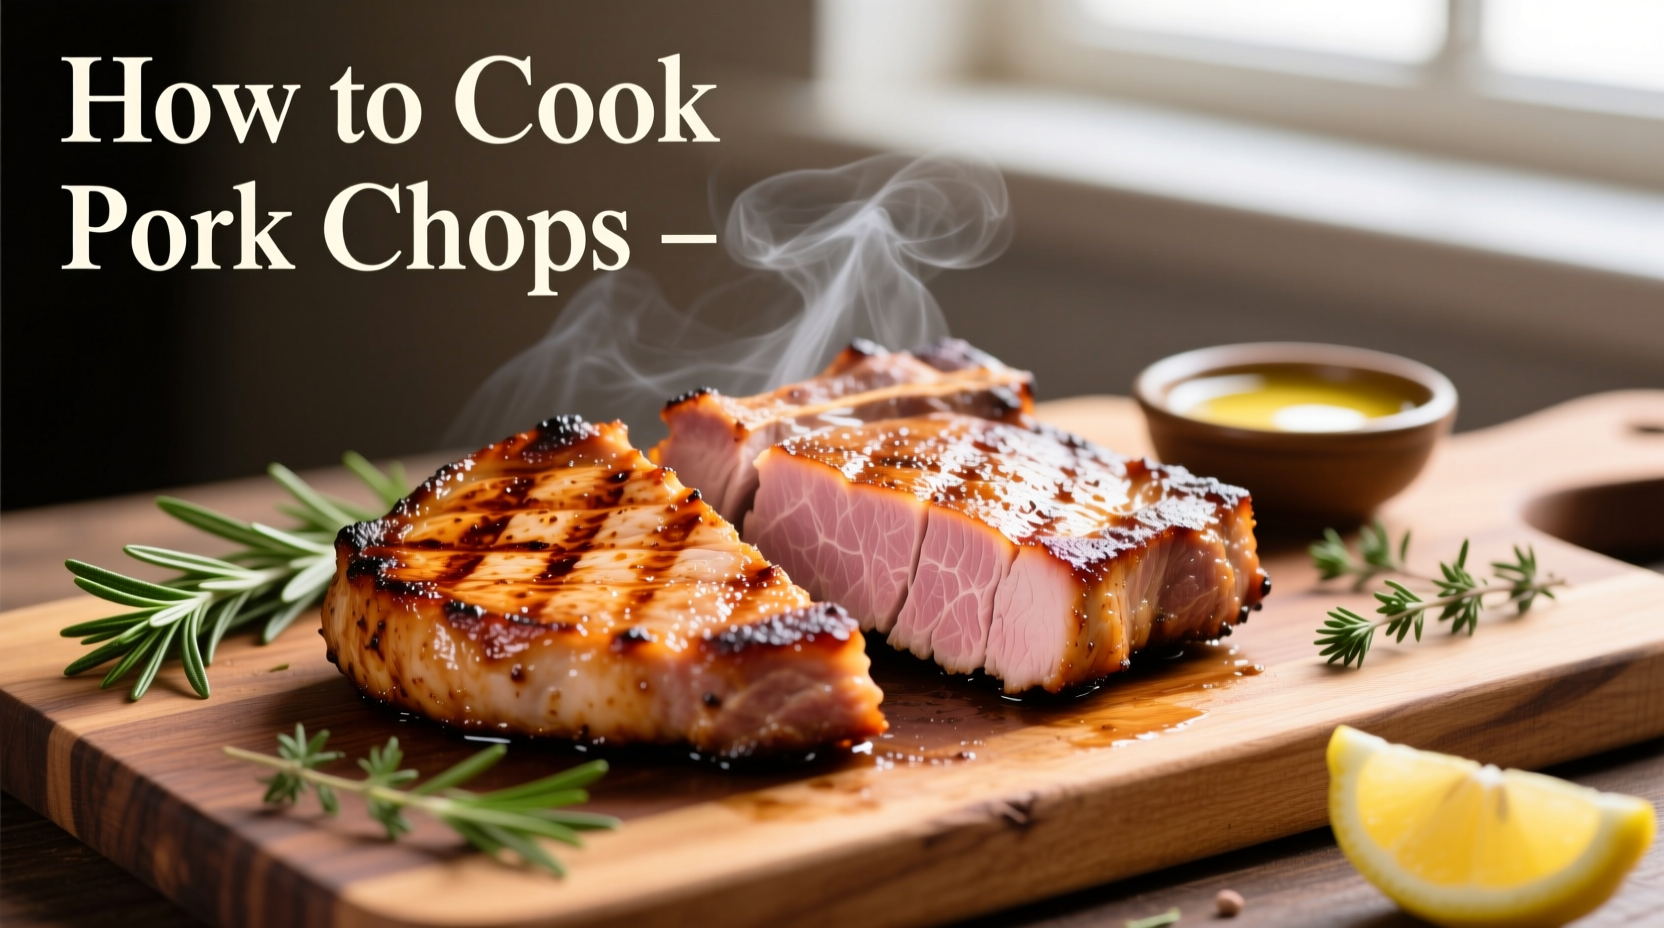
The Secret to Juicy, Restaurant-Quality Pork Chops at Home
Nothing disappoints more than dry, tough pork chops after期待 a flavorful meal. This guide reveals the precise techniques professional chefs use to guarantee tender, juicy results every time—no more overcooked disappointments. You'll master temperature control, resting methods, and flavor-enhancing tricks that transform this humble cut into a gourmet centerpiece.
Essential Tools for Perfect Pork Chops
Before you start cooking, gather these kitchen essentials:
- Cast-iron or heavy-bottomed stainless steel skillet (for superior searing)
- Digital instant-read thermometer (critical for accuracy)
- Tongs with silicone tips (prevents meat tearing)
- Wire rack (for proper air circulation during resting)
- Aluminum foil (for tenting during rest period)
| Cooking Method | Best Chop Thickness | Recommended Temp | Approx. Cooking Time |
|---|---|---|---|
| Pan-searing | 1-1.5 inches | 400°F skillet | 6-8 minutes total |
| Grilling | 1.5 inches | Medium-high heat | 8-12 minutes total |
| Oven-roasting | 1.5+ inches | 375°F | 15-20 minutes |
| Reverse sear | 1.5+ inches | 275°F then 450°F | 25-35 minutes total |
Selecting the Right Cut: Bone-In vs. Boneless
Thick-cut, bone-in pork chops (1-1.5 inches) deliver superior results compared to thin cuts. The bone acts as an insulator, slowing heat transfer and preventing overcooking near the bone. Look for chops with marbling throughout the meat—this intramuscular fat melts during cooking, basting the meat from within.
According to the USDA Food Safety and Inspection Service, pork should reach 145°F internal temperature with a 3-minute rest period for safe consumption. This represents a significant shift from previous recommendations of 160°F, reflecting improved food safety standards and better understanding of pork quality.
Preparation: The 30-Minute Game Changer
Remove chops from refrigeration 30 minutes before cooking. This critical step ensures even cooking by eliminating the temperature gradient between the exterior and interior. Cold meat placed directly in a hot pan causes uneven searing and often results in gray, overcooked edges surrounding an undercooked center.
Dry the surface thoroughly with paper towels—moisture is the enemy of proper searing. Patience here creates the Maillard reaction foundation for maximum flavor development.
Seasoning Strategy: Less is More
Generously season with kosher salt (1/2 teaspoon per side) at least 45 minutes before cooking. This allows salt to penetrate the meat, enhancing both flavor and moisture retention. Add freshly ground black pepper and any additional seasonings just before cooking to prevent burning.
Professional chefs like Antonio Rodriguez emphasize that "simple seasoning allows the natural pork flavor to shine". Avoid sugary rubs that burn at high searing temperatures.
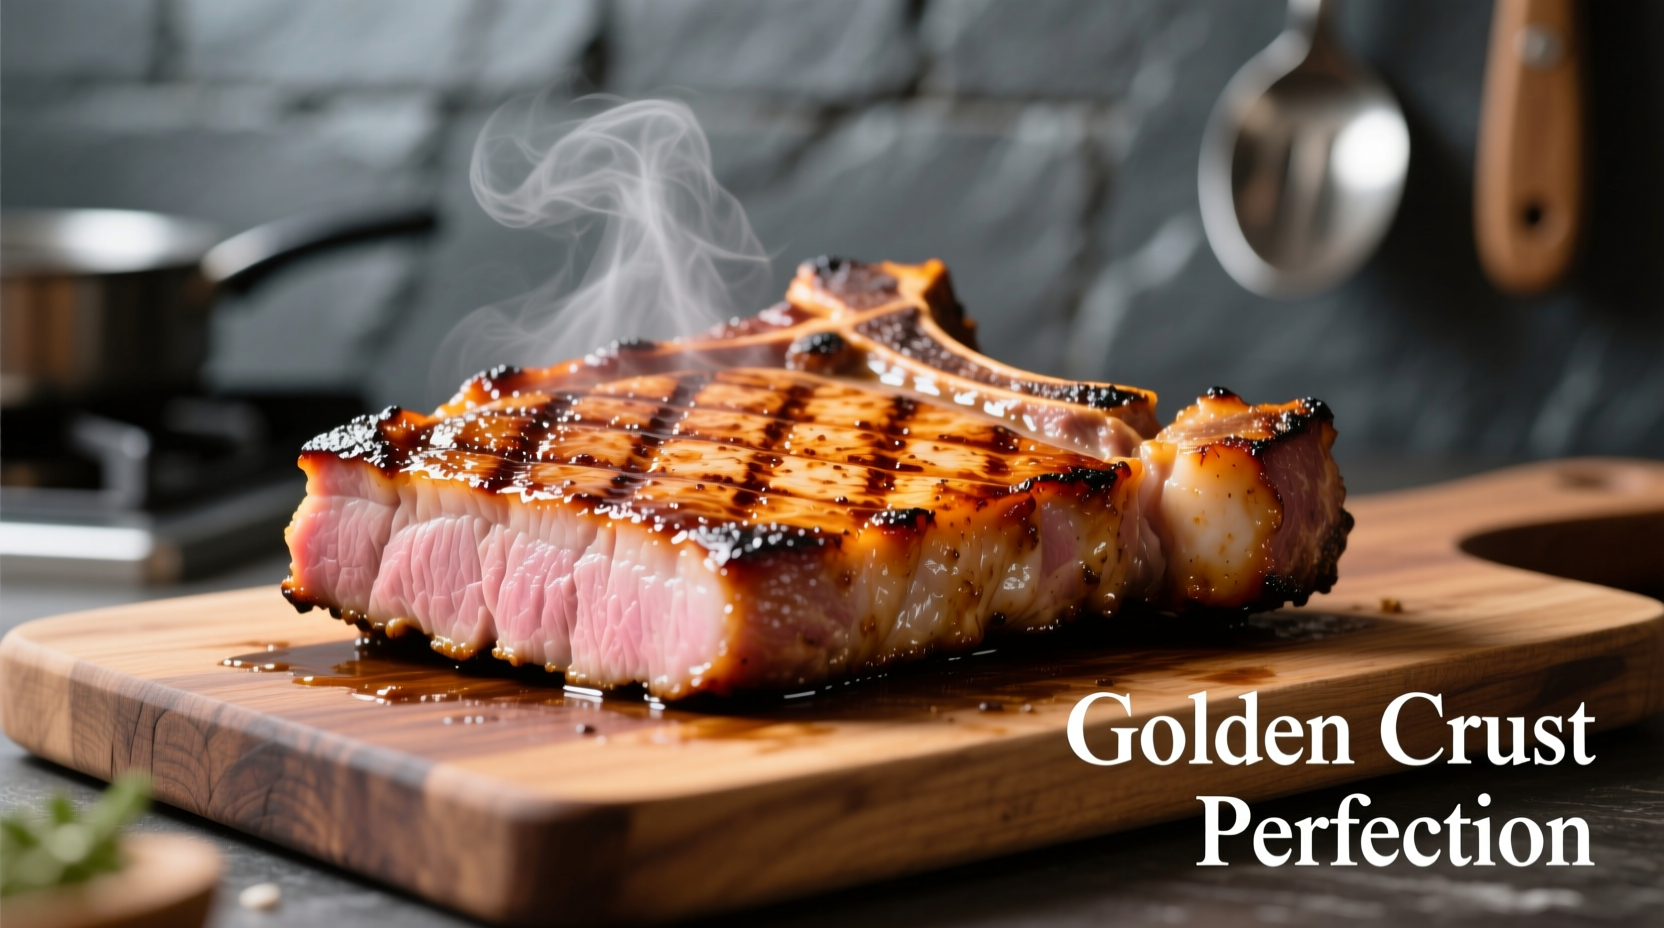
Searing Technique: The Golden Crust Formula
Heat your skillet over medium-high heat until a drop of water sizzles violently. Add high-smoke point oil (avocado or grapeseed), then place chops in the pan away from you to prevent oil splatter.
Key searing principles:
- Do not move chops for first 3-4 minutes—this creates the crust
- Avoid overcrowding the pan (cook in batches if necessary)
- Press lightly with a spatula for maximum contact
- Flip only once when chops release naturally from the pan
Temperature Control: The Digital Thermometer Advantage
Insert an instant-read thermometer horizontally into the thickest part of the chop, avoiding the bone. Remove from heat at 140°F—the temperature will continue rising 5 degrees during resting (carryover cooking).
The USDA Agricultural Research Service confirms that modern pork is safe at 145°F due to improved farming practices and pathogen control. This lower temperature threshold preserves moisture that previously recommended higher temperatures would destroy.
Resting: The Non-Negotiable Final Step
Transfer chops to a wire rack and tent loosely with foil for 5 minutes. This allows juices to redistribute throughout the meat. Cutting too soon releases precious moisture onto your cutting board rather than staying in the meat.
During this critical resting period, the internal temperature continues to rise slightly while muscle fibers relax, resulting in significantly juicier results. Skipping this step can cause up to 20% moisture loss.
Troubleshooting Common Problems
Dry, tough chops: Overcooking is the primary culprit. Always use a thermometer and remove at 140°F.
Burnt exterior, raw interior: Pan wasn't hot enough before adding chops, causing the meat to steam rather than sear.
Chops sticking to pan: Surface wasn't dry enough or pan wasn't sufficiently preheated.
Advanced Technique: The Reverse Sear Method
For thick-cut chops (1.5+ inches), try the reverse sear:
- Season and refrigerate uncovered overnight for dry brine effect
- Place on wire rack in 275°F oven until internal temperature reaches 120°F
- Rest for 10 minutes, then sear in smoking hot skillet for 60-90 seconds per side
This method ensures perfectly even cooking from edge to center with minimal gray band.
Flavor Pairing Suggestions
Complement your perfectly cooked pork chops with these classic pairings:
- Apple cider pan sauce with fresh thyme
- Mustard-herb compound butter
- Roasted root vegetables with rosemary
- Crisp arugula salad with lemon vinaigrette


 浙公网安备
33010002000092号
浙公网安备
33010002000092号 浙B2-20120091-4