
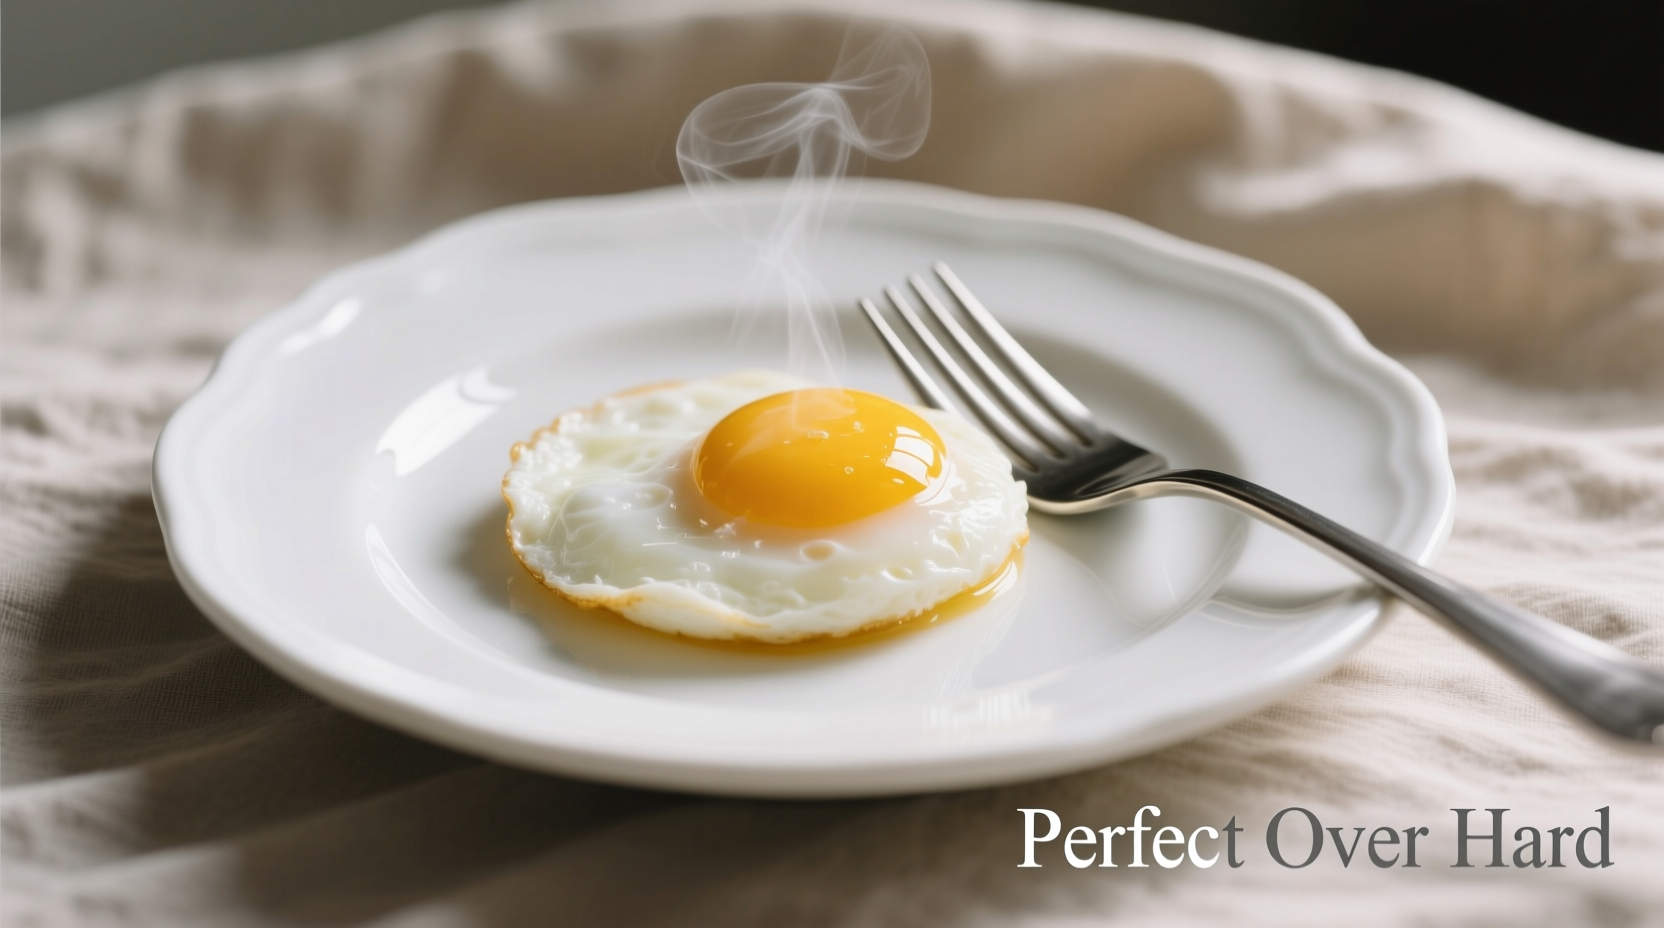
Perfect over hard eggs require flipping the egg after the white sets and cooking until the yolk is completely firm, reaching an internal temperature of 160°F (71°C). The key steps are: heat oil in non-stick pan over medium heat, crack egg in, cook 2-3 minutes until white sets, flip carefully, and cook 2-3 more minutes until yolk is fully set but not dry.
What Exactly Are Over Hard Eggs?
Over hard eggs represent the fully cooked version of fried eggs, where both the white and yolk reach a firm consistency. Unlike over easy or over medium eggs where the yolk remains runny or slightly runny, over hard eggs have a completely solid yolk that's cooked through. This style appeals to those who prefer no liquid yolk in their fried eggs while still enjoying the distinct texture that frying provides compared to hard-boiled eggs.
The Science Behind Perfect Over Hard Eggs
Egg whites begin to coagulate at 140°F (60°C) and fully set around 180°F (82°C), while yolks start thickening at 149°F (65°C) and fully set between 158-170°F (70-77°C). According to the USDA Food Safety and Inspection Service, eggs should reach an internal temperature of 160°F (71°C) for safe consumption. This precise temperature control is why over hard eggs require careful timing - cook too little and the yolk remains soft; cook too long and the eggs become rubbery.
| Egg Component | Beginning of Coagulation | Full Coagulation | Recommended for Over Hard |
|---|---|---|---|
| Egg White | 140°F (60°C) | 180°F (82°C) | Fully set before flipping |
| Egg Yolk | 149°F (65°C) | 158-170°F (70-77°C) | 160°F (71°C) minimum |
Essential Equipment for Cooking Over Hard Eggs
While you can cook eggs in almost any pan, achieving consistent results with over hard eggs requires specific equipment:
- Non-stick skillet: An 8-10 inch non-stick or well-seasoned cast iron skillet prevents sticking and makes flipping easier
- Spreader spatula: Thin, flexible edge for getting under delicate eggs without breaking yolks during the flip
- Timer: Essential for consistent results - cooking times vary by heat level and pan type
- Instant-read thermometer: For precise temperature verification, especially important for food safety
Step-by-Step Guide to Perfect Over Hard Eggs
Follow these professional chef techniques for flawless over hard eggs every time:
Preparation Phase
- Use room temperature eggs (taken from refrigerator 30 minutes before cooking) for more even cooking
- Choose fresh eggs with firm whites that hold their shape better during cooking
- Preheat your non-stick skillet over medium heat for 2-3 minutes before adding fat
- Add 1-2 teaspoons of high smoke-point oil (canola, avocado, or clarified butter) and swirl to coat the surface evenly
Cooking Process
- Crack eggs into the pan, leaving space between them if cooking multiple
- Cook undisturbed for 2-3 minutes until whites are completely set around the edges and mostly opaque
- Test readiness for flipping by gently lifting edge with spatula - whites should no longer be translucent
- Carefully slide spatula under egg, supporting yolk, and flip in one smooth motion
- Cook for additional 2-3 minutes for fully set yolk (adjust based on desired firmness)
- Check internal temperature with thermometer to ensure it reaches 160°F (71°C)
- Transfer to plate immediately to prevent residual heat from overcooking
Troubleshooting Common Over Hard Egg Problems
Even experienced cooks encounter issues with fried eggs. Here's how to solve the most common problems:
Brown Spots or Overcooked Edges
Cause: Heat too high or oil too hot before adding eggs
Solution: Reduce heat to medium before adding eggs. The oil should shimmer but not smoke. If using butter, add it just before the eggs as it burns more easily than oil.
Broken Yolks During Flipping
Cause: Inconsistent heat, improper spatula technique, or flipping too early
Solution: Wait until whites are fully set before flipping. Use a thin, flexible spatula and support the yolk completely during the flip. Practice your flipping motion with a spoon first if needed.
Rubbery or Dry Texture
Cause: Overcooking or cooking at too high temperature
Solution: Reduce cooking time after flipping. For perfect over hard eggs, the total cooking time should be 4-6 minutes. Remove from heat just before reaching desired doneness as residual heat will continue cooking.
Serving Suggestions for Over Hard Eggs
Over hard eggs pair well with numerous dishes and offer versatility in meal planning:
- Classic breakfast plate: Serve with toast, bacon or sausage, and hash browns
- Breakfast sandwiches: The firm yolk holds up well in sandwiches without leaking
- Salads: Slice over greens for added protein in lunch salads
- Tacos and burritos: A popular addition to Mexican breakfast dishes
- Rice bowls: Excellent topping for bibimbap or other grain bowls
How Over Hard Compares to Other Fried Egg Styles
Understanding the differences between fried egg preparations helps you choose the right style for your meal:
- Over easy: Flipped with completely runny yolk (2-3 minutes total cooking)
- Over medium: Flipped with slightly runny yolk (3-4 minutes total cooking)
- Over hard: Flipped with fully cooked, firm yolk (4-6 minutes total cooking)
- Sunny side up: Not flipped, runny yolk with set whites (3-4 minutes cooking)
The primary difference lies in the yolk consistency and total cooking time. Over hard provides the most consistent texture throughout the egg, making it ideal for dishes where runny yolks would create mess or alter other components.
Advanced Techniques for Perfect Over Hard Eggs
Professional chefs use these methods to elevate simple fried eggs:
- Basting technique: After the initial cooking, spoon hot oil over the top of the egg while it cooks to help set the top layer of white more quickly
- Covered cooking: Place a lid on the pan after flipping to use steam to help cook the top of the egg more evenly
- Butter finish: Add a small pat of butter during the last minute of cooking for enhanced flavor and sheen
- Seasoning timing: Salt before cooking helps prevent over-spreading; pepper after cooking preserves its flavor


 浙公网安备
33010002000092号
浙公网安备
33010002000092号 浙B2-20120091-4