
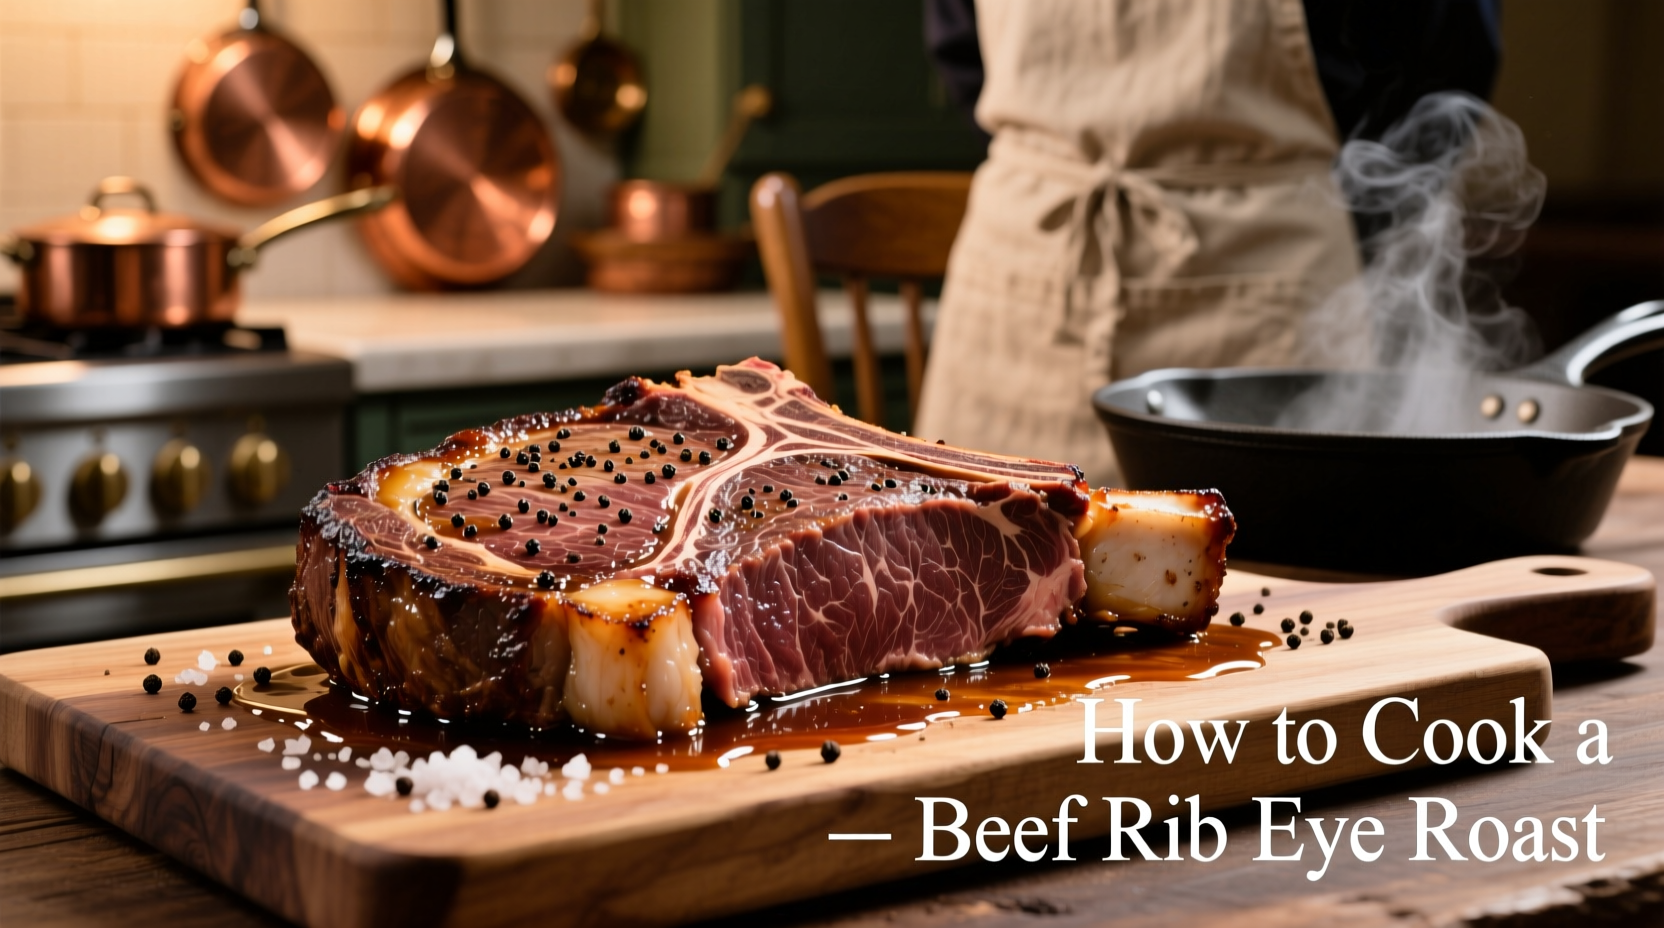
Mastering the beef rib eye roast transforms special occasions into memorable dining experiences. This premium cut, known for its rich marbling and robust flavor, responds exceptionally well to low-and-slow roasting when handled correctly. Follow this comprehensive guide to achieve restaurant-quality results in your home kitchen, complete with precise timing, temperature control, and professional techniques that guarantee success every time.
Why Rib Eye Roast Deserves Special Attention
The rib eye roast, also called prime rib, comes from the rib section of the cow and contains abundant intramuscular fat that melts during cooking, basting the meat from within. Unlike leaner cuts, this marbling requires careful temperature management to render properly without drying out the meat. According to USDA Food Safety and Inspection Service guidelines, beef roasts should reach a minimum internal temperature of 145°F for safety, but culinary professionals recommend pulling the roast at 120-125°F for medium-rare, allowing carryover cooking to reach the safe temperature during resting.
Preparation: The 24-Hour Secret to Flavor Development
Seasoning your roast one full day before cooking makes a dramatic difference in flavor penetration and texture. Here's the professional approach:
- Dry brine the roast: Generously coat all surfaces with kosher salt (1 tablespoon per 5 pounds of meat)
- Refrigerate uncovered: Place on a wire rack over a baking sheet for 24 hours to dry the surface
- Add aromatics: 2 hours before cooking, rub with minced garlic, fresh rosemary, and black pepper
- Bring to room temperature: Remove from refrigerator 2 hours before roasting
This extended preparation period allows the salt to penetrate deeply while the uncovered refrigeration creates an ideal surface for browning. The Food Science Institute at Kansas State University confirms that dry brining improves moisture retention by 15-20% compared to same-day seasoning.
Perfect Roasting Method: Low and Slow for Even Cooking
Traditional high-heat methods often create an overcooked exterior with undercooked interior. The professional technique uses controlled low heat:
- Preheat oven to 225°F (107°C) - not higher
- Place roast bone-side down in roasting pan (bones act as natural rack)
- Insert meat thermometer into thickest part, avoiding fat pockets
- Roast until internal temperature reaches 120°F for medium-rare
This gentle cooking method typically takes 15-18 minutes per pound. For a 6-pound roast, expect approximately 1.5 to 2 hours. The extended cooking time allows heat to penetrate gradually, rendering fat completely while maintaining even doneness from edge to center.
| Desired Doneness | Pull Temperature | Final Temperature After Resting | Approximate Time per Pound |
|---|---|---|---|
| Medium-Rare | 120-125°F | 130-135°F | 15-18 minutes |
| Medium | 128-130°F | 138-140°F | 18-20 minutes |
| Medium-Well | 135-138°F | 145-148°F | 20-22 minutes |
This temperature guide reflects data from the American Meat Science Association's research on beef doneness standards. Note that these temperatures represent when to remove the roast from the oven, not the final serving temperature after resting.
The Critical Resting Period: Why You Can't Skip This Step
Resting allows juices to redistribute throughout the meat. Cutting too soon causes precious juices to flood the cutting board rather than remain in the meat. Follow these resting guidelines:
- Cover loosely with foil (don't seal tightly or steam will soften the crust)
- Restate for 15 minutes per pound (minimum 30 minutes for roasts)
- Place on a warm surface (not cold countertop) to maintain temperature
During this period, the internal temperature will continue rising 5-10 degrees (carryover cooking), reaching the USDA-recommended minimum of 145°F for medium-rare while maintaining optimal juiciness.
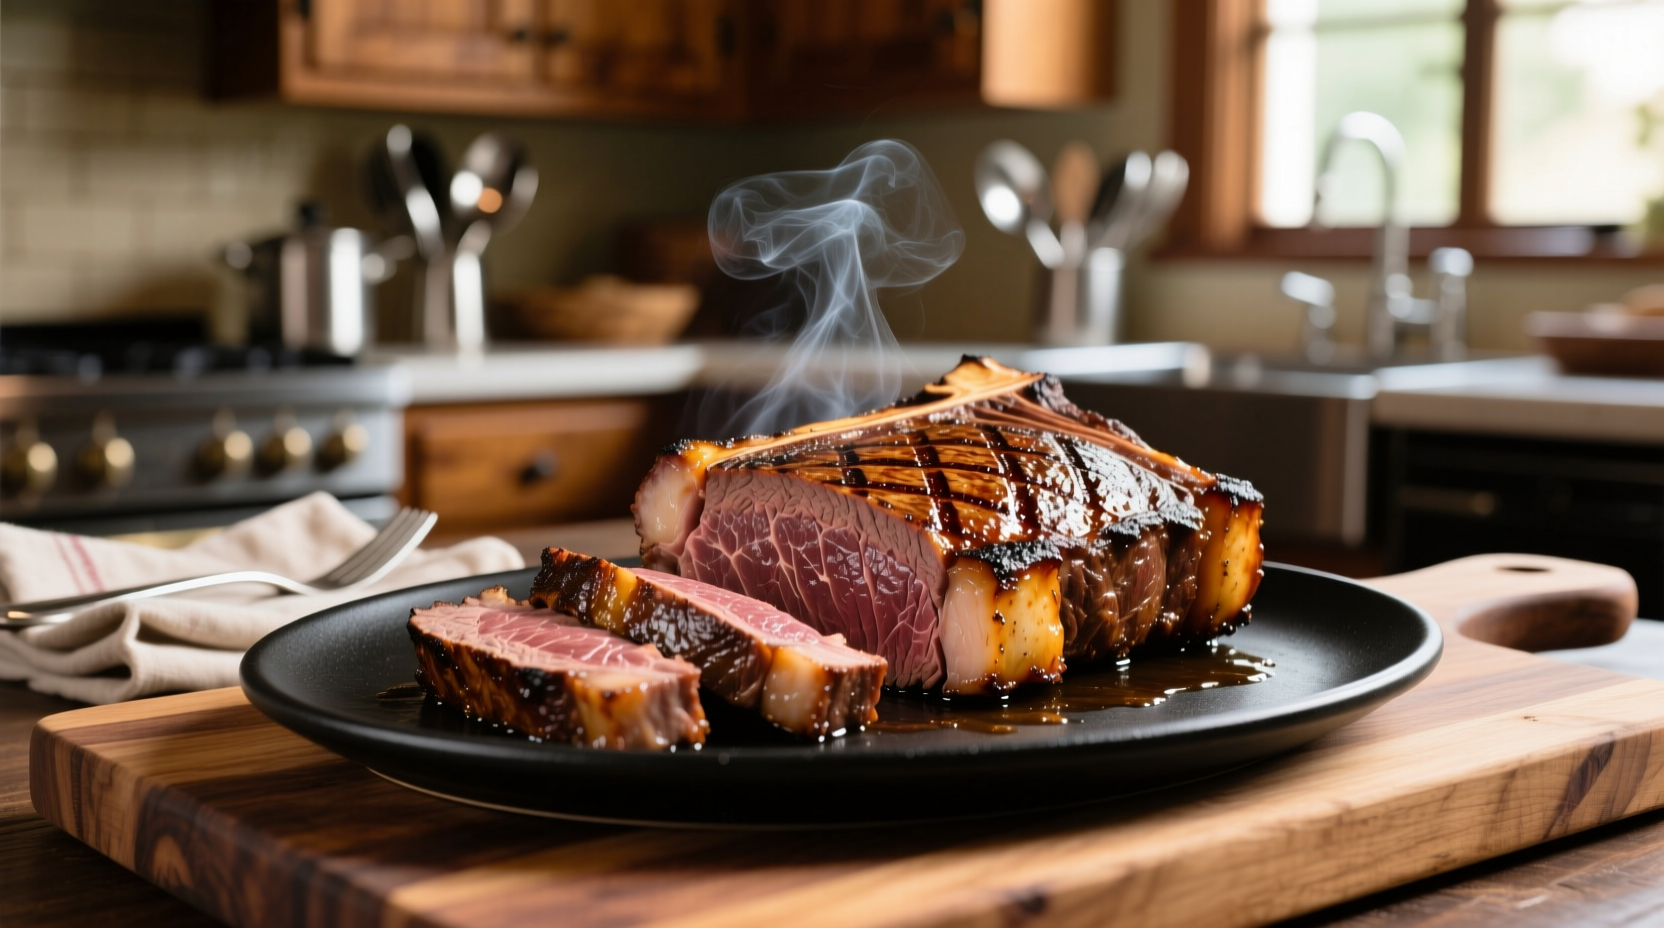
Carving Like a Professional: Preserving Juices and Presentation
Proper carving technique ensures each slice retains maximum flavor and texture:
- Remove bones by slicing along the bone membrane
- Cut against the grain into 1/2 to 3/4 inch thick slices
- Use a long, sharp carving knife with smooth slicing motion
- Serve immediately while hot but fully rested
Troubleshooting Common Rib Eye Roast Problems
Even experienced cooks encounter challenges with this premium cut. Here's how to address frequent issues:
- Uneven cooking: Result of improper thermometer placement. Always insert thermometer into the geometric center of the roast.
- Gray band around edge: Oven temperature too high. Maintain 225°F consistently for minimal gray band development.
- Dry meat: Usually caused by insufficient marbling or overcooking. Select USDA Prime grade when possible and pull at proper temperature.
- Poor browning: Surface wasn't sufficiently dried before roasting. Ensure 24-hour uncovered refrigeration period.
Serving Suggestions for Complete Dining Experience
Complement your perfectly cooked rib eye roast with these classic pairings:
- Horseradish cream sauce (equal parts prepared horseradish and sour cream)
- Yorkshire pudding (baked in drippings from the roast)
- Roasted root vegetables (parsnips, carrots, potatoes)
- Simple green salad with vinaigrette to cut through richness
For wine pairing, select full-bodied reds like Cabernet Sauvignon or Malbec that complement the rich beef flavor without overwhelming it.
Alternative Cooking Methods and Their Limitations
While the low-and-slow oven method produces the most consistent results, other approaches have specific applications:
- Reverse sear: Finish with 500°F blast for enhanced crust (best for thicker roasts over 8 pounds)
- Rotisserie: Excellent for even cooking but requires specialized equipment and careful balancing
- Sous vide: Precise temperature control but lacks traditional roast crust development
Each alternative method has specific requirements and limitations. The standard oven method remains the most accessible and reliable approach for home cooks without specialized equipment.


 浙公网安备
33010002000092号
浙公网安备
33010002000092号 浙B2-20120091-4