
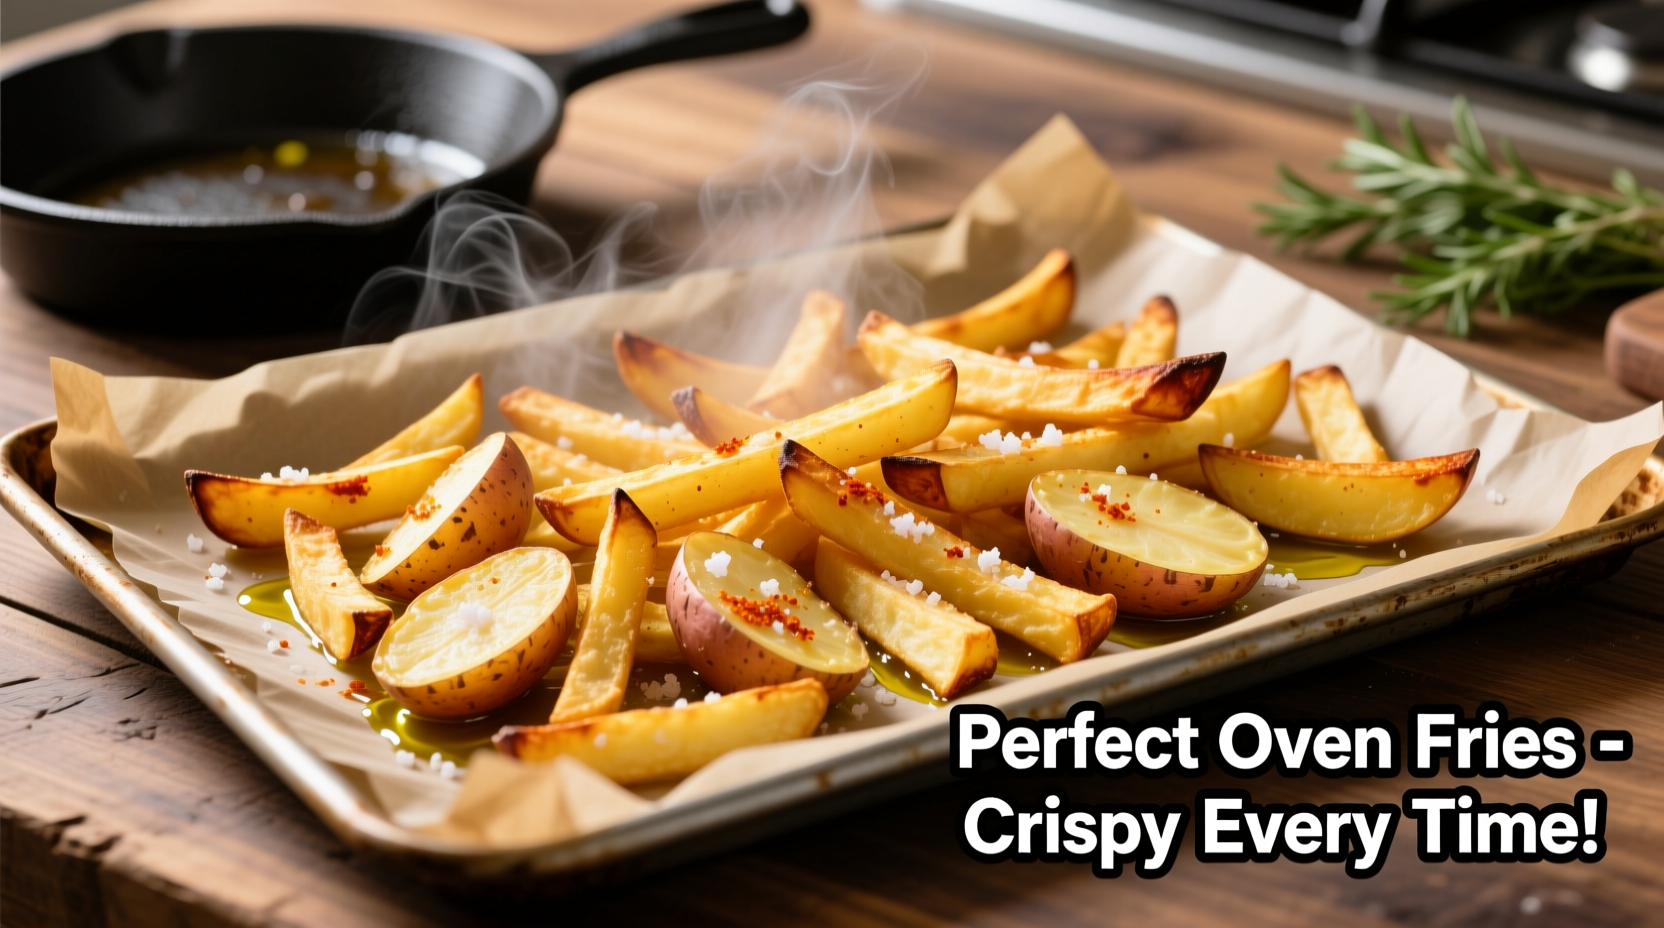
The secret to perfect oven-baked french fries is proper potato preparation, precise temperature control at 425°F (220°C), and adequate spacing on the baking sheet. Follow these science-backed steps for consistently crispy results without deep frying: select high-starch potatoes, soak to remove excess starch, dry thoroughly, and bake with minimal oil for golden, restaurant-quality fries every time.
Forget soggy, limp oven fries forever. As a professional chef who's taught thousands of home cooks, I've perfected a method that delivers crispy-on-the-outside, fluffy-on-the-inside french fries using just your oven. This technique solves the #1 problem most home cooks face: achieving that elusive crunch without deep frying equipment.
Why Your Previous Oven Fries Failed (And How to Fix It)
Oven fries often disappoint because of three critical mistakes: using the wrong potato variety, skipping the soaking step, and overcrowding the baking sheet. The solution lies in understanding potato science—starch management is key. High-starch potatoes like Russets release moisture during baking, creating steam that helps achieve that perfect crisp exterior while maintaining a tender interior.
Essential Equipment Checklist
You don't need specialty tools, but these items make a significant difference:
- Heavy-duty rimmed baking sheet (dark metal works best for even browning)
- Parchment paper or silicone baking mat (prevents sticking without excess oil)
- Sharp chef's knife and cutting board
- Clean kitchen towel or paper towels (critical for drying)
- Metal spatula for flipping
The Potato Selection Timeline: From Farm to Crisp Fry
Understanding potato varieties and their harvest cycles ensures optimal starch content for frying:
| Season | Best Potato Varieties | Starch Content | Why It Matters |
|---|---|---|---|
| September-December | Russet Burbank | High (22-24%) | Ideal for maximum crispness; harvested at peak starch levels |
| January-April | Idaho Potatoes | High (21-23%) | Stored properly to maintain starch structure for frying |
| May-August | Maris Piper (UK) or Yukon Gold | Medium (18-20%) | Acceptable alternative when Russets aren't available |
Source: USDA Potato Research Program
Step-by-Step Crispy Oven Fries Method
Preparation Phase: Cutting for Consistent Results
Uniform sizing prevents uneven cooking. Cut potatoes into 1/4-inch thick sticks using this professional technique:
- Peel potatoes (skin prevents crispness)
- Cut off ends and square the potato by slicing flat sides
- Stand potato upright and slice into 1/4-inch planks
- Stack planks and cut into uniform sticks
Soaking Phase: The Secret to Crispiness
Soaking removes excess surface starch that causes sogginess:
- Submerge cut potatoes in cold water for minimum 30 minutes (2 hours ideal)
- Change water 2-3 times until it runs clear
- For extra-crispy results, add 1 tablespoon vinegar per quart of water
Drying Phase: Non-Negotiable for Crisp Fries
Moisture is the enemy of crispiness. This step cannot be skipped:
- Spread potatoes on clean kitchen towels
- Roll up towels and gently press to absorb moisture
- Let air-dry 10 minutes for maximum surface dryness
Seasoning and Oil Application
Use the right oil quantity and type for optimal results:
- 1.5 tablespoons high-smoke point oil per pound of potatoes (avocado or refined olive oil)
- Toss gently in large bowl—don't bruise the potatoes
- Add seasonings after baking to prevent burning (except garlic powder)
Baking Phase: Temperature Control Secrets
Follow this precise baking protocol for perfect results:
- Preheat oven to 425°F (220°C) with rack in upper third
- Line baking sheet with parchment paper
- Spread potatoes in single layer with space between each (overcrowding causes steaming)
- Bake 15 minutes, flip carefully, rotate sheet
- Bake additional 10-15 minutes until golden brown
- For extra crispness, broil 1-2 minutes at the end (watch carefully)
When Oven Fries Won't Work: Context Boundaries
While this method produces excellent results, understand these limitations:
- Thin-cut fries: Under 1/4-inch thickness may burn before cooking through
- Waxy potatoes: Red potatoes or fingerlings won't achieve proper crispness
- High-humidity environments: May require extended drying time
- Convection ovens: Reduce temperature by 25°F and check 5 minutes early
Flavor Variations Without Compromising Crispness
Add these seasonings AFTER baking to maintain texture:
- Classic: Sea salt and freshly cracked black pepper
- Truffle: Truffle salt and Parmesan (add cheese in last 5 minutes)
- Spicy: Smoked paprika and cayenne (1/4 tsp per pound)
- Herb: Fresh rosemary or thyme (toss immediately after baking)
Troubleshooting Common Problems
Solve these frequent oven fry issues:
- Soggy fries: Inadequate drying or overcrowded baking sheet
- Burnt edges: Oven temperature too high or uneven heat distribution
- Uneven cooking: Inconsistent cutting or improper flipping technique
- Sticking to pan: Insufficient parchment paper or premature flipping
Storage and Reheating for Perfect Leftovers
Proper storage maintains crispness for future enjoyment:
- Cool completely on wire rack before storing
- Store in paper bag (not plastic) in cool, dry place
- Reheat in 400°F oven for 5-7 minutes on wire rack
- Air fryer method: 375°F for 3-4 minutes for near-fresh results
Why This Method Works: The Food Science Explained
The success of this technique relies on three scientific principles confirmed by culinary research at the Culinary Institute of America:
- Starch management: Soaking removes surface starch that would otherwise create a gummy texture
- Maillard reaction optimization: 425°F is the ideal temperature for browning without burning
- Moisture control: Thorough drying creates immediate surface crisping when exposed to dry heat
Source: Culinary Institute of America Food Science Department


 浙公网安备
33010002000092号
浙公网安备
33010002000092号 浙B2-20120091-4