
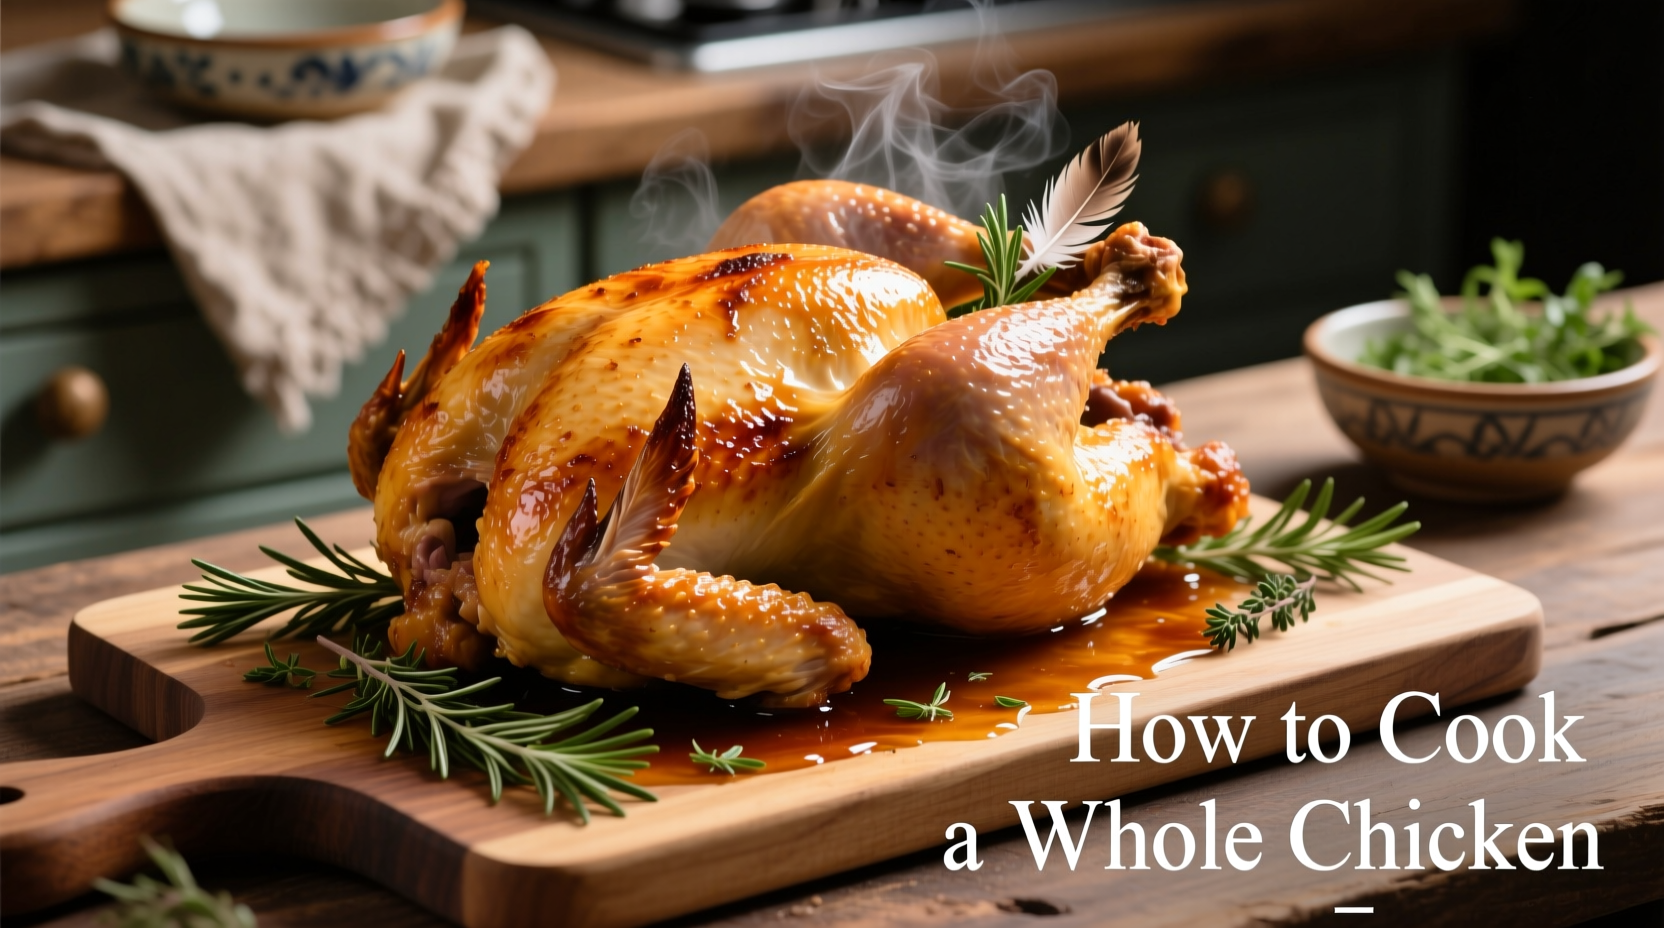
Your Complete Guide to Perfect Whole Chicken Every Time
Cooking a whole chicken might seem intimidating, but with the right technique, you can achieve restaurant-quality results at home. This comprehensive guide walks you through every step of the process, from selecting your bird to carving the finished product. Whether you're a beginner cook or looking to refine your technique, these professional methods will ensure moist meat, crispy skin, and food-safe preparation every time you roast a whole chicken.
Before You Start: Essential Preparation Steps
Proper preparation makes the difference between good and great roasted chicken. Start by selecting a high-quality chicken—look for "air-chilled" birds if available, as they retain more natural flavor. Remove the chicken from its packaging and carefully remove any giblets from the cavity. Pat the entire surface completely dry with paper towels; this crucial step ensures maximum crispiness.
For optimal flavor penetration, season not just the exterior but also inside the cavity. A simple combination of salt, pepper, and your favorite herbs works beautifully. Professional chefs often recommend seasoning at least 12 hours in advance and leaving the chicken uncovered in the refrigerator to further dry the skin—a technique called "dry brining" that dramatically improves texture.
| Cooking Method | Prep Time | Cooking Time (5lb Chicken) | Best For |
|---|---|---|---|
| Traditional Roasting | 15 minutes | 75-90 minutes | Classic presentation, moist meat |
| Spatchcocked | 10 minutes | 45-55 minutes | Faster cooking, extra crispy skin |
| Slow Roasting | 10 minutes | 2-2.5 hours | Maximum tenderness, hands-off cooking |
The Perfect Roasting Process: Step-by-Step
Place your seasoned chicken breast-side up on a roasting rack inside a pan. For traditional roasting, begin at 425°F (220°C) for the first 15 minutes to kickstart browning, then reduce to 375°F (190°C) for the remainder of cooking time. This two-temperature approach ensures beautiful color without overcooking.
For even better results, tuck lemon quarters, garlic cloves, and fresh herbs like rosemary or thyme inside the cavity. These aromatics infuse subtle flavors throughout the meat without overpowering the chicken's natural taste. If you prefer extra-crispy skin, baste with melted butter or olive oil every 30 minutes during cooking.
According to the USDA Food Safety and Inspection Service, poultry must reach a minimum internal temperature of 165°F (74°C) to be safe for consumption. Use an instant-read thermometer inserted into the thickest part of the thigh (without touching bone) to verify doneness. Never rely solely on cooking time, as variables like oven accuracy and chicken size affect results.
Mastering Different Cooking Techniques
Spatchcocking for Faster, Crispier Results: Also known as butterflying, this technique involves removing the backbone and flattening the chicken. It reduces cooking time significantly while exposing more skin surface area for maximum crispiness. For a 4-5 pound chicken, spatchcocked birds typically cook in 45-55 minutes at 425°F.
Slow Roasting for Ultimate Tenderness: For fall-off-the-bone tenderness, try slow roasting at 300°F (150°C) for 2-2.5 hours. This method requires less attention and produces incredibly moist meat, though the skin won't be as crisp as with higher-temperature methods.
Convection vs. Conventional Ovens: If using a convection oven, reduce the temperature by 25°F and check for doneness 15-20 minutes earlier than conventional oven times. The circulating hot air promotes more even cooking and crispier skin.
Temperature Timeline: Critical Checkpoints
Understanding the temperature progression during cooking helps prevent common mistakes. As your chicken roasts:
- 120°F (49°C): Meat begins to firm slightly
- 140°F (60°C): Protein denaturation accelerates, juices start to flow
- 150°F (66°C): Collagen begins breaking down into gelatin
- 160°F (71°C): Juices turn from pink to clear
- 165°F (74°C): Safe minimum temperature reached
Remember that carryover cooking will raise the internal temperature 5-10 degrees after removal from the oven, so pull your chicken at 160°F if you prefer juicier results.
Troubleshooting Common Chicken Cooking Problems
Dry Meat: This usually happens when chicken is overcooked or not properly rested. Always use a thermometer and allow 15-20 minutes resting time before carving. During this period, juices redistribute throughout the meat.
Pale Skin: For golden-brown perfection, ensure your chicken skin is completely dry before seasoning. Starting at a higher temperature (425°F) creates the Maillard reaction needed for browning. Basting with fat during cooking also promotes better color development.
Uneven Cooking: If your oven has hot spots, rotate the pan halfway through cooking. For more even results, truss the chicken with kitchen twine to maintain a compact shape that cooks uniformly.
Serving and Storage Best Practices
After resting, carve your chicken starting with the legs and wings, then slice the breast meat against the grain. For elegant presentation, arrange pieces on a platter with fresh herbs and lemon wedges.
Store leftovers in an airtight container in the refrigerator within two hours of cooking. Properly stored, cooked chicken remains safe to eat for 3-4 days. When reheating, add a splash of broth or water to maintain moisture, and heat gently to 165°F.
For meal prep efficiency, consider using leftover chicken in soups, salads, or sandwiches throughout the week. The carcass makes an excellent base for homemade stock—simmer with vegetables and herbs for 2-3 hours to extract maximum flavor.
Frequently Asked Questions
Should I wash my chicken before cooking?
No, washing raw chicken increases the risk of cross-contamination. Patting dry with paper towels is sufficient and safer.
How do I know when my chicken is done without a thermometer?
While a thermometer is always recommended, you can check by piercing the thickest part of the thigh—juices should run clear, not pink. However, this method is less reliable than temperature testing.
Can I cook chicken straight from frozen?
It's not recommended for whole chickens as uneven cooking may occur. Thaw in the refrigerator for 24-48 hours before cooking for best results and food safety.
Why does my chicken skin stick to the pan?
This happens when the skin hasn't properly seared. Ensure your pan is sufficiently preheated and avoid moving the chicken during the initial searing phase.


 浙公网安备
33010002000092号
浙公网安备
33010002000092号 浙B2-20120091-4