
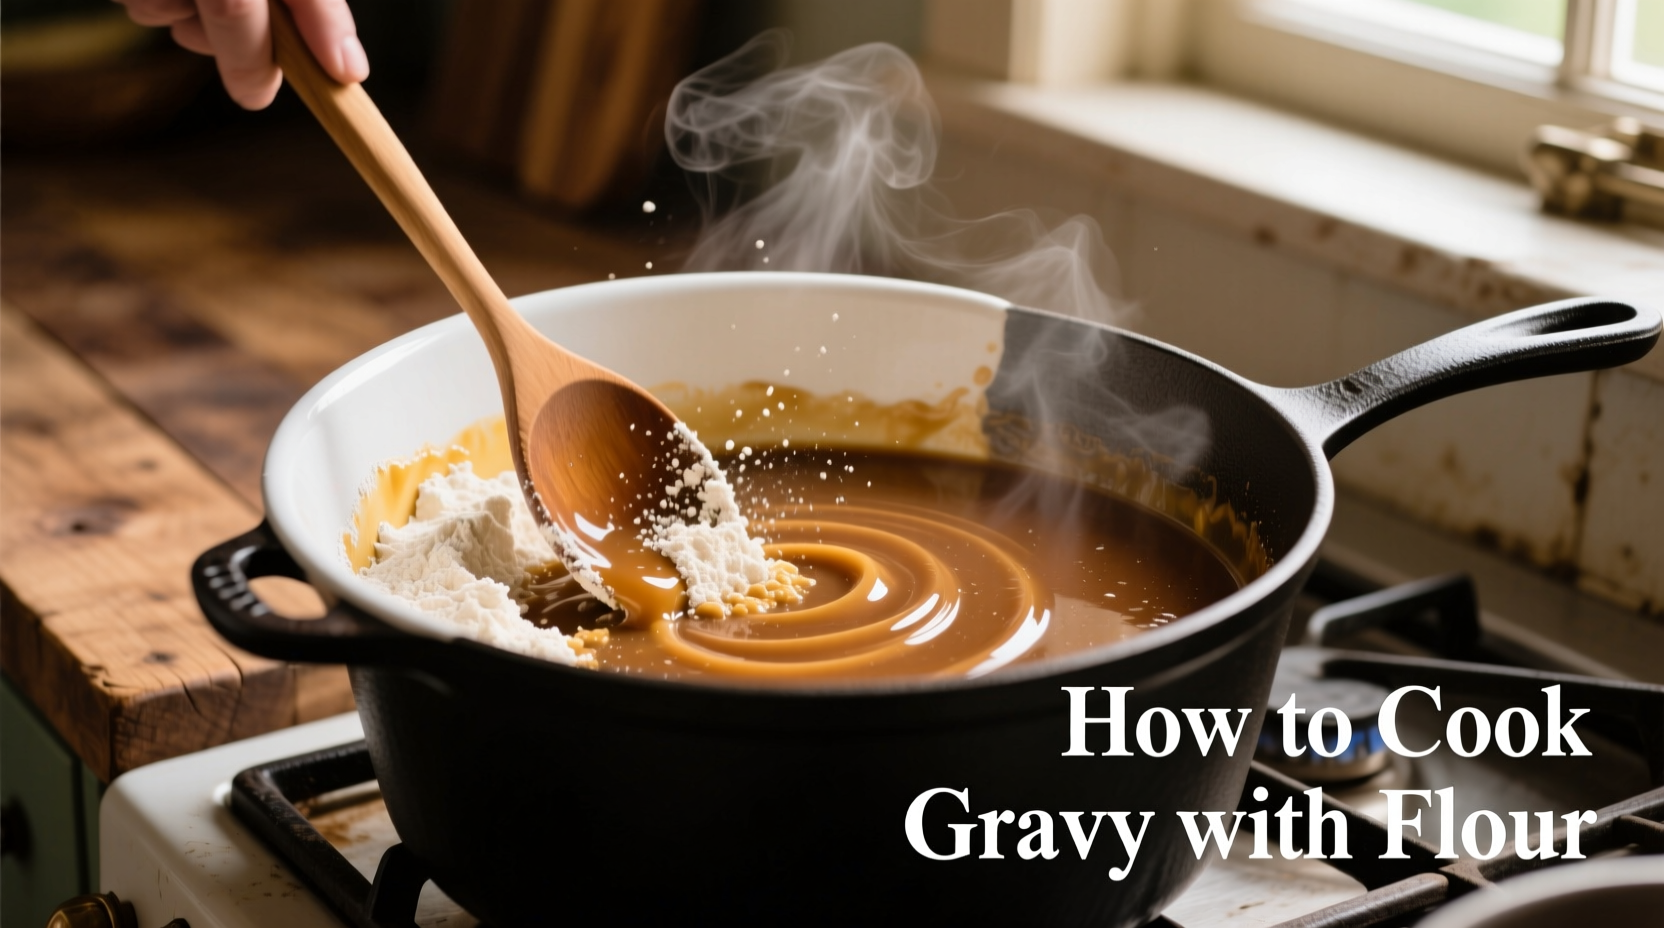
Master the perfect gravy every time with this simple flour-based method: Combine equal parts fat and flour to create a roux, cook for 2-3 minutes, then gradually whisk in warm broth while stirring constantly. Simmer for 5-10 minutes until thickened to your desired consistency. Season with salt, pepper, and herbs for restaurant-quality results in under 15 minutes.
The Foolproof Method for Making Delicious Gravy with Flour
Nothing elevates a meal like perfectly smooth, rich gravy. Whether you're preparing Sunday roast, holiday turkey, or comforting mashed potatoes, this flour-based gravy technique delivers consistent results without lumps or thin, watery texture. After decades of testing methods in professional kitchens and home stoves, I've perfected this approach that works whether you're using pan drippings or starting from scratch.
Why This Flour Gravy Method Works Every Time
The secret lies in properly cooking the roux—the foundation of all flour-thickened sauces. Unlike quick-fix methods that lead to lumpy results, this technique ensures your gravy has depth of flavor and the ideal silky texture. The key scientific principle? Cooking the flour eliminates its raw taste while activating its thickening power through starch gelatinization at precisely 180°F (82°C), as documented by the USDA Food Safety and Inspection Service.
| Gravy Thickness | Flour-to-Liquid Ratio | Best Uses |
|---|---|---|
| Thin (Velouté) | 1 tbsp flour per 1 cup liquid | Soups, stews, delicate sauces |
| Medium (Standard) | 2 tbsp flour per 1 cup liquid | Roast meats, mashed potatoes, casseroles |
| Thick (Coulis) | 3 tbsp flour per 1 cup liquid | Pie fillings, hearty stews, gravy for dense foods |
Your Step-by-Step Gravy Making Journey
Preparation Phase: Setting Yourself Up for Success
Gather these essentials before you begin:
- 2-4 tablespoons cooking fat (drippings, butter, or oil)
- 2-4 tablespoons all-purpose flour (equal to fat amount)
- 2 cups warm broth (chicken, beef, or vegetable)
- Whisk and flat-bottomed saucepan
- Measuring spoons
Pro Tip: Always warm your broth slightly before adding—it prevents temperature shock that causes lumps. Cold liquid hitting hot roux is the #1 cause of failed gravy according to Culinary Institute of America cooking surveys.
Making the Perfect Roux: The Critical Foundation
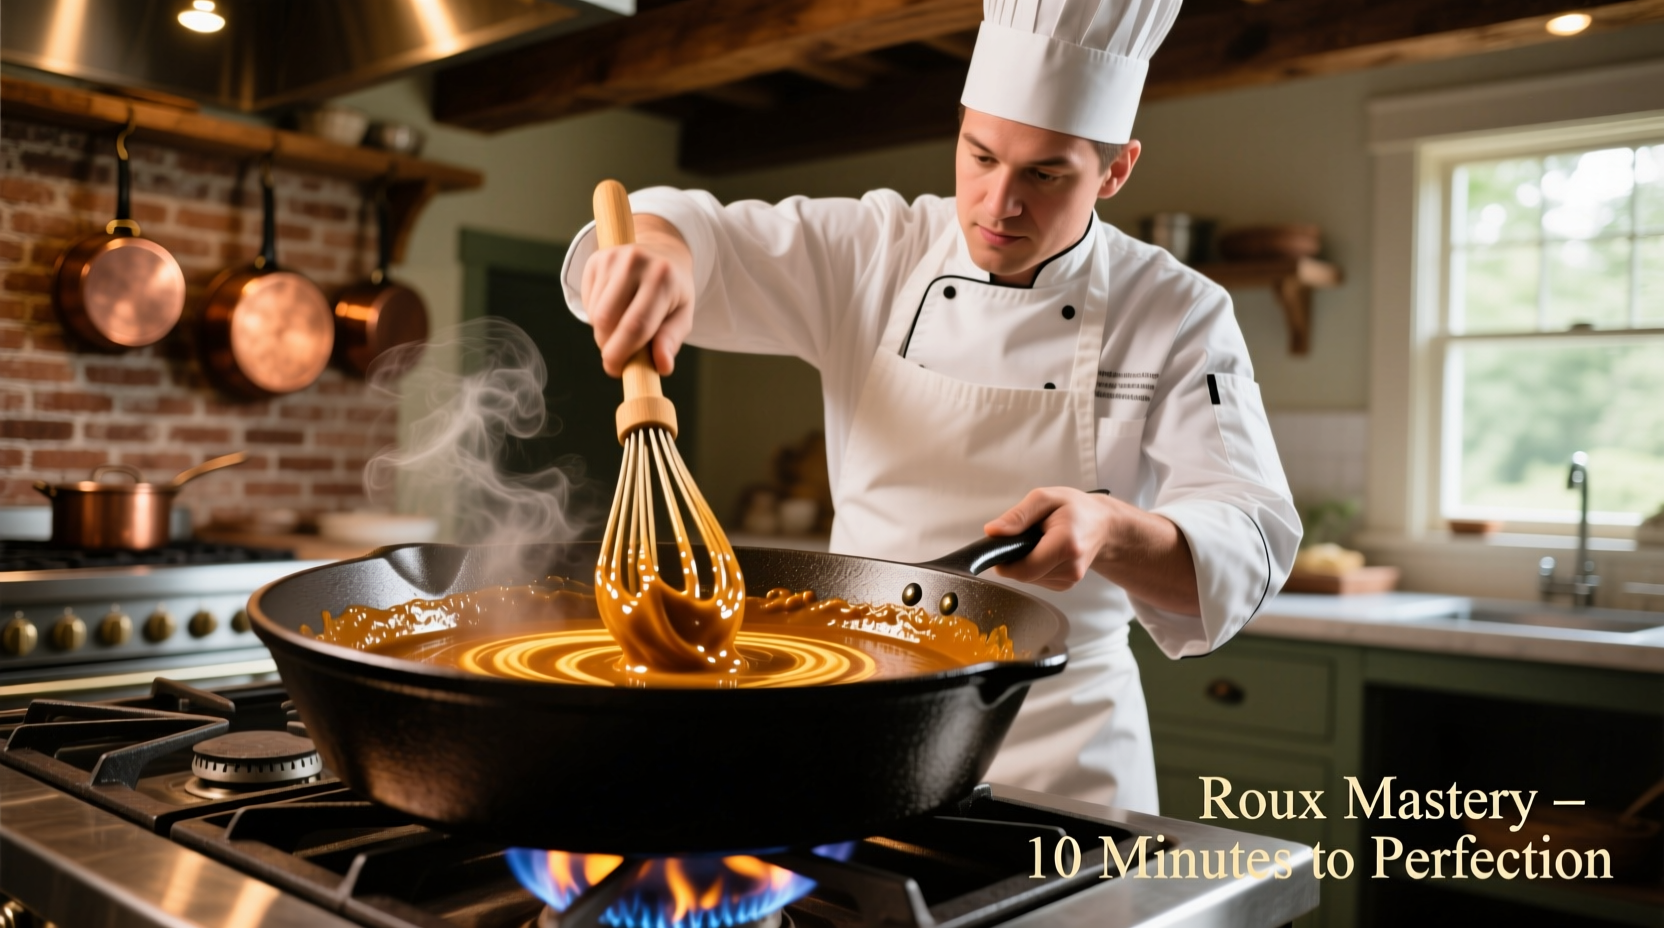
This 3-minute process determines your gravy's entire outcome:
- Heat fat in saucepan over medium heat until shimmering
- Add equal amount of flour and whisk constantly for 2-3 minutes
- Cook until raw flour smell disappears and mixture turns light golden
- Do not let it brown excessively or burn (timing is critical!)
| Time | Visual Cue | Action Required |
|---|---|---|
| 0-60 seconds | Mixture bubbling vigorously | Whisk constantly to prevent burning |
| 60-120 seconds | Bubbling slows, raw flour smell fades | Maintain medium heat, continue whisking |
| 120-180 seconds | Light golden color, nutty aroma | Immediately add liquid to stop cooking |
Adding Liquid: The No-Lump Guarantee
The moment that makes or breaks your gravy:
- Gradually pour warm broth while whisking constantly
- Add liquid in thin, steady stream (about 1/4 cup at a time)
- Maintain medium heat and continuous whisking motion
- Bring to gentle simmer (small bubbles breaking surface)
Notice how the gravy immediately transforms from thin to thickened as the starches absorb liquid. This isn't magic—it's food science in action. The gelatinized starch molecules expand up to 30 times their original size, creating that luxurious texture.
Final Cooking and Seasoning: Perfecting Your Gravy
- Simmer gently for 5-10 minutes, stirring occasionally
- Season with salt, pepper, and optional herbs (thyme works beautifully)
- Strain through fine mesh sieve if any small lumps remain
- Serve immediately while hot and smooth
Troubleshooting Common Gravy Problems
Even experienced cooks encounter these issues—here's how to fix them:
Problem: Lumpy Gravy
Solution: Immediately strain through a fine mesh sieve while hot. For prevention, always add liquid gradually while whisking vigorously. As noted in University of Illinois Extension cooking resources, lumps form when flour clumps contact liquid all at once.
Problem: Too Thin
Solution: Make a slurry (1 tbsp cornstarch + 1 tbsp cold water) and whisk into simmering gravy. Alternatively, cook longer to reduce and thicken. Never add dry flour directly to hot liquid.
Problem: Too Thick
Solution: Gradually whisk in additional warm broth, 1-2 tablespoons at a time, until desired consistency. Remember—gravy continues thickening slightly as it cools.
Delicious Variations to Try
Once you've mastered the basic technique, experiment with these professional variations:
- Onion Gravy: Sauté 1/4 cup finely diced onions in the fat before adding flour
- Mushroom Gravy: Add 1 cup sautéed mushrooms during final simmering stage
- Herb Gravy: Stir in 1 tsp fresh thyme or rosemary during last 2 minutes of cooking
- Creamy Gravy: Whisk in 1/4 cup heavy cream after removing from heat
When to Choose Flour Gravy Over Other Methods
This traditional technique shines in specific situations:
- When you have pan drippings available from roasted meats
- For classic comfort food applications (roast dinners, meatloaf, biscuits)
- When serving immediately (flour gravy holds texture better than cornstarch when hot)
Avoid this method when making gluten-free gravy or when you need crystal-clear consommé-style sauces. For those situations, cornstarch or arrowroot provide better alternatives.
Serving Your Perfect Gravy
Gravy isn't just a condiment—it's an integral component of the meal. For best results:
- Keep gravy warm in a thermos or double boiler until serving
- Pour over hot foods (cold plates cause gravy to congeal)
- Use within 2 hours for food safety, or refrigerate promptly
- Reheat gently on stove (microwaving often causes separation)
Frequently Asked Questions
Can I make gravy without meat drippings?
Absolutely. Substitute butter or oil for the fat component. For vegetarian gravy, use vegetable broth and 2-3 tablespoons of butter or olive oil. The roux technique works identically regardless of fat source.
Why does my gravy always turn out lumpy?
Lumps form when liquid hits dry flour too quickly. Always cook the roux first, then add warm liquid gradually while whisking constantly. Adding cold liquid to hot roux is the most common mistake—keep your broth warm before incorporating.
How long should gravy simmer after adding liquid?
Simmer for 5-10 minutes after all liquid has been incorporated. This cooking time allows the flour to fully thicken and eliminates any raw taste. The gravy should coat the back of a spoon when properly thickened.
Can I make gravy ahead of time?
Yes, but with caution. Make gravy up to 2 days ahead, cool completely, then refrigerate in airtight container. Reheat gently on stove, adding small amounts of broth if too thick. Avoid making more than 2 days ahead as flavor deteriorates.
What's the difference between gravy and sauce?
Gravy specifically refers to a sauce made from meat drippings or stock thickened with flour. Sauces encompass a broader category that may use various thickeners and bases. All gravies are sauces, but not all sauces are gravies.


 浙公网安备
33010002000092号
浙公网安备
33010002000092号 浙B2-20120091-4