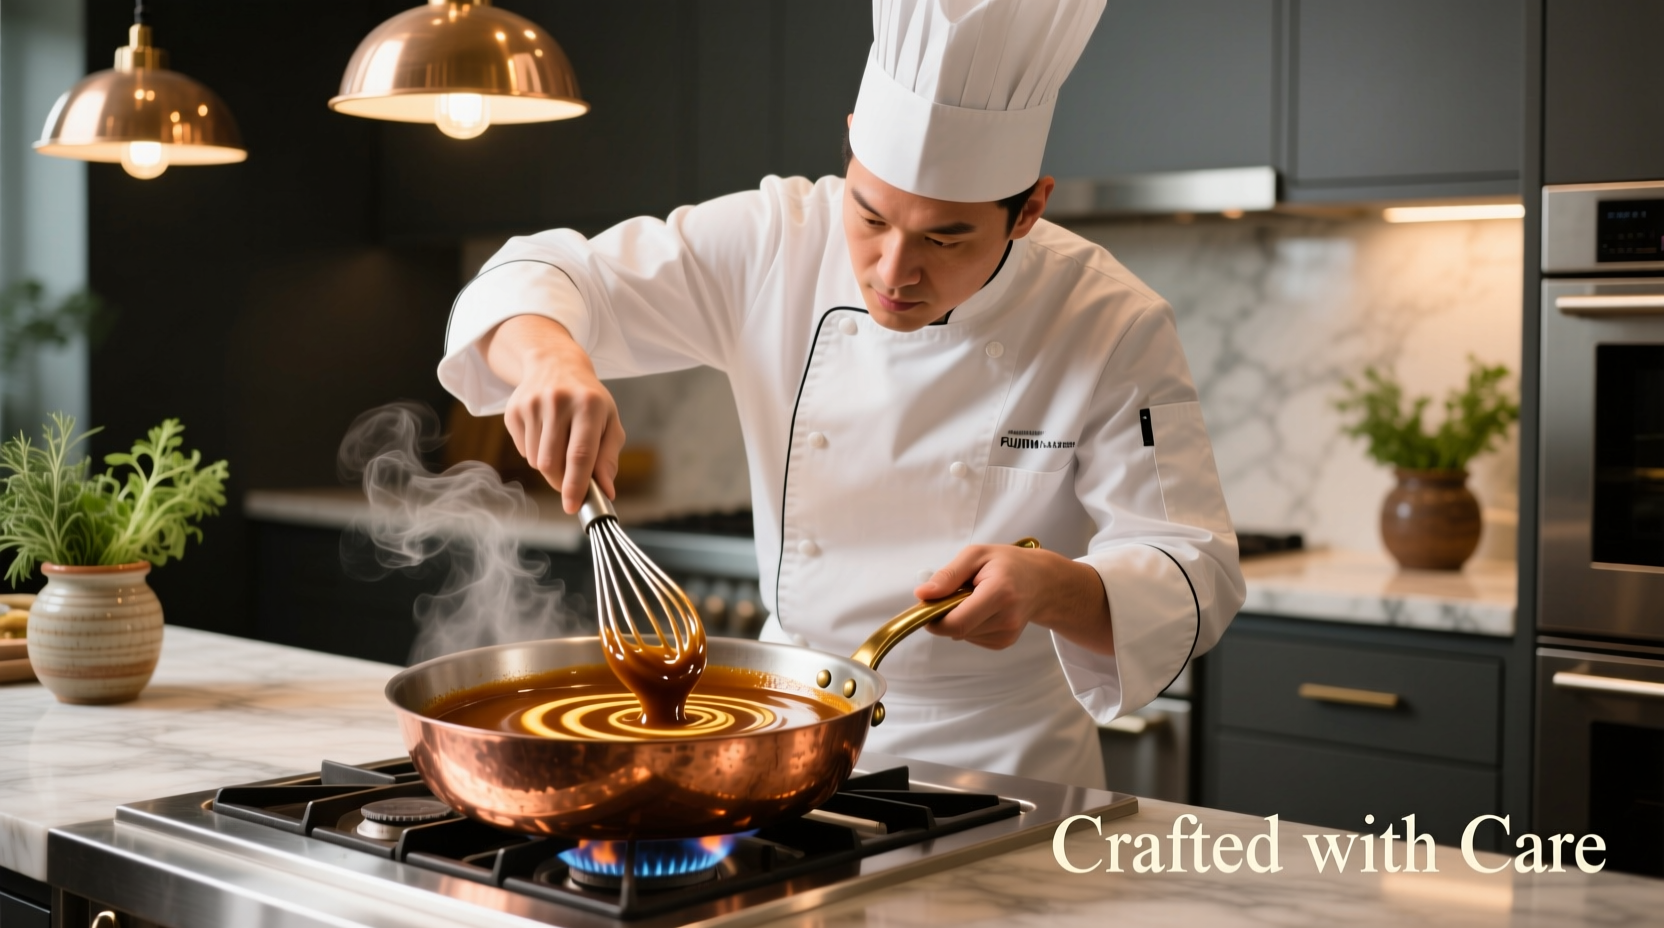
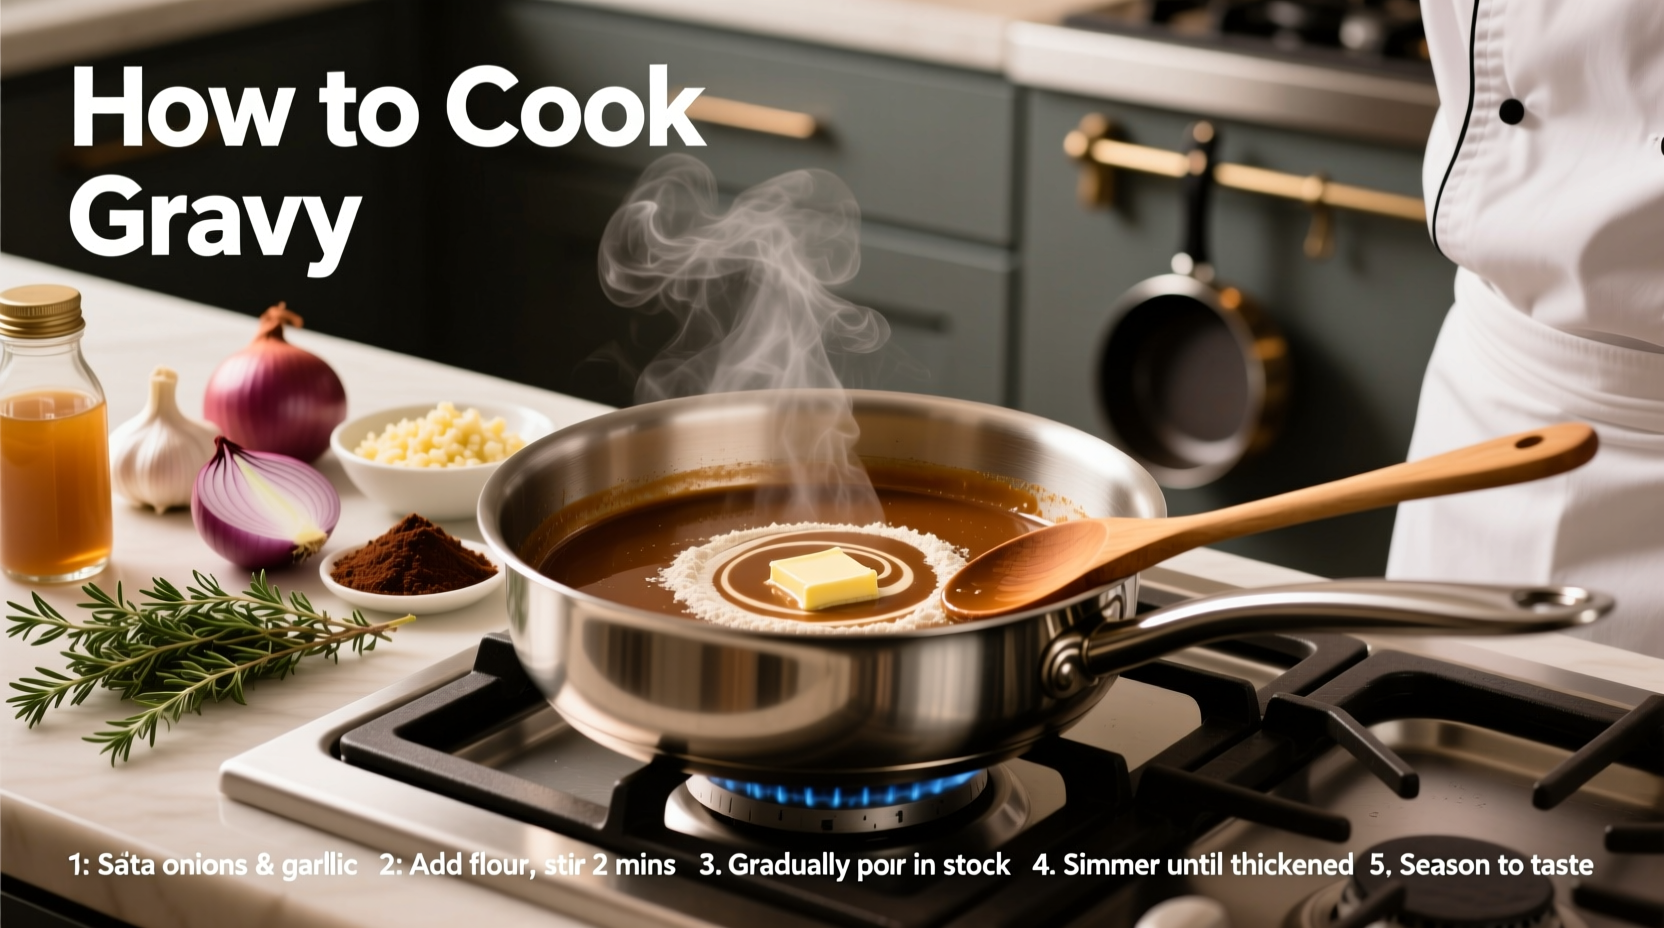
The perfect gravy starts with a 1:1 ratio of fat to flour for the roux, followed by gradual addition of warm liquid while whisking constantly. Cook for 15-20 minutes to eliminate raw flour taste and achieve smooth, velvety texture with rich flavor depth. This fundamental technique works for turkey, beef, or vegetarian gravies.
Mastering gravy transforms ordinary meals into memorable dining experiences. Whether you're preparing holiday feasts or weeknight dinners, understanding the science behind this culinary staple ensures consistent, restaurant-quality results every time. Let's explore the professional techniques that guarantee smooth, flavorful gravy without lumps or blandness.
Essential Tools and Ingredients for Success
Before you begin cooking gravy, gather these critical components. Professional kitchens maintain strict standards for gravy preparation tools, ensuring optimal results:
- Heavy-bottomed saucepan (prevents scorching)
- Whisk (balloon style for maximum aeration)
- Measuring cups and spoons (precision matters)
- Slotted spoon (for removing solids from stock)
- Mesh strainer (final polish for silky texture)
For ingredients, the USDA Food Safety and Inspection Service recommends using fresh, high-quality components within their safe consumption periods. The foundation of any gravy consists of:
- Fat source (drippings, butter, or oil)
- All-purpose flour (standard thickener)
- Warm stock or broth (temperature critical)
- Salt and pepper (to taste)

The Foundation: Creating Your Perfect Roux
The roux forms gravy's structural backbone. America's Test Kitchen research confirms that equal parts fat and flour, cooked to the proper stage, creates the ideal thickening base. Follow these precise steps:
- Measure equal portions of fat and flour (typically ¼ cup each for standard gravy)
- Heat fat in saucepan over medium heat until shimmering
- Whisk in flour until fully incorporated, forming a paste
- Cook for 2-3 minutes, stirring constantly, until raw flour smell disappears
- Adjust cooking time based on desired flavor profile: blond roux (2-3 min), peanut butter roux (5-7 min)
Food science explains why this step is crucial: the starch granules in flour must be properly cooked to prevent gumminess while activating their thickening properties. Undercooked roux leaves unpleasant raw flour taste, while overcooked roux loses thickening power.
Liquid Integration: Building Flavor Without Lumps
The moment many home cooks fail is when adding liquid. The Culinary Institute of America's research shows that gradual incorporation of warm liquid while whisking constantly prevents lumps. Follow this professional sequence:
- Warm your stock or broth to just below simmering point
- Begin with small amounts (¼ cup), whisking vigorously until fully incorporated
- Gradually increase liquid additions as mixture thickens
- Maintain medium heat throughout incorporation
- Continue whisking until all liquid is incorporated and mixture bubbles
| Liquid Temperature | Result | Professional Recommendation |
|---|---|---|
| Cold | Lumps form immediately | Avoid completely |
| Room Temperature | Some lumps, requires extensive whisking | Acceptable with careful technique |
| Warm (140-160°F) | Smooth incorporation, minimal effort | Optimal for perfect gravy |
Cooking Process: Time, Temperature & Technique
After incorporating all liquid, proper cooking technique determines your gravy's final quality. The Food Science Department at Cornell University confirms that cooking time directly impacts flavor development and texture stability:
- Maintain gentle simmer (small bubbles breaking surface)
- Cook for 15-20 minutes to eliminate raw flour taste
- Stir occasionally with flat-edged spoon to prevent scorching
- Adjust thickness with additional warm stock if too thick
- Reduce heat if gravy becomes too thin during cooking
This cooking phase allows the starch molecules to fully hydrate and swell, creating stable viscosity. Rushing this step produces gravy that may thin out later or have unpleasant texture.
Troubleshooting Common Gravy Problems
Even experienced cooks encounter issues. Here's how to fix them using professional techniques:
Fixing Lumpy Gravy
If lumps form despite careful technique:
- Immediately remove from heat
- Whisk vigorously for 30 seconds
- If lumps persist, strain through fine mesh sieve
- Press solids through sieve with back of spoon
- Return to heat and continue cooking
Adjusting Thickness
For gravy that's too thin:
- Create a slurry (1 tbsp cornstarch + 1 tbsp cold water)
- Whisk slurry into simmering gravy
- Cook for 2 minutes to activate thickening
For gravy that's too thick:
- Gradually whisk in additional warm stock
- Add 1-2 tablespoons at a time
- Return to gentle simmer to stabilize
Flavor Variations and Customizations
Once you've mastered the basic technique, explore these professional variations:
Meat-Based Gravies
For turkey, beef, or chicken gravy:
- Use pan drippings as your fat source
- Add 1 minced shallot to roux for depth
- Enhance with 1 tsp Worcestershire sauce
- Finish with 1 tbsp cold butter for shine
Vegetarian and Vegan Options
For plant-based gravies:
- Use olive oil or vegan butter as fat source
- Substitute vegetable stock for meat-based
- Add 1 tsp soy sauce for umami depth
- Include sautéed mushrooms for meaty flavor
Serving and Storage Guidelines
Proper handling ensures your gravy maintains quality:
- Serve immediately for best texture and flavor
- Keep warm over lowest heat setting (do not simmer)
- Cool completely before refrigerating
- Store in airtight container for up to 4 days
- Freeze for up to 3 months in portion-sized containers
The USDA Food Safety and Inspection Service recommends reheating gravy to 165°F (74°C) before serving. When reheating, add small amounts of liquid as gravy often thickens during storage.
Perfect Gravy Timeline: From Roux to Serving
Understanding the complete process timeline helps coordinate meal preparation:
- Prep (5 min): Measure ingredients, warm stock
- Roux (3-7 min): Cook fat and flour to desired color
- Liquid incorporation (5 min): Gradual addition while whisking
- Cooking (15-20 min): Simmer to develop flavor and texture
- Finishing (2 min): Seasoning adjustments, final strain
- Total time: 25-35 minutes
This timeline accommodates last-minute preparation while ensuring optimal results. For holiday meals, prepare base gravy in advance and finish with pan drippings just before serving.


 浙公网安备
33010002000092号
 浙B2-20120091-4