
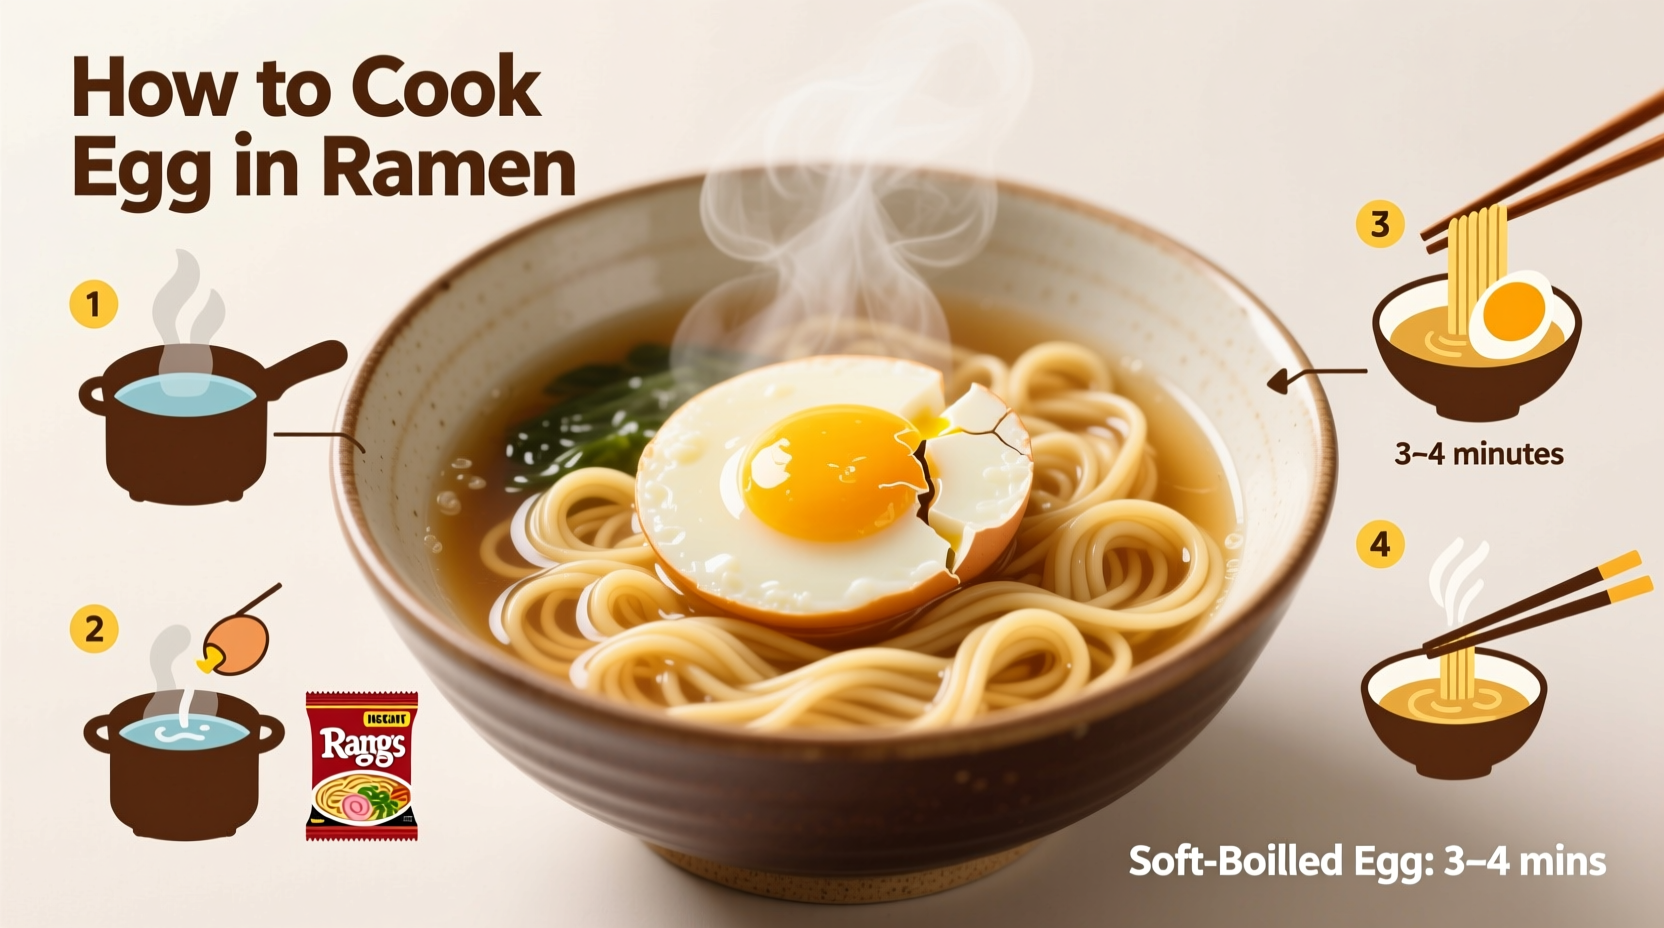
Master the perfect egg-in-ramen technique in just 5 minutes with these professional methods. The simmer method—adding a raw egg directly to boiling broth for 3-5 minutes—creates the ideal soft-boiled texture with a runny yolk that transforms instant ramen into a restaurant-quality meal. This guide reveals four foolproof techniques with precise timing charts, common mistakes to avoid, and flavor-boosting tips used by professional chefs.
Why Your Ramen Needs an Egg (And How to Get It Right)
That instant ramen packet contains all the basics, but adding an egg elevates your meal from convenient to extraordinary. The proteins in eggs complement ramen's umami flavors while the fat carries seasonings throughout the broth. According to the USDA Food Safety and Inspection Service, properly cooked eggs reach a safe internal temperature of 160°F (71°C), which happens at the 3-minute mark in simmering broth—perfect for that creamy yolk texture.
Your Step-by-Step Egg-in-Ramen Journey
Method 1: The Simmer Method (Best for Beginners)
This professional kitchen technique works while your noodles cook:
- Boil 2 cups water with your ramen seasoning packet
- Add noodles and simmer for 1 minute
- Create a gentle whirlpool with your spoon
- Crack a fresh egg directly into the center
- Cover and cook for 3-5 minutes (see timing chart below)
- Remove lid and enjoy immediately
| Egg Texture | Cooking Time | Visual Cue |
|---|---|---|
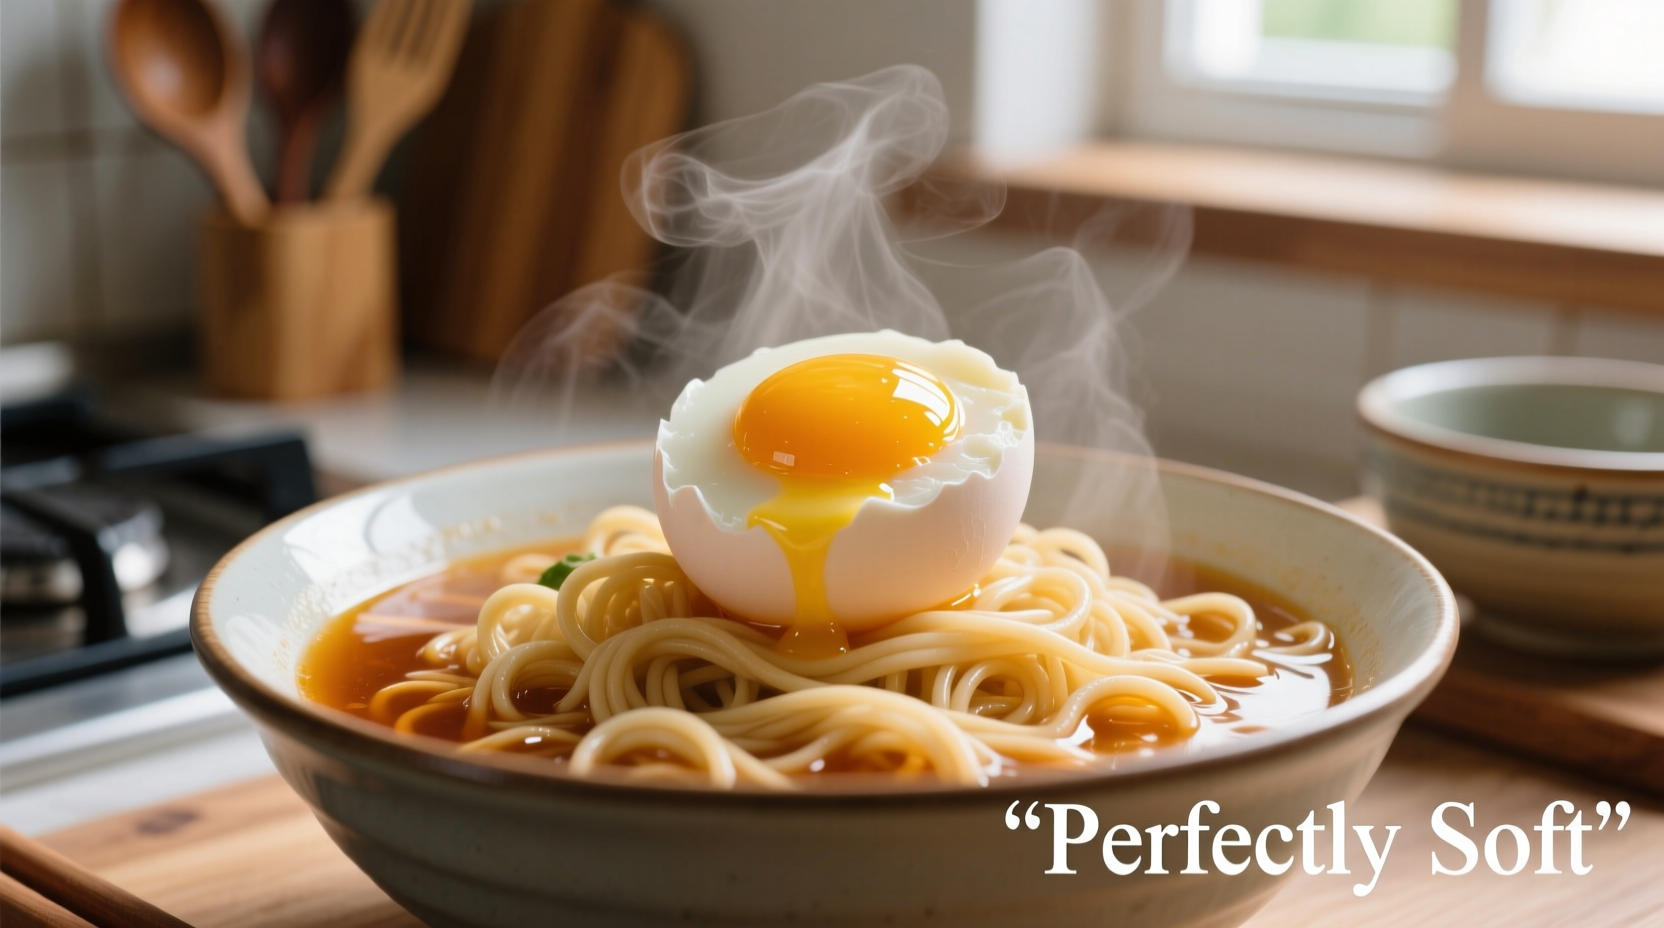
| Runny Yolk | 3 minutes | White barely set, yolk completely liquid |
| Creamy Yolk | 4 minutes | White fully set, yolk thick but pourable |
| Firm Yolk | 5 minutes | Yolk fully set but still moist |
Method 2: The Poached Egg Technique (For Restaurant Quality)
Vinegar lowers water's pH, helping egg whites coagulate faster—a technique taught at culinary schools worldwide. Add 1 tablespoon white vinegar to your boiling water before creating the whirlpool. This prevents stringy whites from forming while maintaining the egg's elegant shape. Chefs at Tokyo's Ippudo Ramen use this method for their signature ajitsuke tamago (marinated eggs).
Method 3: The Soft-Boiled Shortcut (Meal Prep Friendly)
Boil eggs separately for 6 minutes, then peel and add to finished ramen. This method works best when you're preparing multiple servings or want consistent results. According to a Cooking Light test kitchen analysis, this timing produces the ideal soft-boiled texture for ramen pairing.
Method 4: The Marinated Egg Method (Next-Level Flavor)
For meal-preppers, make ajitsuke tamago by simmering peeled soft-boiled eggs in a mixture of ¼ cup soy sauce, ¼ cup mirin, and 2 tablespoons sugar for 30 minutes. Store in the marinade for up to 3 days. This traditional Japanese preparation adds complex umami notes that transform basic ramen.
Avoid These 3 Common Egg-in-Ramen Mistakes
- Adding eggs to cold water—always create that whirlpool in actively simmering broth to prevent scattering
- Overcooking the yolk—set a timer! 30 seconds makes the difference between creamy and chalky
- Stirring after adding the egg—this breaks the delicate white; let it set undisturbed
Pro Flavor Boosters (That Cost Nothing)
Enhance your egg-ramen experience with these chef-recommended tricks:
- Reserve 2 tablespoons of broth before adding egg, then drizzle over finished dish
- Add a pinch of MSG when seasoning—amplifies the egg's natural umami
- Finish with a drop of sesame oil just before eating for aromatic complexity
When to Choose Which Method
Understanding context boundaries helps you select the perfect technique:
- Emergency midnight snack→ Simmer method (uses one pot, fastest)
- Dinner party presentation→ Poached egg (elegant restaurant look)
- Meal prepping lunches→ Marinated egg method (flavor develops over time)
- Kid-friendly version→ Soft-boiled shortcut (no runny yolk concerns)
Frequently Asked Questions
Can I use older eggs for ramen?
Yes, but fresher eggs create tighter shapes in simmering broth. Eggs 1-2 weeks old work best for poaching as the whites are less viscous. Avoid eggs older than 3 weeks for food safety reasons according to USDA guidelines.
How do I prevent the egg white from becoming rubbery?
Maintain a gentle simmer (not rolling boil) and add the egg to actively bubbling water. The ideal temperature range is 180-190°F (82-88°C). Higher temperatures cause proteins to tighten excessively, creating that unpleasant rubbery texture.
What's the secret to getting the perfect runny yolk every time?
Set a precise 3-minute timer starting when the egg hits the water. Use room-temperature eggs (cold eggs from the fridge need 30 extra seconds). The USDA confirms eggs reach safe consumption temperature at 3 minutes in simmering liquid while maintaining ideal yolk consistency.
Can I make egg-in-ramen without breaking the yolk?
Yes—use the whirlpool method: create a gentle vortex in simmering broth before adding the egg. This centers the yolk naturally as the white wraps around it. Crack the egg into a small bowl first for cleaner transfer, then slide it into the water's center.




 浙公网安备
33010002000092号
浙公网安备
33010002000092号 浙B2-20120091-4