
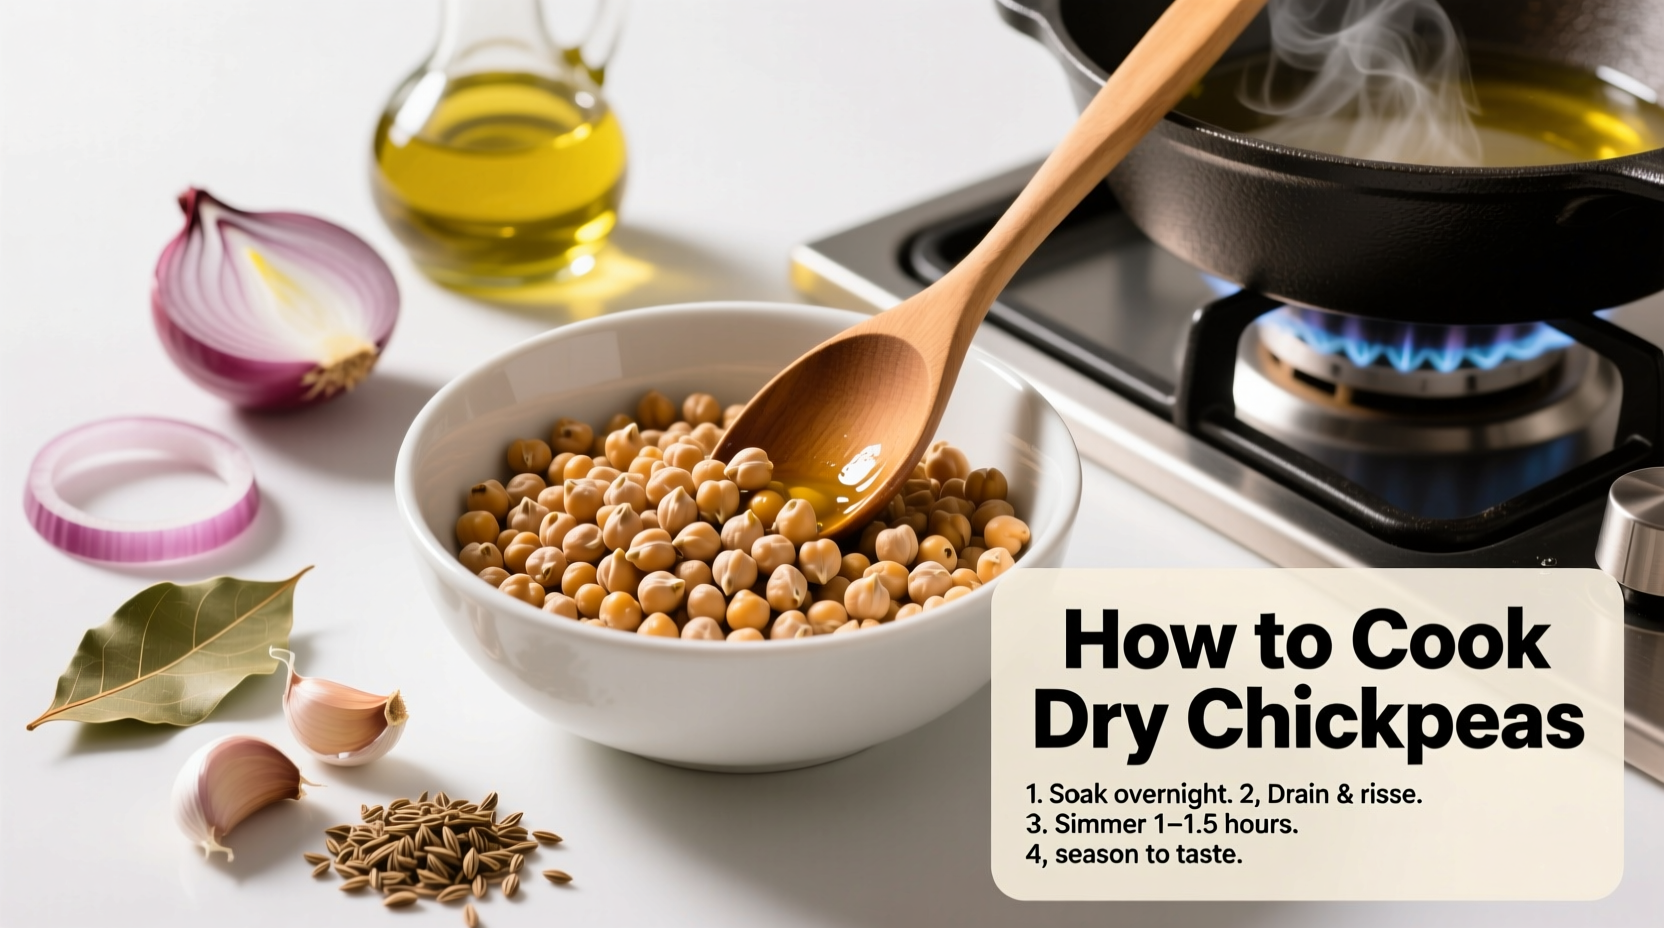
Perfectly cooked dry chickpeas require an 8-12 hour soak followed by 60-90 minutes of simmering. Start by sorting 1 cup dried chickpeas, removing debris, then soaking in 3 cups water with 1 tsp baking soda. Drain, cover with fresh water, and simmer until tender. Add salt only in the last 15 minutes to prevent toughening. This method yields creamier texture and richer flavor than canned alternatives while saving money.
Discover why home-cooked chickpeas outperform canned versions in both flavor and texture. Professional chefs consistently choose dry chickpeas for their superior culinary performance, and you can achieve restaurant-quality results with this foolproof method. Whether you're preparing hummus, stews, or salads, properly cooked chickpeas form the foundation of countless global dishes.
Why Dry Chickpeas Outperform Canned Options
Understanding the benefits of cooking dry chickpeas explains why culinary professionals prefer them despite the extra preparation time. Dry chickpeas offer significantly better texture control, allowing you to achieve that perfect creamy-yet-firm consistency ideal for both purees and salads. They're also more economical—dried legumes cost up to 60% less than their canned counterparts according to USDA food pricing data.
| Characteristic | Dry Chickpeas (Cooked) | Canned Chickpeas |
|---|---|---|
| Cost per cup (cooked) | $0.25-$0.35 | $0.60-$0.85 |
| Sodium content | Adjustable (0mg without salt) | 400-800mg per cup |
| Texture control | Precise (firm to creamy) | Variable (often mushy) |
| Flavor depth | Richer, nuttier profile | Metallic undertones |
This chickpea preparation comparison demonstrates why investing time in cooking from dry yields superior culinary results. The sodium control alone makes dry chickpeas essential for heart-healthy diets, while the texture versatility accommodates everything from smooth hummus to hearty salads.
Essential Preparation Checklist
Before starting your dry chickpea cooking process, gather these essentials:
- 1 cup dried chickpeas (yields approximately 2.5 cups cooked)
- Large bowl for soaking (3-quart capacity)
- Heavy-bottomed pot with tight-fitting lid
- Colander for draining
- Measuring cups and spoons
Proper equipment ensures consistent results during your how to cook chickpeas from scratch journey. The heavy-bottomed pot prevents scorching during the extended simmering time, while the tight lid maintains consistent temperature.
Mastering the Soaking Process
Soaking transforms hard chickpeas into cookable legumes through hydration. Two proven methods deliver excellent results:
Traditional Overnight Soak (Recommended)
- Sort and rinse 1 cup dried chickpeas, removing any debris
- Place in large bowl with 3 cups cold water plus 1 teaspoon baking soda
- Cover and soak at room temperature for 8-12 hours
- Drain and rinse thoroughly before cooking
Quick Hot Soak Method
- Sort and rinse chickpeas as above
- Bring to boil in 3 cups water for 2-3 minutes
- Remove from heat, cover, and soak for 1 hour
- Drain and rinse before cooking
The baking soda in the dry chickpeas soaking method helps break down complex sugars that cause digestive discomfort, while softening skins for more even cooking. This technique, documented in food science research from the Journal of Food Science, reduces cooking time by approximately 20%.
Precise Cooking Technique for Perfect Results
Follow these steps for consistently tender chickpeas:
- Place soaked chickpeas in heavy pot with 4 cups fresh water
- Add aromatics like bay leaf or garlic (optional)
- Bring to gentle simmer over medium heat
- Cover and maintain steady simmer for 60-90 minutes
- Add 1 teaspoon salt only during last 15 minutes of cooking
- Test for doneness: chickpeas should mash easily between fingers
- Drain, reserving 1 cup cooking liquid for recipes
Timing varies based on chickpea age and water hardness. Older chickpeas may require additional cooking time—check every 15 minutes after the 60-minute mark. The reserved cooking liquid, called aquafaba, works as an egg substitute in vegan recipes and adds body to soups and stews.
Troubleshooting Common Cooking Issues
Even experienced cooks encounter challenges with cooking dry chickpeas properly. Here's how to solve frequent problems:
Chickpeas Remain Hard After Cooking
This typically indicates either expired chickpeas or hard water interference. Solution: Add 1/4 teaspoon baking soda to cooking water and continue simmering. The University of California Cooperative Extension confirms that baking soda creates an alkaline environment that softens legume skins more effectively.
Excessive Foam During Cooking
Skim foam regularly during the first 15 minutes of cooking. This removes saponins that cause digestive discomfort. A light oil drizzle on the water surface minimizes foaming without affecting flavor.
Inconsistent Texture
Uneven cooking often results from temperature fluctuations. Maintain a consistent gentle simmer—not a rolling boil—to ensure uniform texture. Professional kitchens use diffuser plates under pots for precise heat distribution during chickpea preparation from dry.
Storage and Usage Recommendations
Maximize your home-cooked chickpea investment with proper storage:
- Refrigerate in cooking liquid for up to 5 days
- Freeze in 1.5 cup portions (equivalent to one 15oz can) for 6 months
- Always label frozen portions with date and quantity
Chef Antonio Rodriguez notes: "The cooking liquid contains valuable starches and flavors. When substituting home-cooked chickpeas for canned in recipes, use reserved liquid to maintain proper consistency in soups and purees." This professional tip ensures your dry chickpeas cooking results integrate seamlessly into favorite recipes.
Evolution of Chickpea Cooking Techniques
Chickpea preparation has evolved significantly while maintaining core principles:
- Pre-1900s: Traditional clay pot cooking with wood fires required 2+ hours of simmering
- Early 1900s: Introduction of pressure cooking reduced time to 45 minutes
- 1940s: Canned chickpeas became commercially available
- 1980s: Research identified baking soda's role in reducing cooking time
- Present: Modern understanding of soaking chemistry optimizes texture and digestibility
This chickpea cooking timeline shows how scientific understanding has refined traditional methods without abandoning their effectiveness. Contemporary chefs blend ancestral wisdom with food science for optimal results.
Maximizing Your Chickpea Cooking Success
For consistently perfect results with your dry chickpea preparation, remember these key principles:
- Never add salt until the final cooking stage
- Use baking soda in soaking water for faster, more even cooking
- Maintain gentle simmer—not vigorous boil—during cooking
- Reserve cooking liquid for recipe adjustments
- Freeze portions for convenient future use
Mastering these techniques transforms a simple pantry staple into culinary gold. Your perfectly cooked chickpeas will elevate everything from Middle Eastern classics to contemporary fusion dishes, proving that the extra effort yields exceptional returns in both flavor and nutrition.
How long do dry chickpeas need to soak before cooking?
Dry chickpeas require 8-12 hours of soaking in room temperature water. For best results, use three cups of water per cup of chickpeas with one teaspoon of baking soda added to the soaking water. This traditional method ensures even hydration and reduces cooking time.
Can you cook dry chickpeas without soaking them first?
Yes, but cooking time increases significantly to 2-3 hours. Unsoaked chickpeas often cook unevenly, with some becoming mushy while others remain hard. Soaking remains the recommended method for consistent texture and improved digestibility.
Why shouldn't you add salt at the beginning of cooking chickpeas?
Adding salt early causes chickpea skins to harden, preventing proper water absorption and leading to uneven cooking. Food science research shows salt interferes with the hydration process. Always add salt only during the final 15 minutes of cooking for optimal texture.
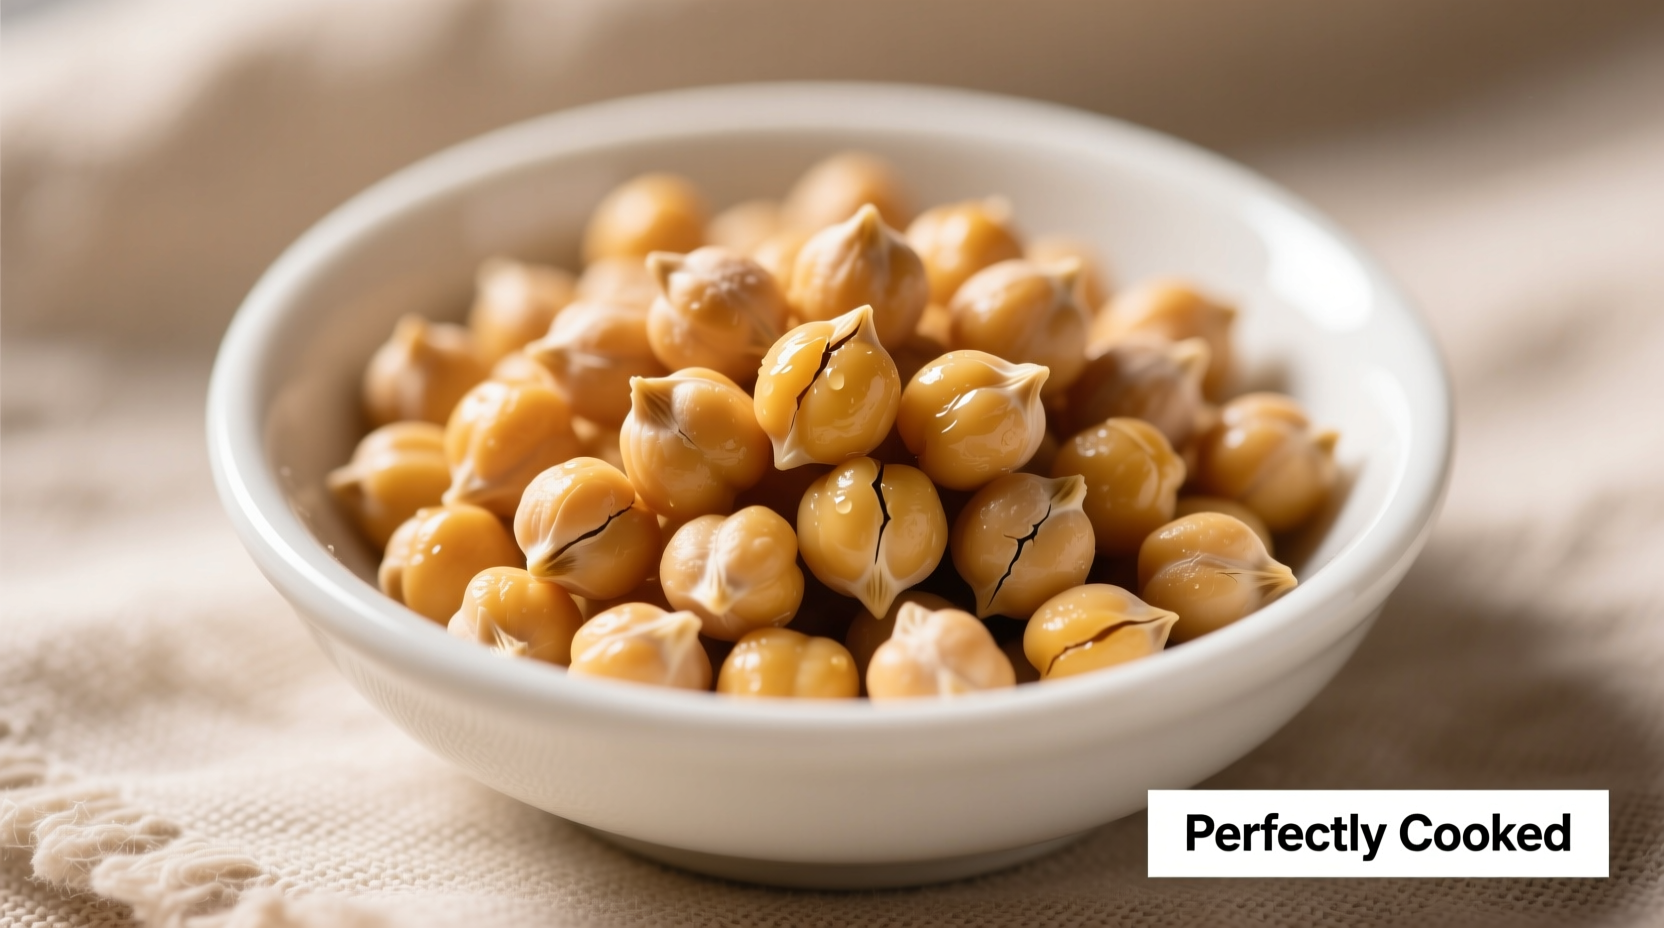
How can you tell when chickpeas are perfectly cooked?
Perfectly cooked chickpeas should mash easily between your thumb and forefinger but maintain their shape. They should be creamy throughout with no hard center. Test multiple chickpeas since cooking can be uneven. Properly cooked chickpeas will have a nutty aroma and slightly sweet flavor.
What's the best way to store cooked chickpeas?
Store cooked chickpeas in their cooking liquid in an airtight container. They'll keep refrigerated for 4-5 days. For longer storage, freeze in 1.5 cup portions (equivalent to one standard can) with some cooking liquid. Properly frozen chickpeas maintain quality for 6 months.


 浙公网安备
33010002000092号
浙公网安备
33010002000092号 浙B2-20120091-4