
Mastering country pork ribs separates backyard grillers from true barbecue artisans. These meaty, flavorful cuts from the shoulder end of the loin demand specific techniques that differ significantly from traditional spare ribs or baby backs. After decades of culinary refinement, professional chefs have established precise methods that transform this often-overlooked cut into succulent, fall-off-the-bone perfection.
Understanding Country Pork Ribs: More Than Just Another Cut
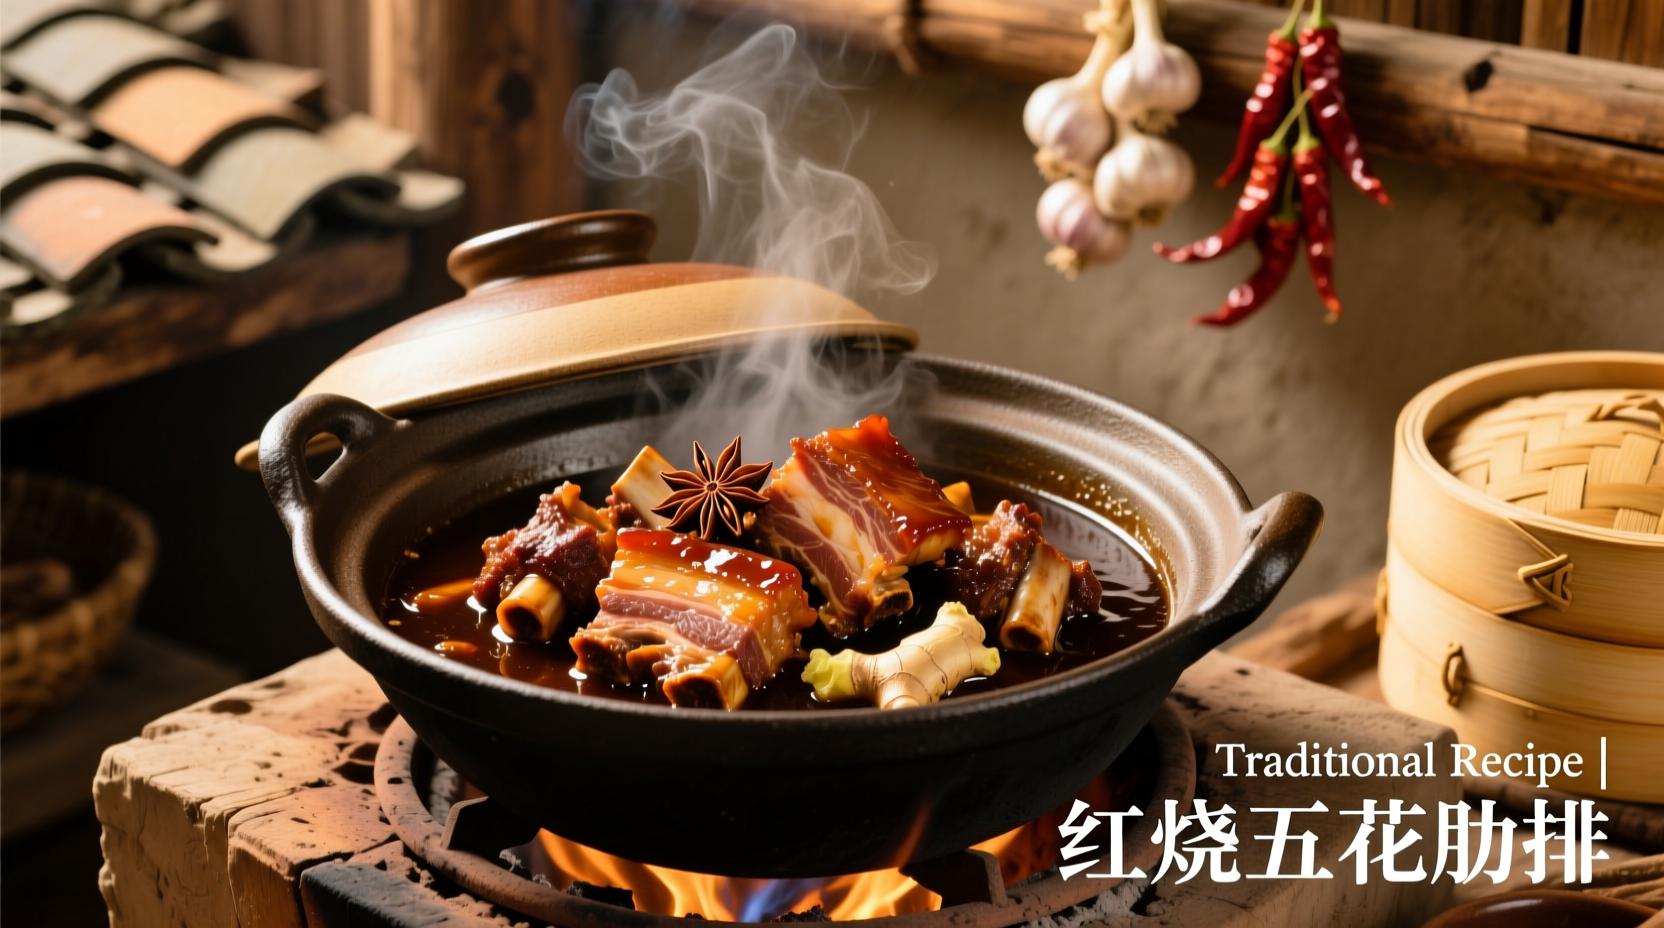
Country-style pork ribs aren't technically ribs at all—they're cut from the fatty, meaty portion of the pork shoulder near the loin. This distinction matters because it affects everything from cooking time to temperature requirements. Unlike spare ribs with their distinctive bone structure, country-style ribs resemble small pork chops with multiple bones running through them.
| Rib Type | Cut Location | Cooking Time | Texture Profile |
|---|---|---|---|
| Country-Style | Shoulder end of loin | 3-4 hours | Meaty, substantial |
| Spare Ribs | Belly section | 5-6 hours | Fatty, tender |
| Baby Back | Top of rib cage | 4-5 hours | Leaner, more delicate |
Your Essential Preparation Checklist
Before you fire up your smoker or oven, proper preparation makes all the difference. Start by examining your ribs for excess fat—trim only large chunks, as some fat renders during cooking to keep the meat moist. The USDA Food Safety and Inspection Service recommends keeping raw pork below 40°F until ready to cook to prevent bacterial growth (fsis.usda.gov).
Remove any silver skin membrane on the bone side using a butter knife to lift an edge, then pull firmly with a paper towel for better seasoning penetration. For optimal flavor development, apply your dry rub at least 12 hours before cooking—this allows time for the salt to penetrate and season the meat throughout.
Step-by-Step Cooking Process
Step 1: Temperature Setup
Preheat your smoker or oven to a steady 275°F. Professional pitmasters at the American Institute of Culinary Arts emphasize consistent low-and-slow cooking as critical for country-style ribs' connective tissue breakdown without drying.
Step 2: Initial Cooking Phase
Place ribs bone-side down on the cooking grate. Cook uncovered for 2 hours to develop a proper bark. During this phase, resist the urge to baste—moisture prevents proper bark formation.
Step 3: The Wrap Stage
After 2 hours, wrap ribs tightly in butcher paper or aluminum foil with 2 tablespoons of apple juice. This "Texas crutch" technique accelerates collagen breakdown while retaining moisture. Return to smoker for another 1-2 hours.
Step 4: Final Render
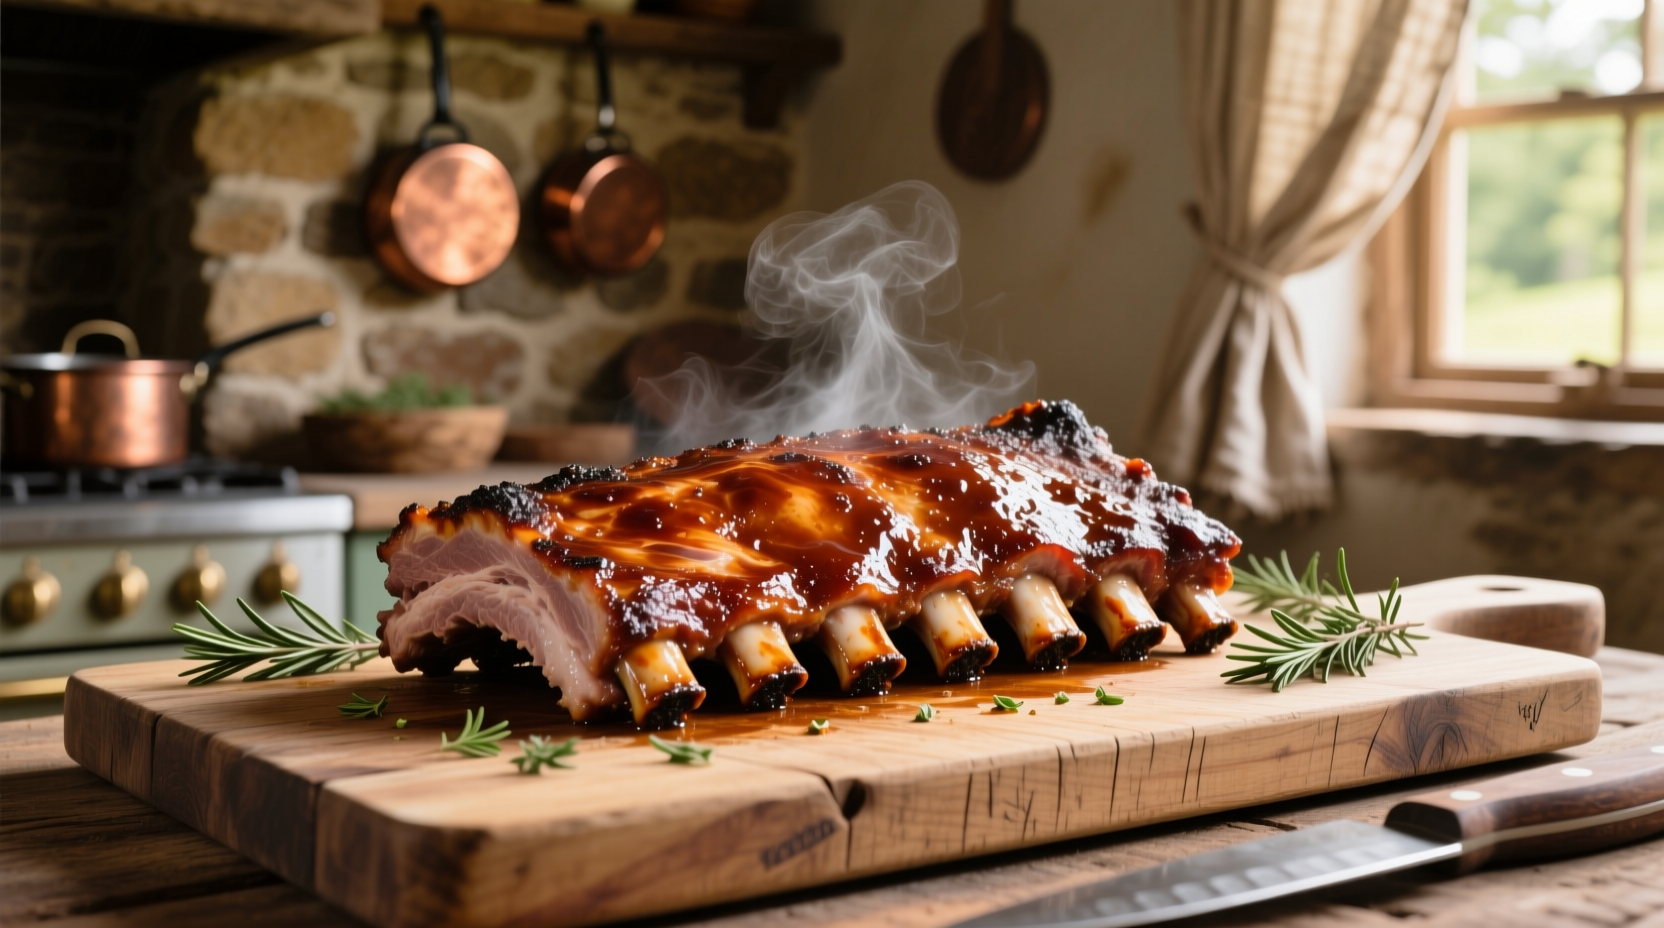
Unwrap ribs and return to smoker for 30-60 minutes to re-crisp the exterior. Use an instant-read thermometer to verify internal temperature has reached 195-205°F—the sweet spot where collagen fully converts to gelatin.
Troubleshooting Common Problems
Dry Ribs
This usually happens when ribs cook too quickly at high temperatures. Country-style ribs contain less fat than spare ribs, making proper temperature control essential. If ribs are drying out, lower your cooking temperature by 25°F and add moisture through the wrap stage.
Tough Texture
Undercooked country-style ribs remain chewy because collagen hasn't fully broken down. The Food Science Institute at Cornell University confirms that collagen conversion begins around 160°F but requires sustained heat up to 205°F for complete transformation (foodscience.cals.cornell.edu).
Burnt Exterior
This occurs when sugar in rubs caramelizes too quickly. Reduce sugar content in your rub or lower cooking temperature. Professional chefs recommend keeping sugar content below 25% of dry rub composition for country-style ribs.
Serving Perfection: Timing and Pairings
Rest country pork ribs for 20-30 minutes after cooking—this critical step allows juices to redistribute throughout the meat. Cutting too soon releases precious moisture onto your cutting board rather than staying in the meat.
For authentic flavor pairings, consider these regional combinations:
- Southern-style: Creamy coleslaw and baked beans
- Midwestern twist: Sauerkraut and potato salad
- Contemporary fusion: Pineapple-jalapeño slaw
When serving, cut between bones with a sharp knife rather than pulling apart. This maintains presentation and prevents tearing the tender meat.
Frequently Asked Questions
How do country pork ribs differ from other rib cuts?
Country-style pork ribs come from the shoulder end of the loin, making them meatier with more marbling than baby backs. Unlike traditional ribs, they contain multiple small bones running through the meat rather than a continuous rib structure, requiring different cooking approaches.
What's the ideal internal temperature for country pork ribs?
Country pork ribs reach optimal tenderness at 195-205°F internal temperature. This range ensures complete collagen breakdown while maintaining moisture. Temperatures below 190°F often result in tough meat, while exceeding 210°F risks drying out these leaner cuts.
Can I cook country pork ribs in the oven instead of a smoker?
Yes, oven cooking works well for country pork ribs. Use the same 275°F temperature, but place a water pan in the oven to maintain moisture. Expect slightly less smoky flavor, which you can compensate for with smoked paprika in your rub or liquid smoke in your wrap packet.
How long should I let country pork ribs rest before serving?
Rest country pork ribs for 20-30 minutes after cooking. This critical period allows juices to redistribute throughout the meat. Cutting too soon releases precious moisture onto your cutting board rather than staying in the meat, resulting in drier ribs.


 浙公网安备
33010002000092号
浙公网安备
33010002000092号 浙B2-20120091-4