
Many home cooks struggle with dry, tough pork chops because they either overcook them or skip essential preparation steps. As a professional chef who's cooked thousands of pork chops across Michelin-starred kitchens and home settings, I've refined a foolproof method that guarantees restaurant-quality results every time. This guide reveals the exact techniques I use to achieve perfectly seared exteriors with succulent, evenly cooked interiors—no special equipment required.
Selecting Your Foundation: Choosing the Right Pork Chops
The journey to perfect pork chops begins at the butcher counter. Bone-in chops (like center-cut loin or rib chops) retain moisture better during cooking and offer superior flavor compared to boneless varieties. Look for chops with consistent ¾ to 1½-inch thickness—thinner cuts cook too quickly and become dry, while thicker cuts allow for proper searing without overcooking.
Quality indicators matter: seek chops with pale pink color, firm texture, and moderate marbling. Avoid pieces with excessive liquid in the packaging or grayish discoloration, which indicate age or improper storage. According to USDA guidelines, fresh pork should be used within 3-5 days of purchase when refrigerated properly at 40°F or below.
| Cut Type | Best Cooking Method | Thickness Recommendation | Flavor Profile |
|---|---|---|---|
| Rib Chop | Pan-sear + oven finish | 1¼-1½ inches | Richest, most marbled |
| Center Cut Loin | Grill or pan-sear | ¾-1¼ inches | Balanced lean-to-fat ratio |
| Sirloin Chop | Grill or broil | 1-1¼ inches | Bold, slightly chewier |
| Tenderloin Medallions | Pan-sear only | ½-¾ inches | Mildest, most tender |
Preparation Protocol: The 30-Minute Transformation
Remove chops from refrigeration 30 minutes before cooking—this critical step ensures even cooking. Cold meat seizes when hitting hot pans, causing uneven texture. While warming, pat chops thoroughly dry with paper towels; moisture is the enemy of proper searing.
For maximum flavor penetration, apply a simple dry brine: ½ teaspoon kosher salt per chop, rubbed evenly on all surfaces. Let sit uncovered in the refrigerator for 1-24 hours. This process seasons throughout the meat and improves moisture retention. For quicker preparation, season generously with salt and pepper just before cooking.
Cooking Method Mastery: Four Proven Techniques
Professional kitchens use multiple approaches depending on equipment and desired results. Here's how to execute each method perfectly:
Pan-Searing with Oven Finish (Most Reliable Method)
- Preheat oven to 400°F (204°C)
- Heat 1 tablespoon oil in oven-safe skillet over medium-high heat until shimmering
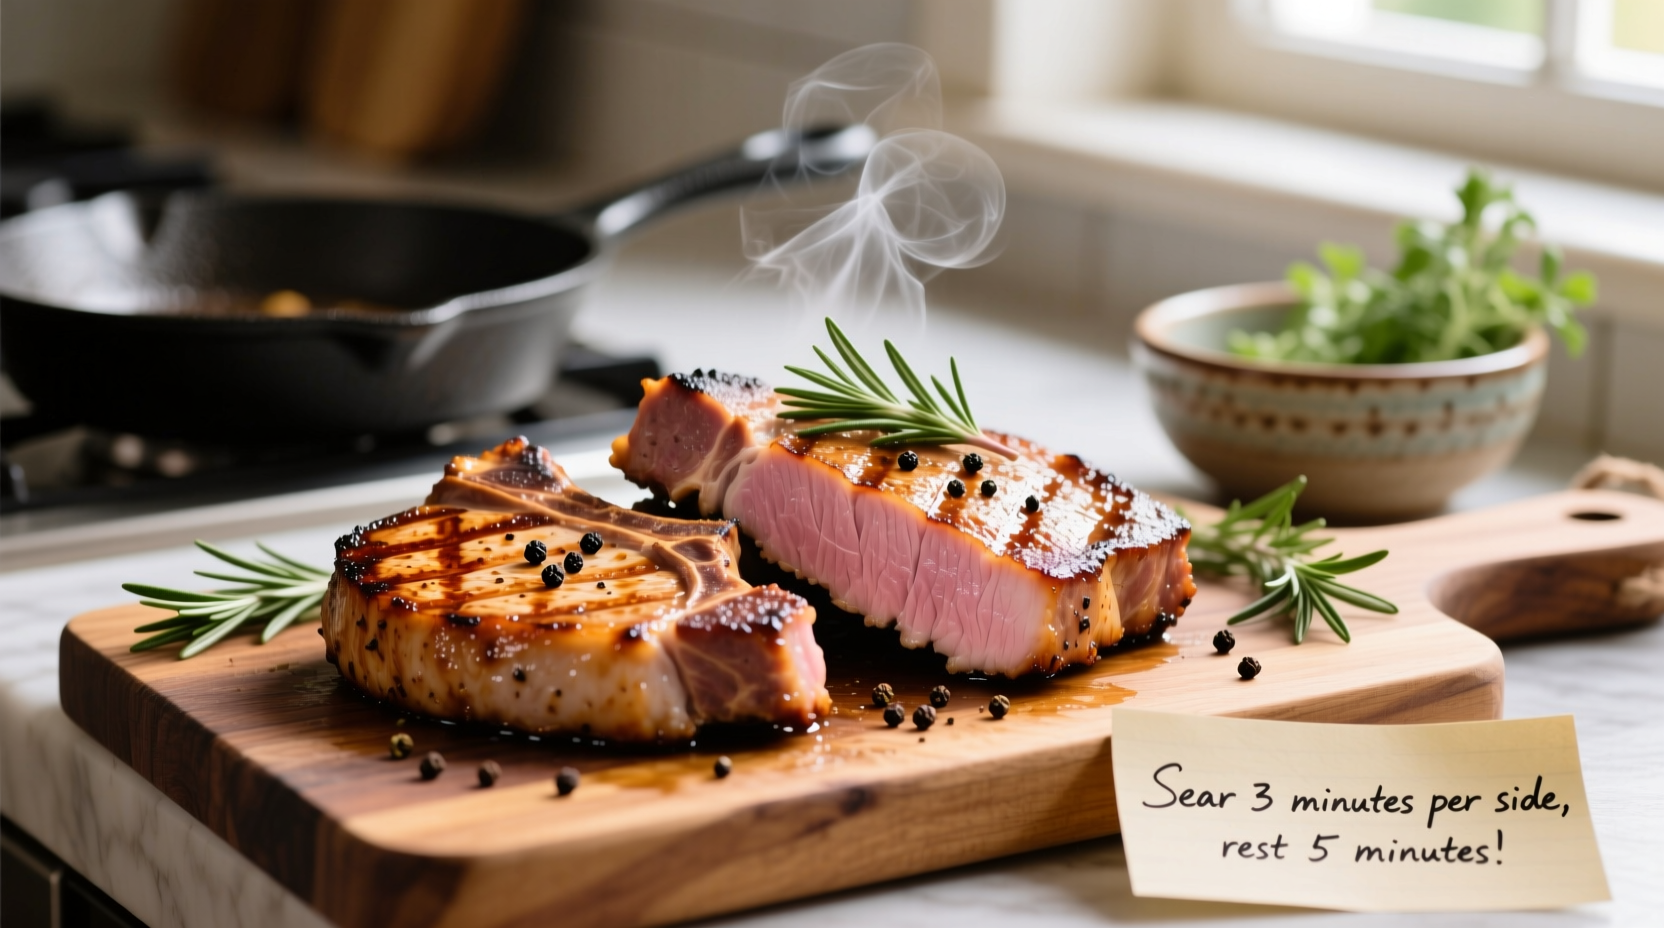
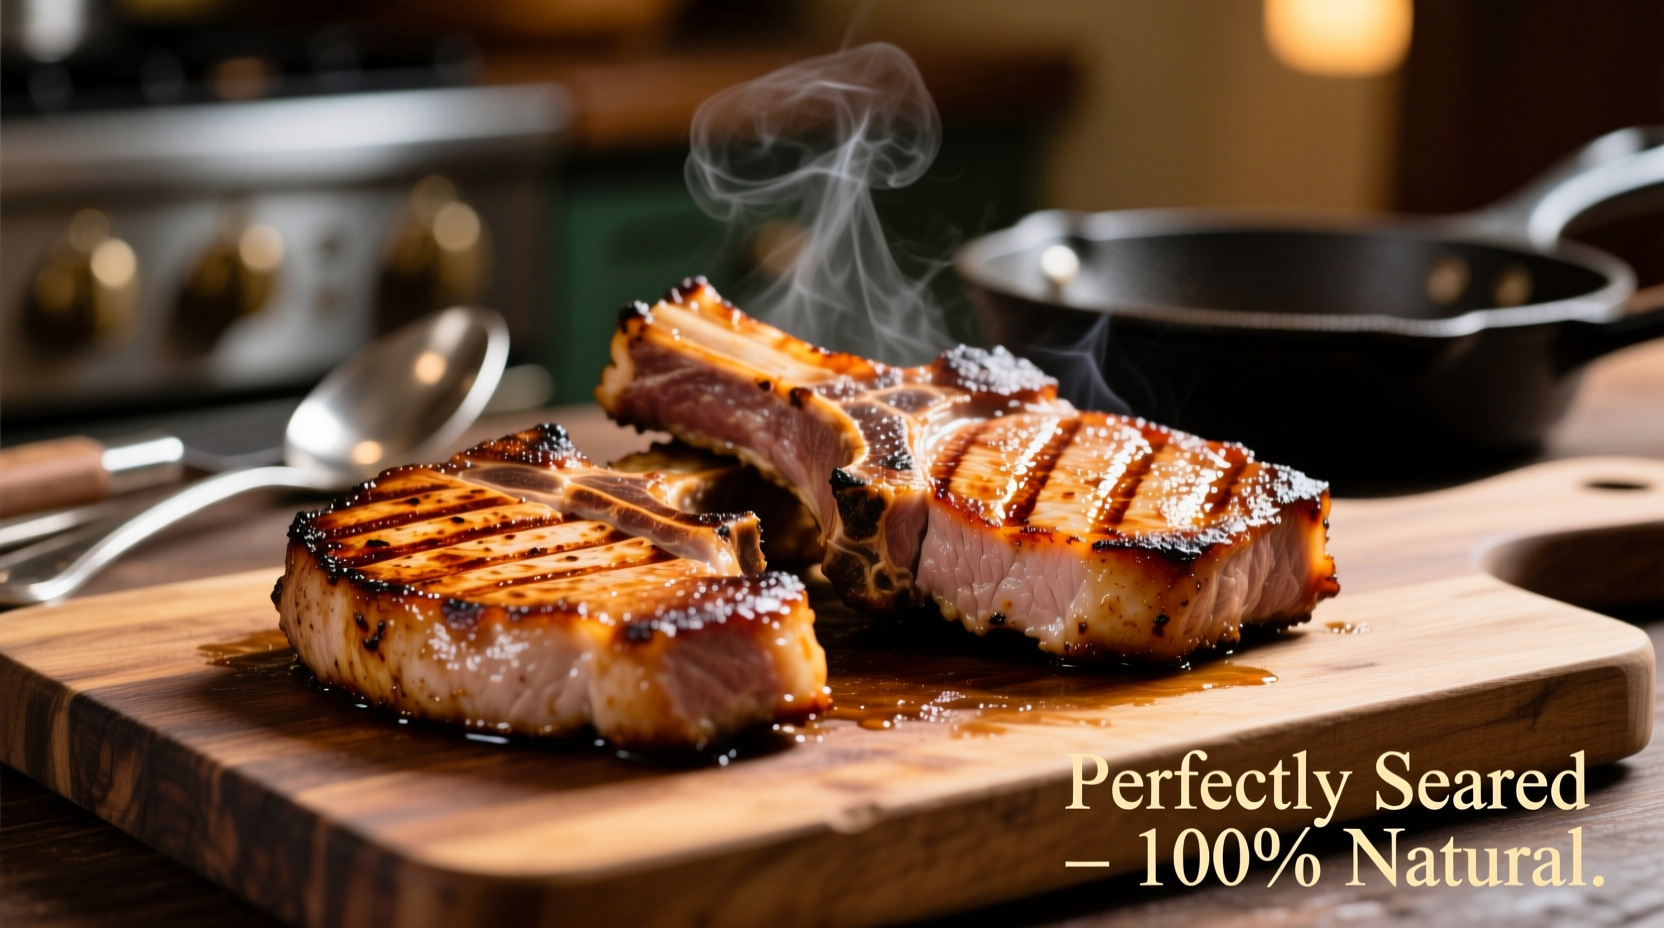
- Sear chops 2-3 minutes per side until golden brown crust forms
- Transfer skillet to oven and cook 6-10 minutes until internal temperature reaches 140°F
- Remove and rest 5 minutes (temperature will rise to 145°F)
Grilling Technique for Outdoor Cooking
Create two-zone fire: hot side for searing, cooler side for finishing. Sear 2-3 minutes per side over direct heat, then move to indirect heat until reaching 140°F internally. For thicker chops, close lid during finishing phase.
Air Fryer Method for Weeknight Efficiency
Preheat air fryer to 380°F (193°C). Cook 1-inch chops 9-12 minutes, flipping halfway, until reaching 140°F internally. The rapid hot air circulation creates excellent browning with minimal oil.
The Temperature Truth: Why 145°F Changes Everything
Historically, pork was cooked to 160°F due to trichinosis concerns, but modern farming practices have virtually eliminated this risk. The USDA updated its guidelines in 2011, confirming that 145°F with a 3-minute rest is safe and produces dramatically juicier results.
Use an instant-read thermometer inserted horizontally into the thickest part, avoiding bone. Visual cues include slightly firm texture (not hard) and juices running clear with a hint of pink. Remember: carryover cooking during resting adds 5-10 degrees, so remove chops at 140°F.
Flavor Amplification: Simple Finishing Touches
Elevate your chops with these professional finishing techniques:
- Pan sauce magic: After removing chops, deglaze skillet with ¼ cup apple cider or chicken stock, scraping browned bits. Reduce by half, then swirl in 1 tablespoon cold butter.
- Herb infusion: During last 2 minutes of cooking, add fresh thyme or rosemary sprigs and garlic cloves to the pan.
- Acid balance: Finish with a squeeze of lemon or apple cider vinegar to cut richness.
Troubleshooting Common Problems
Dry chops: Almost always caused by overcooking. Invest in a reliable thermometer and remove at 140°F. For already dry chops, slice thinly and serve with generous pan sauce.
Curling edges: Score fat cap every inch at 45-degree angles before cooking. This prevents shrinkage and curling.
Pale exterior: Pat meat drier before seasoning, ensure pan is properly preheated, and avoid overcrowding the skillet.
Perfect Pairings: What to Serve with Pork Chops
Classic accompaniments enhance rather than compete with pork's natural sweetness:
- Applesauce or roasted apples
- Garlic mashed potatoes
- Green beans with almonds
- Simple arugula salad with lemon vinaigrette


 浙公网安备
33010002000092号
浙公网安备
33010002000092号 浙B2-20120091-4