
Why Stovetop Corn Cooking Beats Other Methods
Boiling corn on the stovetop delivers consistently perfect results when done correctly. Unlike grilling (which risks uneven cooking) or microwaving (which can create hot spots), the gentle simmering water surrounds each ear evenly. This method preserves the corn's natural sugars while achieving that ideal tender-crisp texture that makes fresh summer corn so special.
What You'll Need for Perfect Stovetop Corn
| Item | Why It Matters | Pro Tip |
|---|---|---|
| Fresh corn ears | Peak flavor and texture | Choose ears with bright green husks and moist stems |
| Large pot | Prevents overcrowding | Use a 6-8 quart pot for 4-6 ears |
| Cold water | Even cooking from start to finish | Never start with boiling water |
| Tongs | Safe handling of hot corn | Keep a bowl of ice water nearby for quick cooling |
Your Step-by-Step Guide to Perfect Corn
Preparation: Selecting and Prepping Your Corn
Pick corn with bright green, snugly wrapped husks and moist stems. Avoid ears with brown, dry husks or missing kernels. Gently peel back a small section of husk to check for plump, milky kernels - this indicates peak freshness. Remove all husks and silk before cooking. Soak the naked ears in cold water for 10 minutes to hydrate the kernels, which prevents them from becoming tough during cooking.
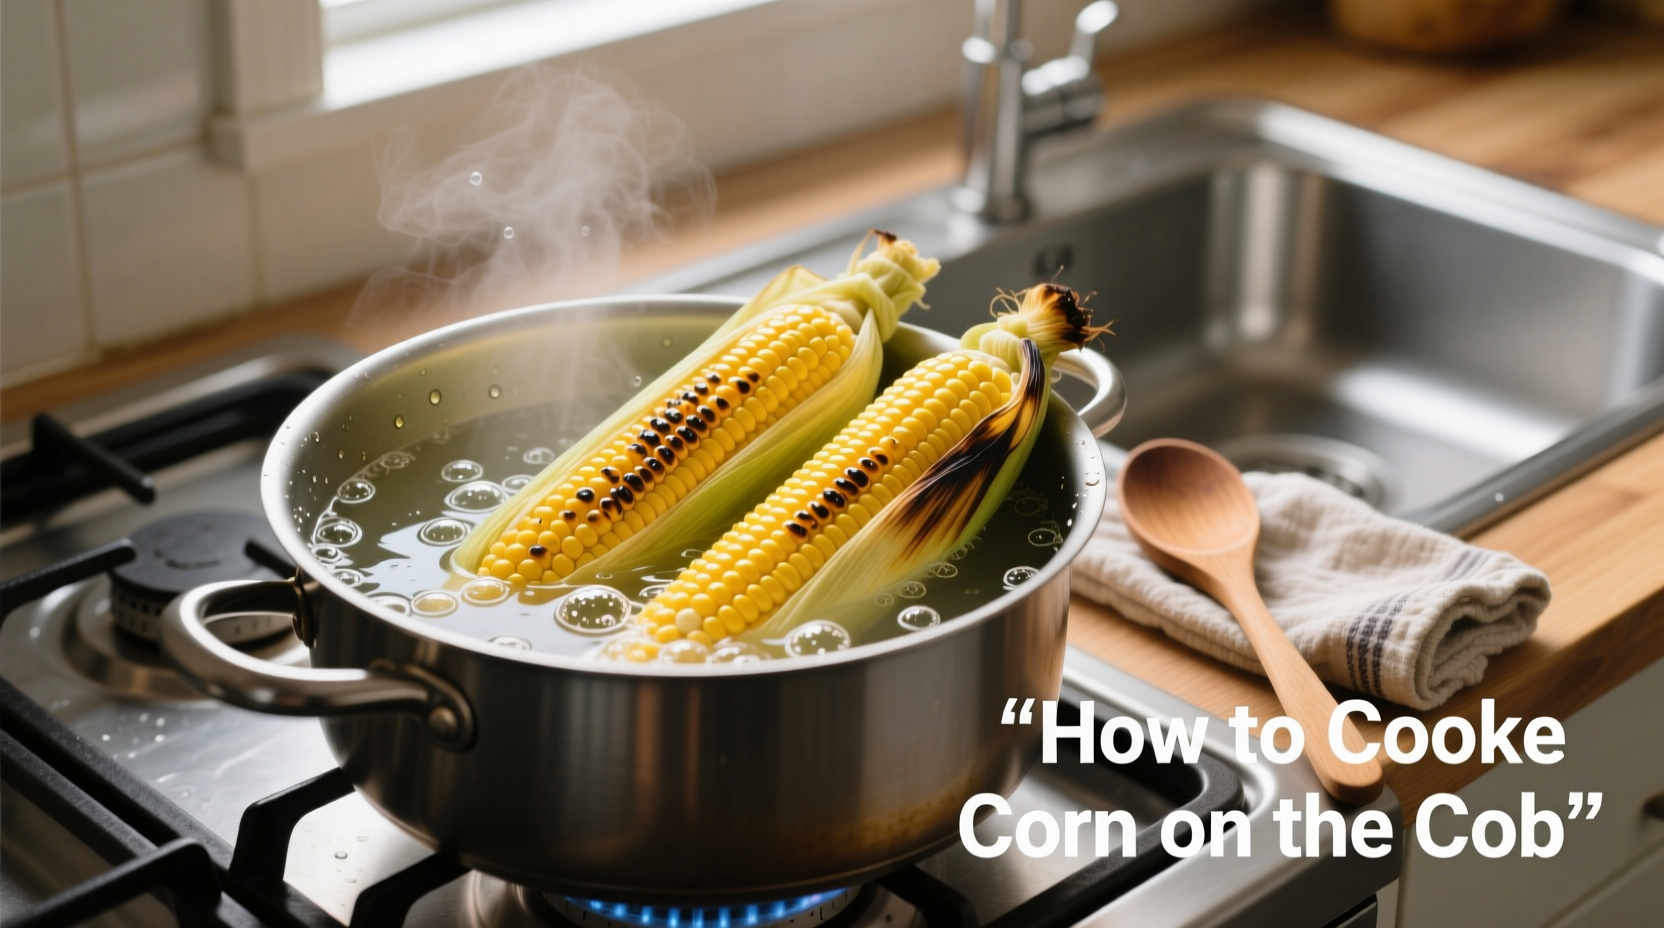
Cooking: The Critical Water Temperature Process
Place corn in a large pot and cover completely with cold water - about 1 inch above the ears. Contrary to popular belief, do not add salt to the water. According to research from the University of Illinois Extension, salt can cause corn kernels to become tough by accelerating the conversion of sugars to starches. Bring the water to a gentle boil over medium-high heat, then reduce to a simmer. Cook for exactly 3-5 minutes - any longer and you'll sacrifice that sweet crunch that makes fresh corn so special.
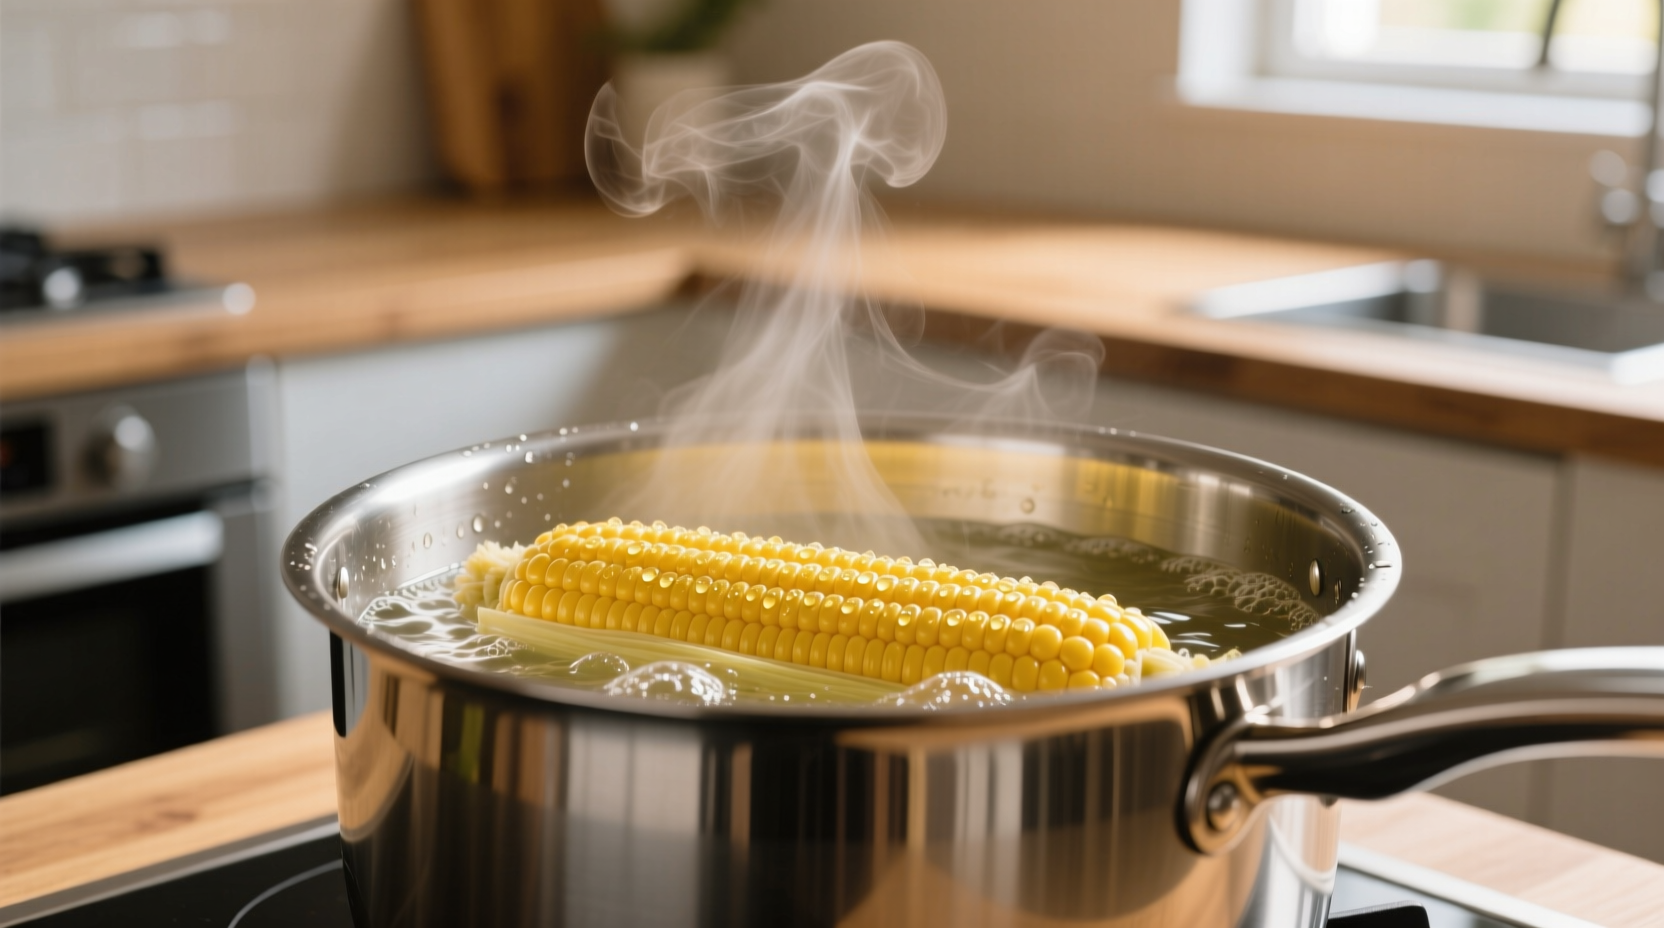
Timing Guide: Visual Cues for Perfect Corn
Timing varies based on corn freshness and size:
- Extra-sweet varieties (like Silver Queen): 3 minutes
- Standard sweet corn: 4 minutes
- Larger ears (over 8 inches): 5 minutes
Watch for visual cues: kernels turn a more vibrant yellow and become slightly translucent. The corn will float when perfectly cooked. Overcooked corn sinks and develops a mushy texture.
Serving: Maximizing Flavor Without Compromising Nutrition
Remove corn immediately using tongs and serve plain first to appreciate the natural sweetness. If adding butter, use room temperature butter that spreads easily without tearing kernels. For extra flavor, try these professional chef techniques:
- Lime-cilantro butter: Mix softened butter with fresh lime zest and chopped cilantro
- Smoked paprika sprinkle: Adds depth without overpowering corn's natural flavor
- Finishing salt: Apply only after cooking to avoid toughening kernels
Avoid These Common Corn Cooking Mistakes
Even experienced cooks make these errors that compromise corn quality:
- Adding salt to cooking water - causes kernels to toughen (USDA Food Safety and Inspection Service confirms salt accelerates starch conversion)
- Overcooking - destroys natural sweetness within minutes
- Cooking in batches - dropping water temperature creates uneven results
- Peeling too early - exposes corn to air, accelerating sugar-to-starch conversion
When Stovetop Isn't Best: Alternative Methods Compared
While boiling delivers consistent results, different situations call for different methods:
| Method | Best For | When to Avoid |
|---|---|---|
| Stovetop boiling | Daily cooking, large batches | When you want charred flavor |
| Grilling | Summer barbecues, smoky flavor | Rainy days or limited outdoor space |
| Steaming | Nutrient preservation | When you want traditional boiled texture |
Storing Leftover Cooked Corn
Refrigerate cooked corn in an airtight container for up to 3 days. For longer storage, remove kernels from cobs and freeze in portion-sized bags. According to the National Center for Home Food Preservation, frozen corn maintains best quality for 8-12 months. Never store cooked corn in water - this leaches flavor and creates sogginess.
How long should I boil corn on the cob?
Boil fresh corn for 3-5 minutes in unsalted water. Smaller, sweeter varieties need just 3 minutes, while larger ears may require up to 5 minutes. Overcooking destroys the natural sugars that give fresh corn its sweetness.
Should I add salt to the water when boiling corn?
No, never add salt to the cooking water. Research from the University of Illinois Extension shows salt accelerates the conversion of sugars to starches, resulting in tougher kernels. Season with salt only after cooking.
Can I cook corn in the husk on the stovetop?
Yes, but it requires longer cooking time (10-15 minutes) and yields less consistent results. Removing husks before cooking ensures even heat distribution and prevents the husk from absorbing water that would otherwise cook the corn.
Why does my corn become mushy when boiled?
Mushy corn results from overcooking or using water that's too hot. Corn continues cooking after removal from heat, so the 3-5 minute window is critical. Fresh corn contains enzymes that break down sugars into starches within minutes of harvest, so timing is essential for perfect texture.
How do I know when corn is perfectly cooked?
Perfectly cooked corn floats in the pot, has vibrant yellow kernels that appear slightly translucent, and yields slightly when pressed with a fingernail. The corn should feel hot throughout but maintain a tender-crisp texture - never soft or mushy.


 浙公网安备
33010002000092号
浙公网安备
33010002000092号 浙B2-20120091-4