
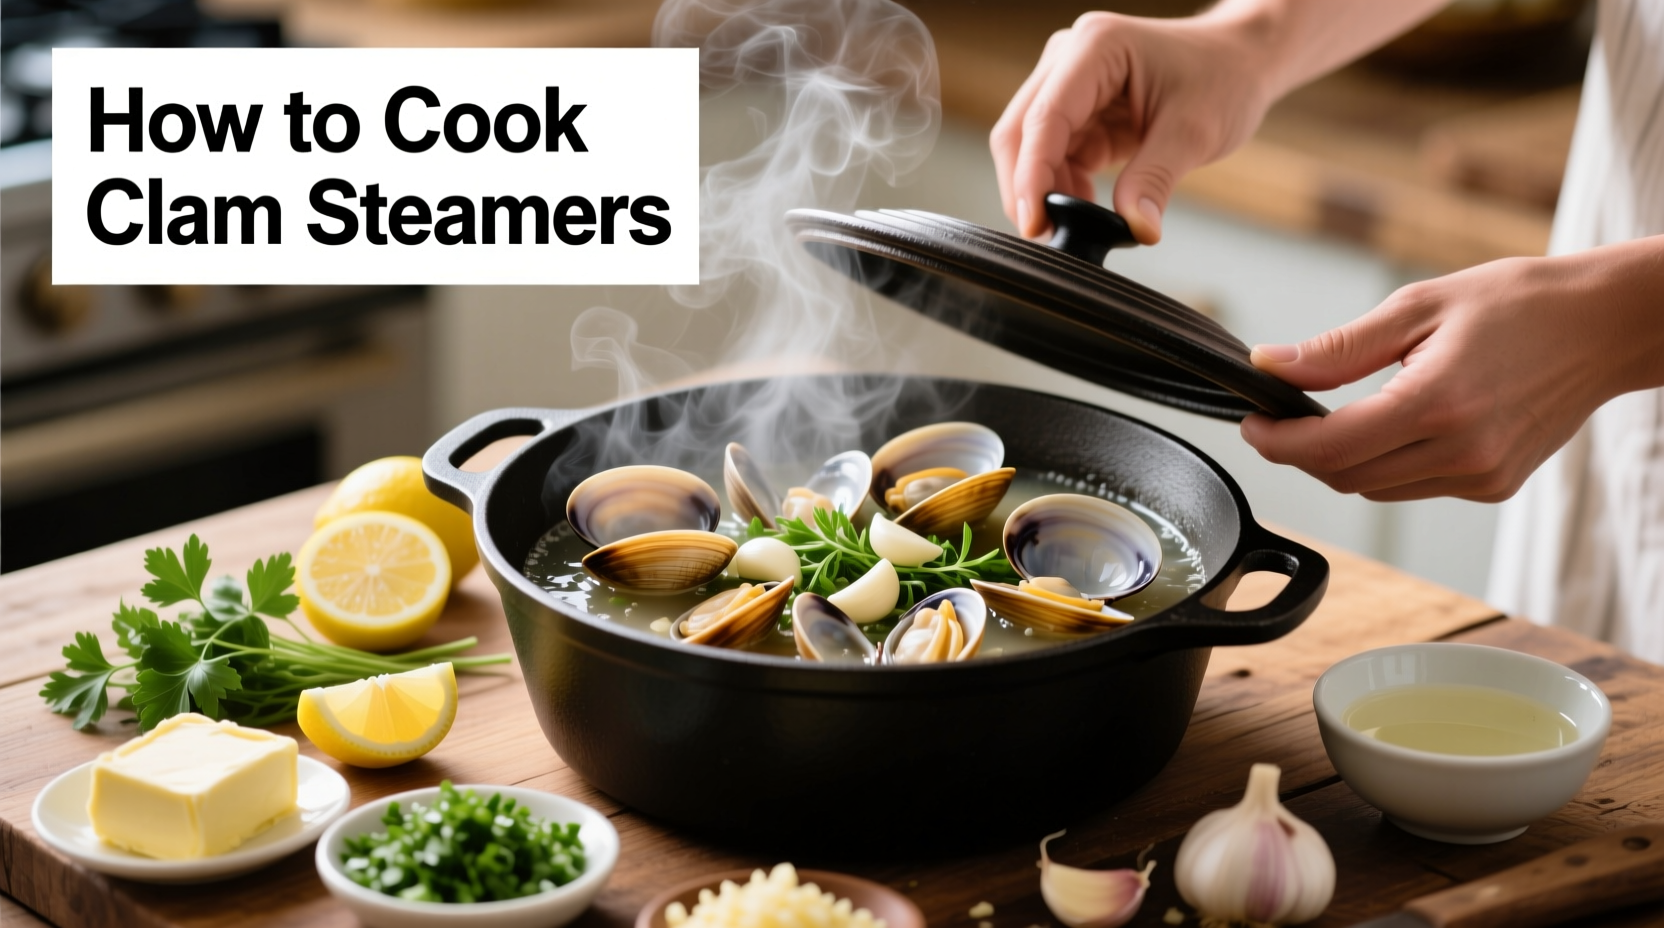
Mastering Clam Steamers: Your Complete Guide to Perfect Seafood Every Time
There's nothing quite like the briny aroma of perfectly cooked clam steamers filling your kitchen. But many home cooks struggle with rubbery texture, sandy grit, or undercooked shellfish. This guide reveals the professional techniques that guarantee tender, flavorful clam steamers every time you cook them.
Why This Method Works: The Science Behind Perfect Clam Steamers
Clam steamers (also called soft-shell clams or Mya arenaria) require precise cooking to maintain their delicate texture. According to the U.S. Food and Drug Administration, shellfish must reach an internal temperature of 145°F (63°C) or until shells open to ensure food safety. The steaming method preserves moisture while allowing natural juices to enhance the broth.
| Clam Variety | Best Cooking Method | Texture Profile | Flavor Intensity |
|---|---|---|---|
| Steamers (Soft-Shell) | Steaming only | Tender, slightly chewy | Moderate brininess |
| Manila Clams | Steaming or sautéing | Firm, meaty | Strong ocean flavor |
| Littlenecks | Raw or steamed | Delicate, tender | Subtle sweetness |
Essential Preparation: Setting Up for Success
Before you start cooking, proper preparation prevents common mistakes that ruin clam steamers:
1. Selecting Quality Clams
Choose live clams with tightly closed shells or those that close when tapped. Avoid any with cracked shells or unpleasant odors. The Seafood Health Facts organization recommends purchasing from reputable seafood markets that maintain proper refrigeration (below 40°F/4°C).
2. The Critical Cleaning Process
Improperly cleaned clams deliver gritty disappointment. Follow this professional method:
- Soak clams in cold saltwater (1/4 cup salt per gallon of water) for 20 minutes
- Scrub shells with a stiff brush under cold running water
- Discard any clams that remain open after tapping
- Never use freshwater for soaking - it kills clams and ruins texture
The Foolproof Cooking Method
Now that your clams are properly prepared, follow these steps for restaurant-quality results at home:
Building the Flavor Foundation
The broth makes or breaks your clam steamers. Create this professional base:
- 2 tablespoons olive oil or butter
- 3-4 minced garlic cloves
- 1 finely diced shallot
- 1/2 cup dry white wine OR 1 cup clam juice
- 1/4 cup fresh parsley, chopped
- 2 sprigs fresh thyme
- 1 bay leaf
- Pinch of red pepper flakes (optional)
Perfect Steaming Technique
- Heat oil in a large, heavy-bottomed pot over medium heat
- Sauté garlic and shallot until translucent (about 2 minutes)
- Add wine or clam juice, bring to a simmer
- Place clams in the pot, cover immediately with tight-fitting lid
- Steam for 5-8 minutes until shells open
- Discard any unopened clams after cooking
- Remove from heat and stir in fresh herbs
Timing is critical: Overcooking by even 60 seconds turns tender clams rubbery. Set a timer immediately after covering the pot. The National Seafood Institute confirms that most clams open within 5-8 minutes of proper steaming.
Serving and Enjoyment: Completing the Experience
Your perfectly cooked clam steamers deserve proper presentation:
- Serve immediately in wide, shallow bowls to showcase the broth
- Provide small bowls for discarded shells
- Include crusty bread for dipping - essential for enjoying the flavorful broth
- Pair with a crisp white wine like Sauvignon Blanc or Pinot Grigio
For authentic New England presentation, serve in the cooking pot placed over a small flame to keep warm at the table. This traditional method maintains optimal serving temperature throughout the meal.
Troubleshooting Common Issues
Even experienced cooks encounter these challenges. Here's how to solve them:
Clams Won't Open After Cooking
Any clams that remain closed after 8 minutes of steaming should be discarded. As the FDA states, "clams that don't open during cooking may be dead and unsafe to eat." Never force shells open.
Preventing Rubbery Texture
The Culinary Institute of America's seafood curriculum emphasizes that clams continue cooking from residual heat. Remove them from the pot immediately after shells open, and let them rest covered for just 1 minute before serving.
Adjusting for Different Clam Varieties
While this guide focuses on traditional steamers, different varieties require adjustments:
- Manila clams: Cook 1-2 minutes less than steamers
- Littleneck clams: Can be served raw or steamed for 3-5 minutes
- Cherrystone clams: Require 7-10 minutes of steaming
Food Safety Essentials You Must Know
Shellfish requires special attention to food safety. Remember these critical points:
- Never leave live clams at room temperature for more than 2 hours
- Store in refrigerator covered with damp cloth, not in airtight container
- Consume within 24 hours of purchase for best quality and safety
- Discard any clams with cracked shells or unpleasant odors
According to seafood safety experts, properly handled and cooked clams pose minimal food safety risks. The key is proper temperature control from purchase through cooking.
Conclusion: Elevate Your Seafood Cooking
Mastering clam steamers opens the door to countless seafood preparations. By understanding the precise timing, proper cleaning techniques, and flavor balancing, you'll consistently create impressive dishes that showcase the ocean's bounty. Remember that fresh ingredients, careful preparation, and respect for cooking times transform simple clams into an extraordinary meal.


 浙公网安备
33010002000092号
浙公网安备
33010002000092号 浙B2-20120091-4