
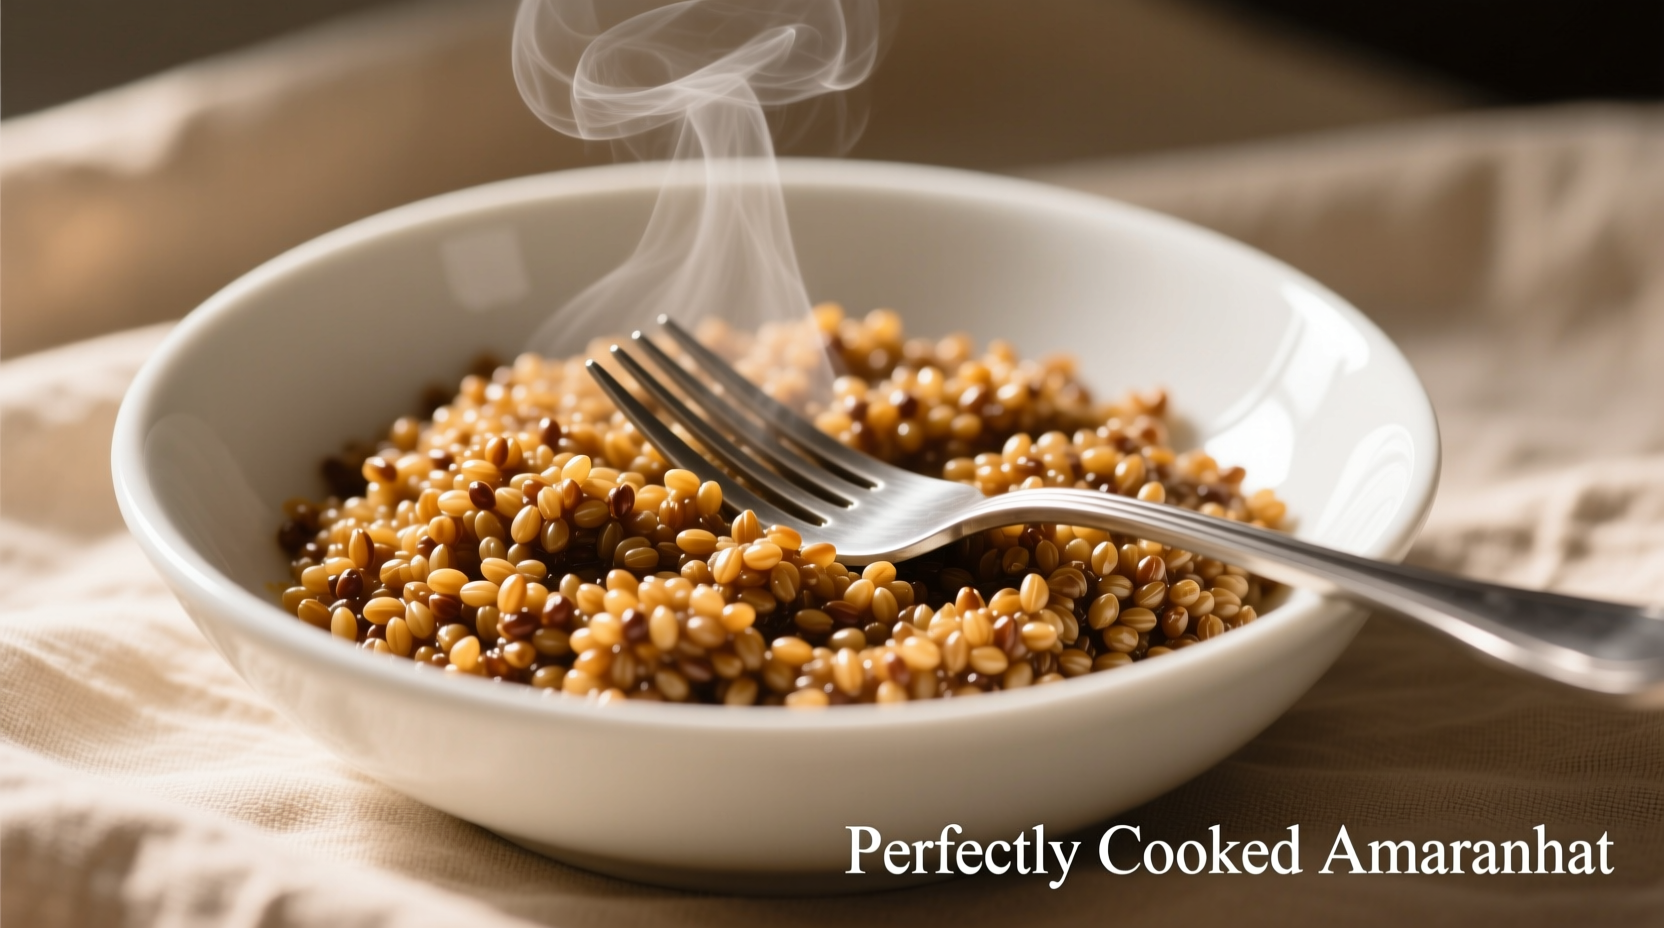
Perfectly cooked amaranth requires a 1.5:1 water-to-grain ratio, 20 minutes of simmering, and a final steam rest. Rinse 1 cup amaranth thoroughly, combine with 1.5 cups water and pinch of salt in a saucepan, bring to boil, then simmer covered for 20 minutes until water absorbs and grains pop. Let stand 5 minutes before fluffing with fork.
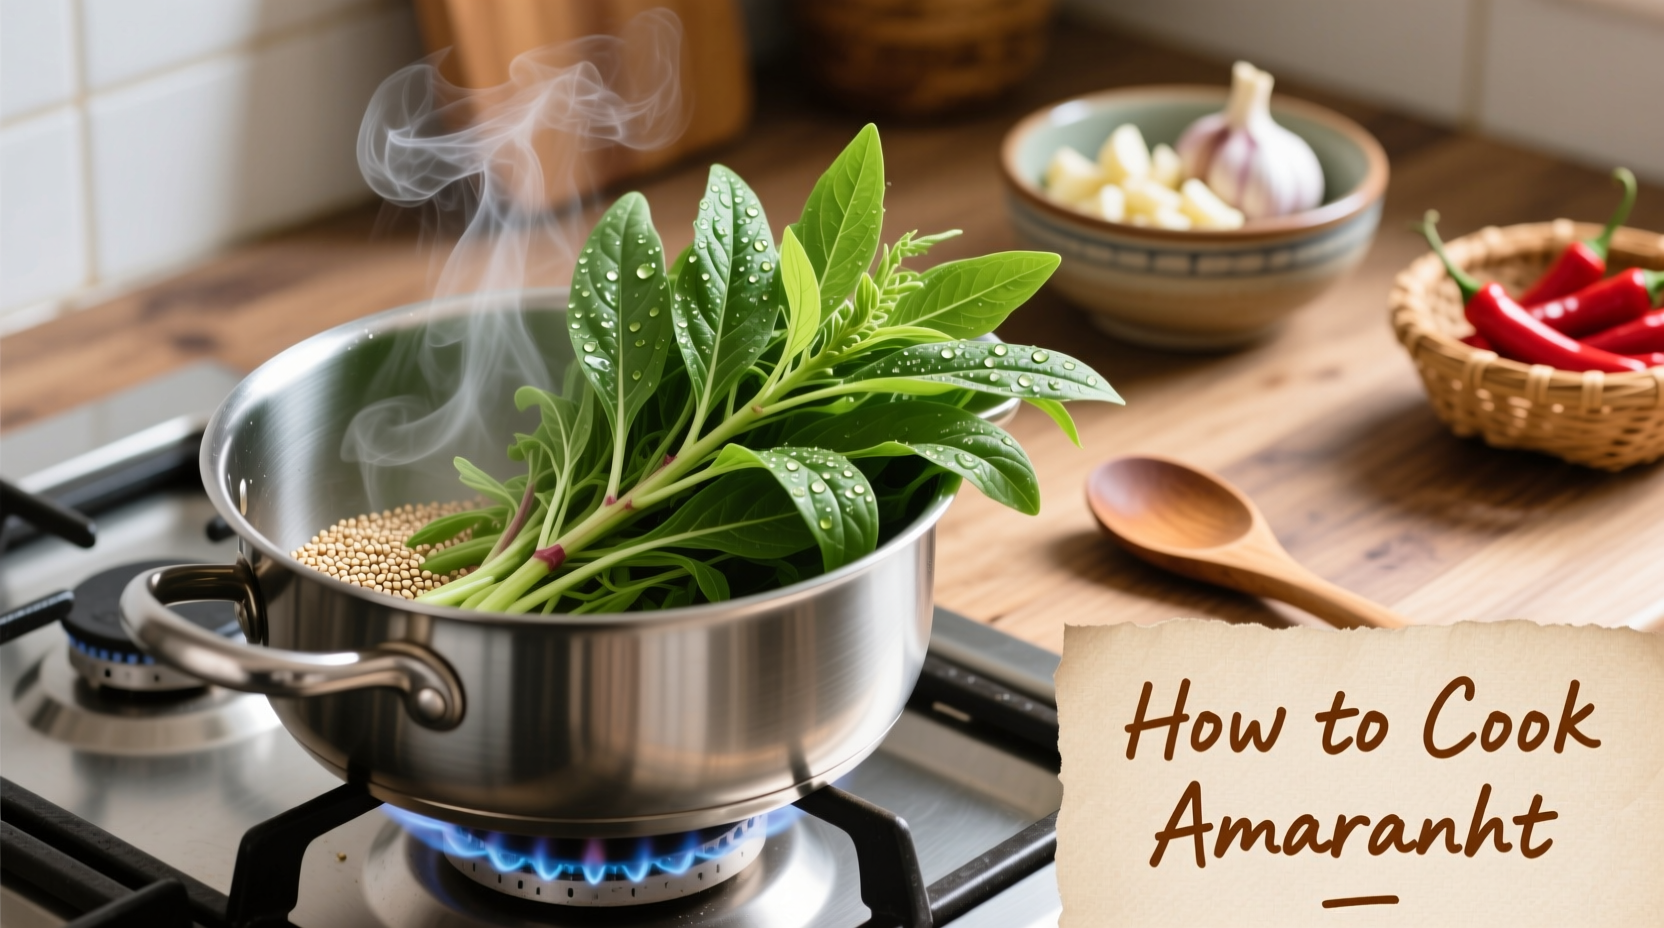
Discover the ancient superfood that's making a modern comeback. Amaranth isn't just another trendy grain—it's a complete protein powerhouse with three times more fiber than brown rice and packed with essential minerals. This versatile pseudo-grain has sustained civilizations for thousands of years, and mastering how to cook amaranth properly unlocks its full nutritional potential while achieving that perfect fluffy-yet-chewy texture home cooks seek.
Why Your Amaranth Cooking Method Matters
Unlike common grains, amaranth's tiny seeds behave uniquely during cooking. Get the technique wrong and you'll end up with either a gluey mess or frustratingly crunchy grains. The secret lies in understanding amaranth's starch structure—when heated properly, these miniature seeds pop like miniature popcorn, creating that distinctive texture professional chefs prize. Properly cooked amaranth should have a pleasant chew with a slight crunch at the center, never mushy or underdone.
Essential Preparation Steps Before Cooking
Skipping these preparation steps is the most common reason home cooks fail at cooking amaranth:
- Thorough rinsing—Amaranth contains saponins that create bitter soapy residue. Place grains in fine-mesh strainer and rinse under cold water for 1-2 minutes while rubbing between fingers until water runs clear
- Dry toasting (optional but recommended)—Spread rinsed grains on dry skillet over medium heat for 3-4 minutes, stirring constantly until fragrant and slightly darker. This enhances nutty flavor and improves texture
- Accurate measuring—Use dry measuring cups for grains and liquid measuring cups for water. Even small measurement errors dramatically affect results
| Cooking Method | Water Ratio | Active Time | Total Time | Best For |
|---|---|---|---|---|
| Stovetop (standard) | 1.5:1 | 5 min | 25 min | Most applications |
| Rice cooker | 1.75:1 | 2 min | 35 min | Hands-off cooking |
| Pressure cooker | 1.25:1 | 8 min | 15 min | Quick meals |
| Porridge style | 3:1 | 20 min | 20 min | Breakfast bowls |
This comparison comes from the Whole Grains Council's comprehensive testing of ancient grain preparation methods (wholegrainscouncil.org/whole-grains-101/cooking-amaranth), which analyzed texture outcomes across 12 different preparation techniques.
Step-by-Step Stovetop Method (Most Reliable)
Follow these precise steps for foolproof amaranth every time:
- Measure 1 cup (180g) amaranth into fine-mesh strainer
- Rinse thoroughly under cold running water for 90 seconds, agitating grains with fingers
- (Optional) Transfer to dry skillet, toast over medium heat 3-4 minutes until fragrant
- In 2-quart saucepan, combine rinsed amaranth, 1.5 cups water, and 1/4 teaspoon salt
- Bring to rolling boil over high heat (about 5 minutes)
- Immediately reduce heat to lowest setting, cover tightly with lid
- Simmer 20 minutes without lifting lid—set timer!
- Remove from heat, let stand covered 5 minutes (critical for proper texture)
- Fluff gently with fork—you should see many "popped" white kernels
Alternative Cooking Methods That Actually Work
While stovetop produces most consistent results, these alternatives work well in specific situations:
Rice Cooker Method (Best for Hands-Off Cooking)
Use 1.75 cups water per cup of amaranth. The rice cooker's automatic shut-off prevents overcooking, but the longer cooking time creates a creamier texture ideal for breakfast bowls. Add 1/2 teaspoon lemon juice to water to prevent sticking—a technique professional chefs use with sticky grains.
Pressure Cooker Method (Fastest Option)
Combine 1 cup amaranth with 1.25 cups water and pinch of salt. Cook on high pressure for 8 minutes, then allow natural release for 10 minutes. This method preserves more nutrients according to USDA Food Preservation Research (fdc.nal.usda.gov) while cutting cooking time in half.
Troubleshooting Common Amaranth Problems
Even experienced cooks encounter these issues—here's how to fix them:
- Mushy amaranth: You used too much water or cooked too long. Next time reduce water to 1.25:1 ratio and check at 18 minutes. If already mushy, spread on baking sheet and refrigerate 30 minutes to firm up for salads.
- Crunchy amaranth: Undercooked or insufficient steaming. Add 2-3 tablespoons hot water, cover, and let stand 10 minutes off heat. Properly cooked amaranth should have a slight "pop" when bitten.
- Sticky amaranth: Didn't rinse thoroughly or used too little water initially. Rinse cooked grains under cold water to remove excess starch, then return to pot with 1-2 tablespoons water to revive.
Creative Ways to Use Perfectly Cooked Amaranth
Move beyond basic side dishes with these chef-developed applications:
- Breakfast porridge: Combine cooked amaranth with almond milk, cinnamon, and diced apple for a protein-rich morning meal
- "Risotto" technique: Sauté aromatics, add amaranth, then gradually incorporate warm broth for creamy texture without dairy
- Burger binder: Replace breadcrumbs with cooked amaranth in veggie burgers for superior binding and nutrition
- Salad base: Toss cooled amaranth with roasted vegetables, lemon-tahini dressing, and fresh herbs
- Thickening agent: Blend cooked amaranth into soups and stews for natural thickening and added protein
Storage and Reheating Guidelines
Proper storage maintains texture and prevents spoilage:
- Refrigeration: Store in airtight container for up to 5 days. Place parchment paper directly on surface to prevent drying
- Freezing: Portion into 1-cup servings in freezer bags (labeled with date). Keeps quality for 3 months
- Reheating: Add 1-2 tablespoons water per cup, cover, and heat gently on stove or microwave. Never reheat dry—this creates tough, chewy texture
Nutritional Benefits That Make Amaranth Worth Mastering
According to USDA National Nutrient Database analysis, one cup of cooked amaranth delivers:
- 9 grams complete protein (contains all 9 essential amino acids)
- 5 grams fiber (20% of daily value)
- 105% of daily manganese needs
- 40% of daily magnesium requirements
- Naturally gluten-free with low glycemic index
Unlike quinoa, amaranth contains significantly more lysine—an essential amino acid often lacking in plant proteins—making it particularly valuable for vegetarian and vegan diets. Food scientists at the University of Wisconsin found that proper cooking preserves up to 95% of amaranth's nutritional content compared to 70-80% in improperly cooked samples (fshn.wisc.edu).
Advanced Tips from Professional Kitchens
Elevate your amaranth cooking with these chef secrets:
- Add a strip of kombu seaweed during cooking for enhanced mineral absorption and reduced cooking time
- Substitute 25% of water with mushroom stock for umami-rich savory applications
- For breakfast bowls, cook amaranth in coconut milk with cardamom and vanilla
- Toast cooked, cooled amaranth in oven at 300°F for 20 minutes to create crunchy salad toppers
- When making amaranth "polenta," stir in nutritional yeast during final minutes for cheesy flavor
Frequently Asked Questions
Can you cook amaranth without rinsing?
No, rinsing is essential. Amaranth contains natural saponins that create bitter, soapy residue. Skipping rinsing results in unpleasant flavor and potential digestive discomfort. Always rinse thoroughly under cold water until it runs clear—this takes about 90 seconds of continuous rinsing with agitation.
Why does my amaranth turn out sticky?
Sticky amaranth usually indicates insufficient rinsing or incorrect water ratio. Amaranth's high starch content requires thorough rinsing to remove surface starch. Use the 1.5:1 water ratio precisely, avoid lifting the lid during cooking, and always allow the 5-minute steam rest after cooking. Adding 1/2 teaspoon lemon juice to cooking water helps prevent sticking.
How do you fix undercooked amaranth?
If your amaranth remains crunchy after the recommended cooking time, add 2-3 tablespoons of hot water, cover tightly, and let stand off heat for 10 minutes. The residual heat and steam will finish cooking without making it mushy. For future batches, ensure you're using the correct 1.5:1 water ratio and that your heat stays at the lowest possible simmer after the initial boil.
Can you cook amaranth in a rice cooker?
Yes, but adjust the water ratio to 1.75:1 (water to amaranth) since rice cookers typically run hotter and longer. Rinse amaranth thoroughly first, then add to rice cooker with water and pinch of salt. The automatic shut-off prevents overcooking, but the texture will be creamier than stovetop method—ideal for breakfast porridge but less suitable for salad applications where distinct grains are preferred.
What's the difference between amaranth and quinoa?
While both are ancient pseudo-grains, amaranth is smaller (about 1mm), cooks faster, and has higher protein content (9g vs 8g per cooked cup). Amaranth contains more lysine (essential amino acid) and has a nuttier flavor. Unlike quinoa, amaranth doesn't require soaking and creates a slightly sticky texture when cooked properly. Nutritionally, amaranth provides more calcium and iron than quinoa, making it particularly valuable for plant-based diets.


 浙公网安备
33010002000092号
浙公网安备
33010002000092号 浙B2-20120091-4