
Perfectly crispy oven-baked chicken wingettes require 40-45 minutes at 425°F (220°C) after thorough drying and seasoning. The internal temperature must reach 165°F (74°C) for food safety, with optimal crispiness achieved by baking on a wire rack over a sheet pan. This method delivers restaurant-quality results without deep frying.
Why Oven-Baked Wingettes Beat Fried Every Time
Forget messy oil splatters and unhealthy saturated fats. Baking chicken wingettes in the oven produces remarkably crispy skin with less than half the fat of traditional frying. The secret lies in proper preparation and temperature control - techniques perfected by professional kitchens but easily replicated at home.
Your Wingette Preparation Checklist
Before your wingettes even approach the oven, proper preparation makes all the difference. Most home cooks skip these critical steps that separate soggy failures from perfectly crisp results:
Drying: The Crispiness Foundation
Pat wingettes completely dry with paper towels, then refrigerate uncovered for 1-2 hours. This critical step removes surface moisture that creates steam during cooking. According to USDA food safety guidelines, proper drying also reduces bacterial growth risk during preparation.
Seasoning Strategy
Apply seasoning directly to the skin after drying. For maximum flavor penetration, mix 1 teaspoon baking powder with your dry rub - this alkaline compound accelerates Maillard reaction for deeper browning without altering taste. Professional kitchens use this technique for perfectly browned poultry skin.
| Preparation Step | Amateur Approach | Professional Technique |
|---|---|---|
| Surface Moisture | Light pat dry | Thorough drying + refrigeration |
| Seasoning Application | After cooking | Before cooking with baking powder |
| Cooking Surface | Direct on pan | Wire rack elevation |
The Oven Method That Never Fails
Follow this precise sequence for consistently perfect results:
Equipment Setup
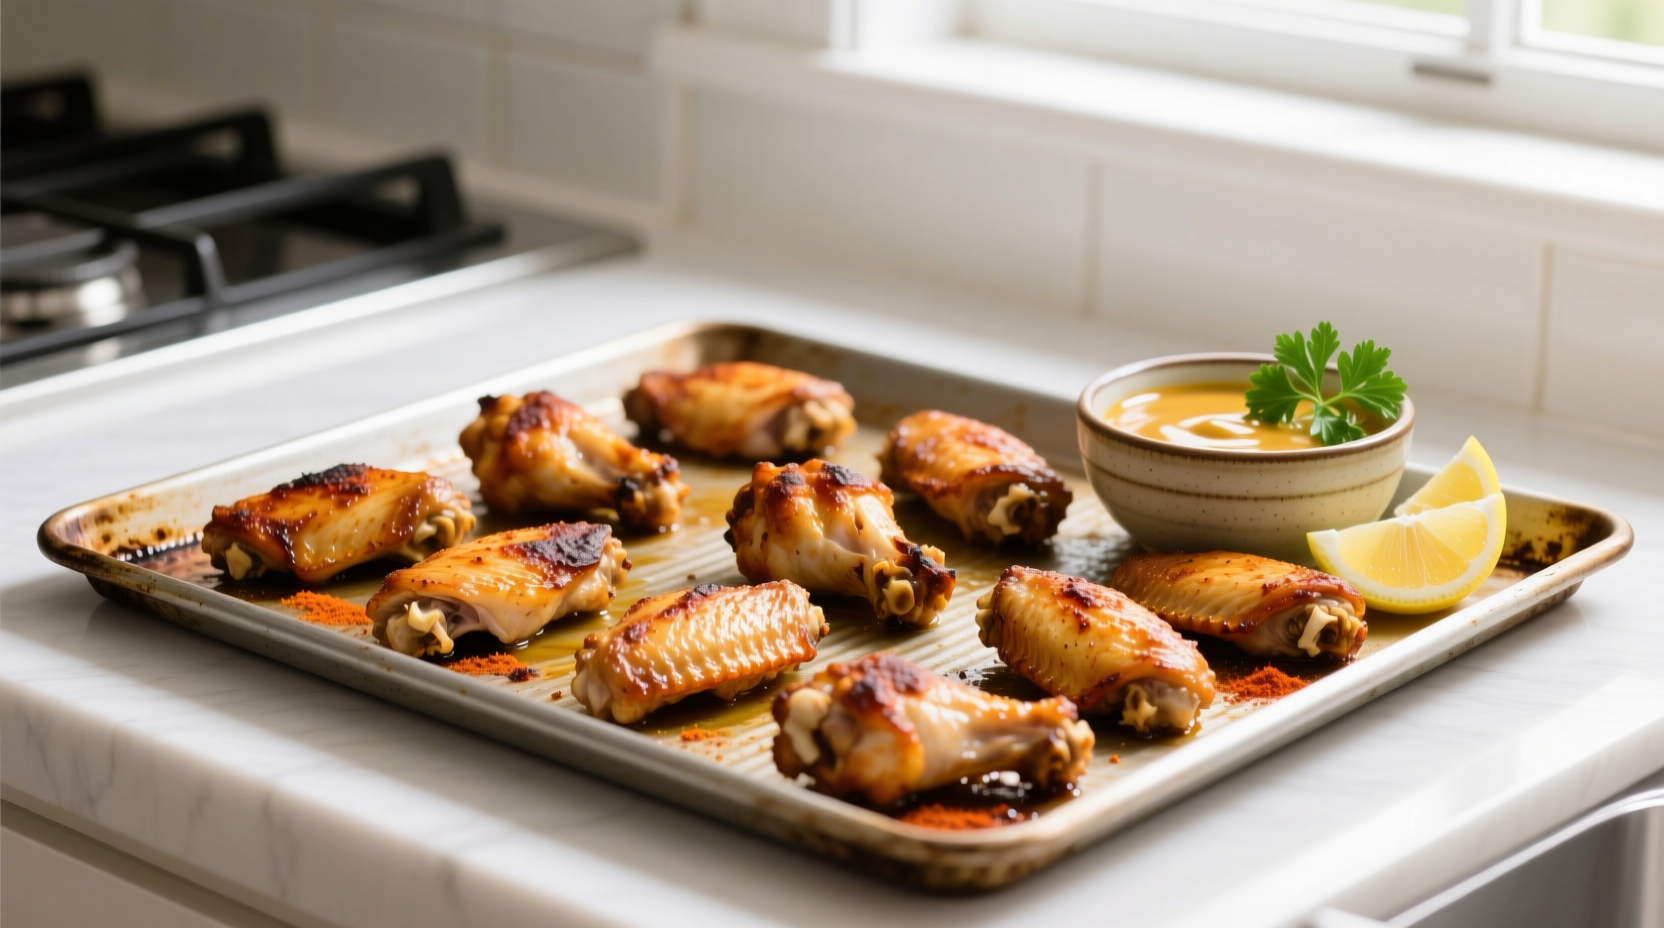
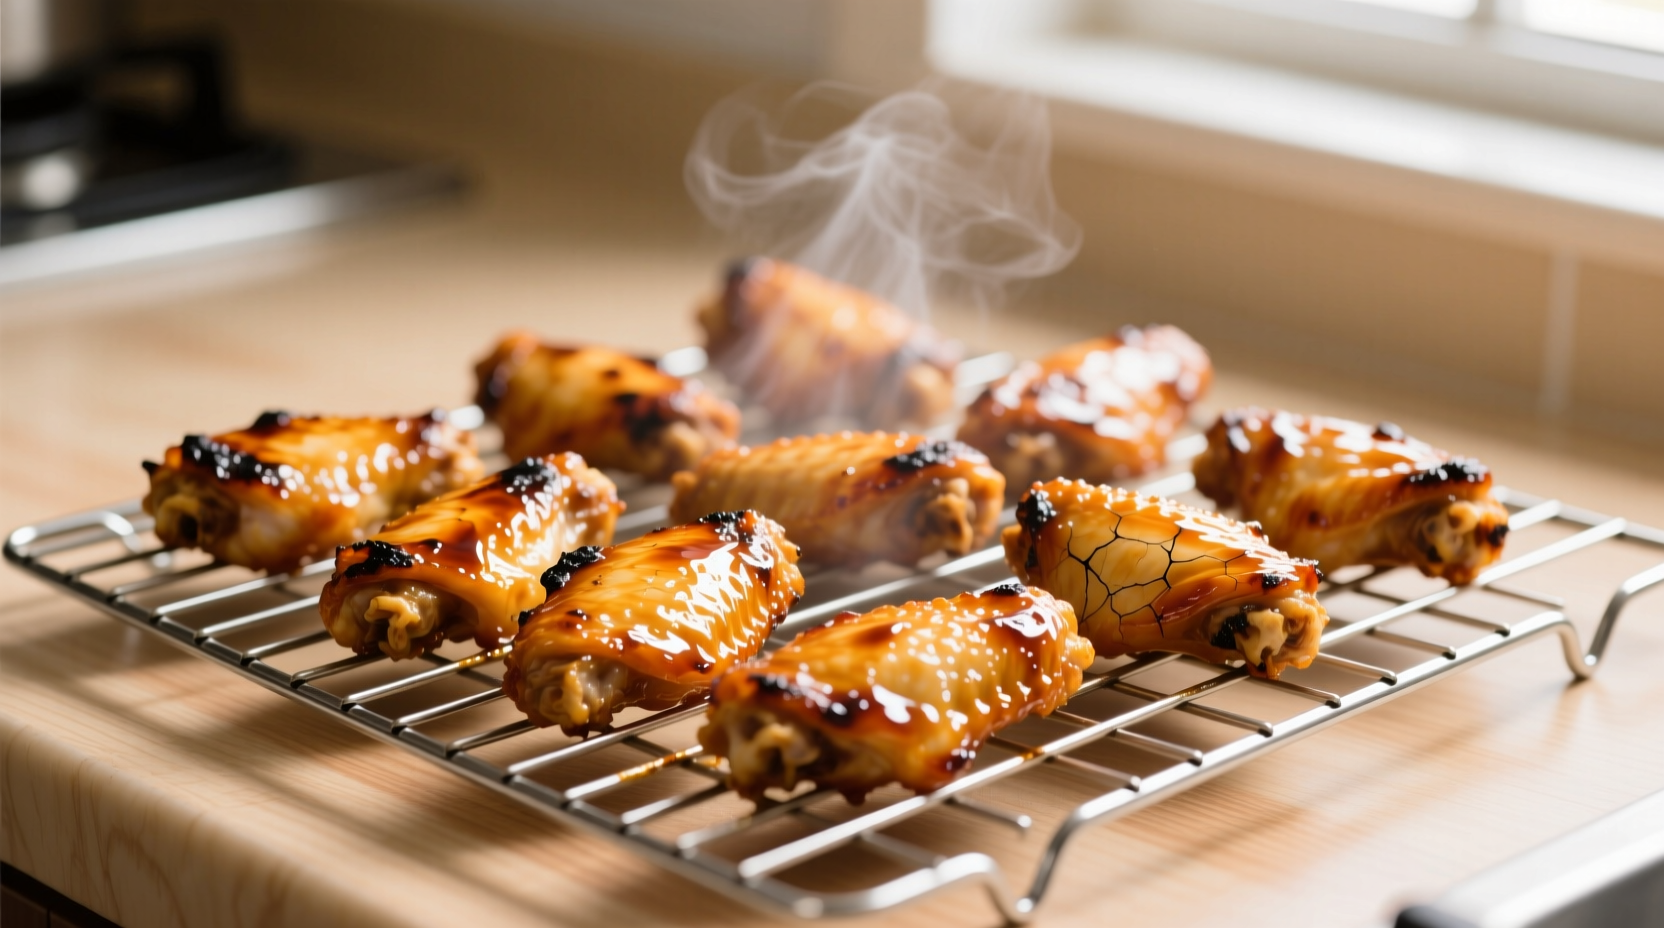
Place an oven rack in the middle position. Preheat to 425°F (220°C) with convection if available. Position wingettes on a wire rack set over a rimmed baking sheet - this allows hot air circulation for even crisping. Never overcrowd the pan; maintain 1-inch spacing between pieces.
Cooking Timeline
Bake for 25 minutes, then flip using tongs. Continue baking 15-20 minutes until golden brown and crispy. Check internal temperature with an instant-read thermometer - it must register 165°F (74°C) at the thickest part. This USDA food safety standard prevents foodborne illness while ensuring perfect texture.
Flavor Variations That Impress
While classic buffalo remains popular, these professional variations elevate your wingettes:
Dry Rub Mastery
Combine 2 tablespoons smoked paprika, 1 tablespoon garlic powder, 2 teaspoons cayenne, and 1 teaspoon each of onion powder and brown sugar. Apply before baking for deep, complex flavor that penetrates the meat.
Sauce Application Science
For sauced wingettes, toss immediately after baking while still hot. The residual heat helps sauce adhere without making skin soggy. For sticky Asian-style wings, reduce sauce by 30% before tossing to concentrate flavors and improve adhesion.
Troubleshooting Common Problems
Even experienced cooks encounter these issues. Here's how to fix them:
Soggy Skin Solution
If your wingettes lack crispiness, you likely skipped the drying step or overcrowded the pan. Next time, increase oven temperature to 450°F (232°C) for the final 10 minutes of cooking. This professional technique creates a final burst of crispiness without drying out the meat.
Burning Prevention
If wingettes brown too quickly, reduce oven temperature to 400°F (204°C) and extend cooking time. Dark pans accelerate browning - use light-colored bakeware for more controlled results. Always position wingettes with thicker parts toward the oven's outer edges for even cooking.
Serving Like a Pro
Rest wingettes 5 minutes before serving to allow juices to redistribute. Serve with celery sticks and blue cheese dip for classic presentation, or try unconventional pairings like pickled vegetables to cut through richness. For parties, keep finished wingettes warm in a 200°F (93°C) oven for up to 30 minutes without losing crispness.
Storage and Reheating Secrets
Store leftovers in an airtight container in the refrigerator for up to 4 days. To restore crispiness, reheat in a 400°F (204°C) oven for 8-10 minutes rather than using a microwave. For meal prep, freeze cooked wingettes on a baking sheet before transferring to containers to prevent sticking.
How do I prevent chicken wingettes from drying out in the oven?
Maintain proper internal temperature (165°F) and avoid overcooking. Brining wingettes in 1/4 cup salt dissolved in 4 cups water for 1-2 hours before cooking adds moisture retention. The baking powder in your dry rub also helps create a protective crust that seals in juices during oven cooking.
Can I cook frozen chicken wingettes directly in the oven?
Yes, but with adjustments. Increase cooking time by 15-20 minutes and start at 375°F (190°C) for the first 20 minutes to allow gradual thawing. Always verify internal temperature reaches 165°F with a thermometer. For best results, thaw wingettes in the refrigerator overnight before cooking.
What's the ideal oven temperature for crispy chicken wingettes?
425°F (220°C) provides the perfect balance for crispy skin without drying the meat. Higher temperatures (450°F+) risk burning before interior cooks through, while lower temperatures (under 400°F) produce steamed rather than roasted results. Convection settings improve crispiness by circulating hot air more effectively.
How can I make oven-baked wingettes as crispy as fried?
The baking powder trick is essential - mix 1 teaspoon with your dry rub per pound of wingettes. Proper drying and refrigeration before cooking removes surface moisture. Using a wire rack ensures all sides crisp evenly. For extra crunch, finish under the broiler for 1-2 minutes, watching carefully to prevent burning.


 浙公网安备
33010002000092号
浙公网安备
33010002000092号 浙B2-20120091-4