
Perfectly cooked chicken strips reach a safe internal temperature of 165°F (74°C). For crispy oven-baked strips, bake at 400°F for 15-18 minutes. Pan-fried strips need 3-4 minutes per side in 350°F oil. Air fryer strips cook in 12-15 minutes at 380°F. Always verify doneness with a meat thermometer for food safety and optimal texture.
Mastering chicken strips transforms weeknight dinners into restaurant-quality meals with minimal effort. Whether you're using boneless breasts, pre-cut strips, or making your own from scratch, these three cooking methods deliver consistently crispy exteriors and juicy interiors. This guide eliminates guesswork with precise timing, temperature controls, and professional techniques that prevent dryness while ensuring food safety compliance.
Understanding Chicken Strip Varieties and Preparation
Chicken strips typically come in three forms: store-bought frozen strips, fresh pre-cut strips from the butcher, or homemade strips cut from chicken breasts. Each requires slightly different handling:
- Frozen strips: Thaw completely in the refrigerator overnight for even cooking
- Butcher-cut fresh strips: Pat dry thoroughly to maximize crispiness
- Homemade strips: Cut 1-inch wide pieces from chicken breasts, removing any tendons
Proper preparation affects both safety and texture. According to the USDA Food Safety and Inspection Service, raw chicken should never sit at room temperature for more than two hours to prevent bacterial growth. Always handle raw poultry with separate cutting boards and utensils from other ingredients.
| Cooking Method | Optimal Temperature | Cooking Time | Crispiness Level |
|---|---|---|---|
| Oven Baking | 400°F (204°C) | 15-18 minutes | Medium-High |
| Pan Frying | 350°F (177°C) oil | 3-4 minutes per side | High |
| Air Frying | 380°F (193°C) | 12-15 minutes | Very High |
Essential Tools for Perfect Chicken Strips
Professional results require the right equipment. While you can improvise, these tools make a significant difference:
- Instant-read thermometer (critical for food safety)
- Wire rack for oven baking (promotes even air circulation)
- Cast iron or heavy-bottomed skillet for frying
- Paper towels for oil absorption
- Meat mallet for even thickness in homemade strips
Temperature control separates acceptable from exceptional results. Oil that's too cool creates greasy strips, while oil that's too hot burns the coating before the chicken cooks through. The ideal frying temperature range of 325-350°F maintains coating integrity while ensuring thorough cooking.
Food Safety First: Critical Temperature Guidelines
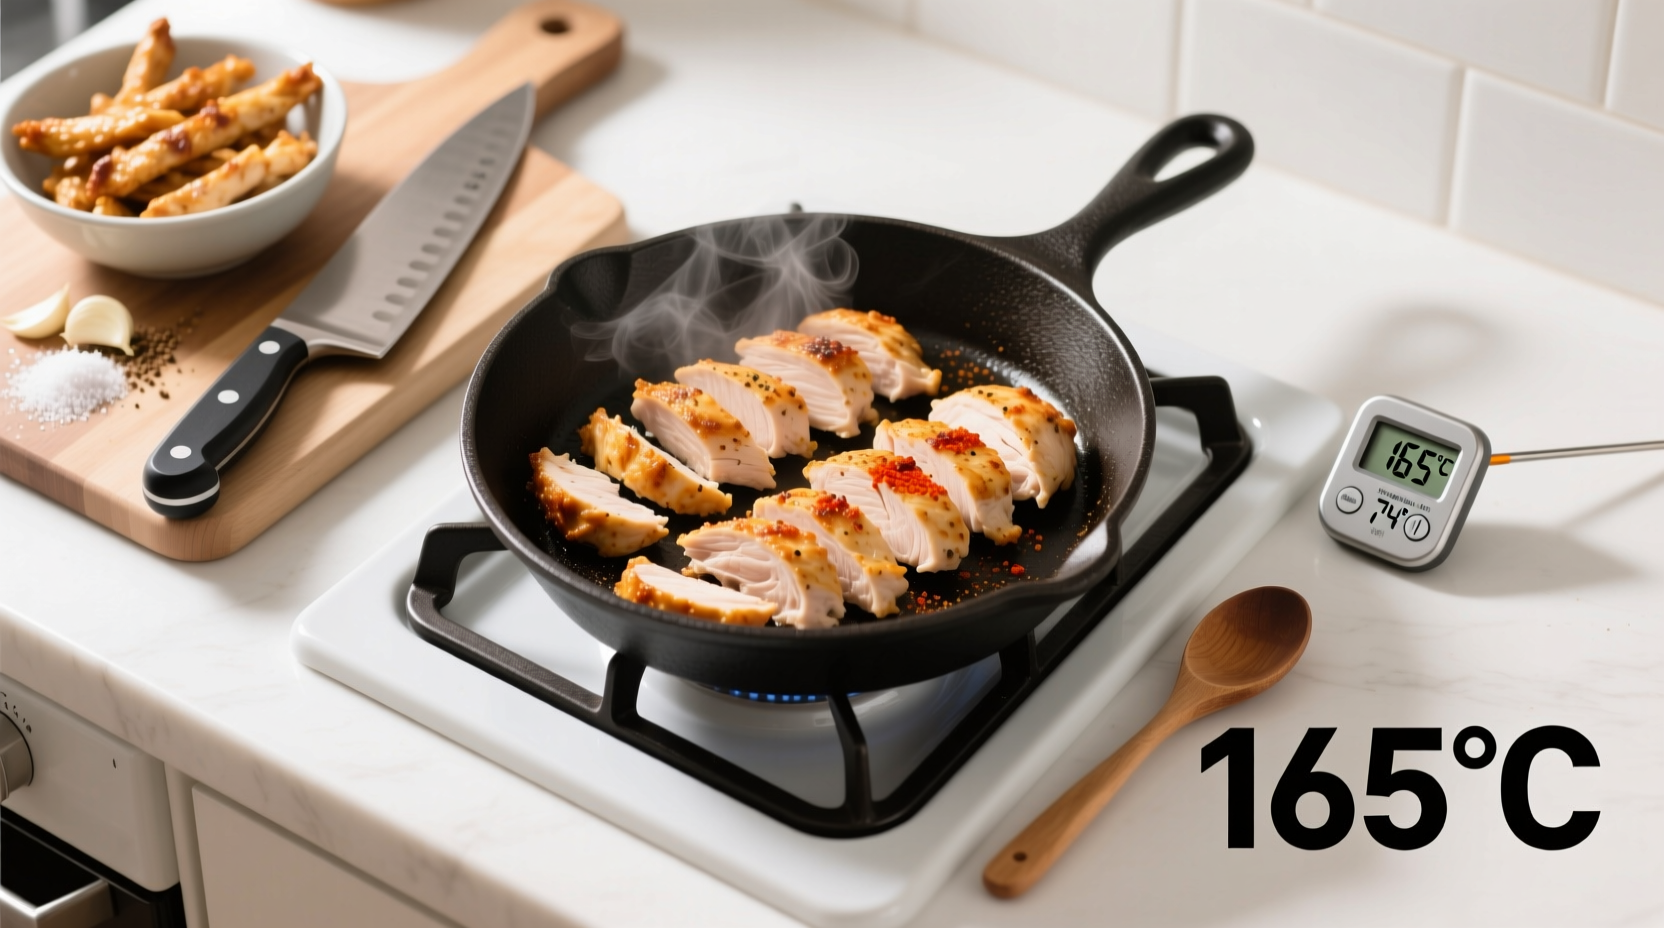
Chicken safety isn't negotiable. The USDA mandates that all poultry reaches 165°F internal temperature to eliminate harmful bacteria like salmonella. This measurement must be taken at the thickest part of the strip, avoiding contact with the cooking surface.
Many home cooks rely on visual cues like color change, but the USDA emphasizes that color alone doesn't indicate doneness. Undercooked chicken may appear white while still harboring dangerous pathogens. An instant-read thermometer remains the only reliable method for verifying safety.
Oven-Baked Chicken Strips: Hands-Off Perfection
Baking delivers consistent results with minimal supervision. Follow these steps for crispy baked strips:
- Preheat oven to 400°F with rack in upper third position
- Line baking sheet with parchment paper and place wire rack on top
- Arrange strips in single layer without touching
- Bake 15-18 minutes, flipping halfway through
- Verify 165°F internal temperature before serving
For extra crispiness, lightly spray strips with cooking oil before baking. The wire rack prevents steaming, allowing hot air to circulate completely around each piece. This method works particularly well for breaded strips, maintaining coating integrity while reducing oil absorption by 30-40% compared to frying.
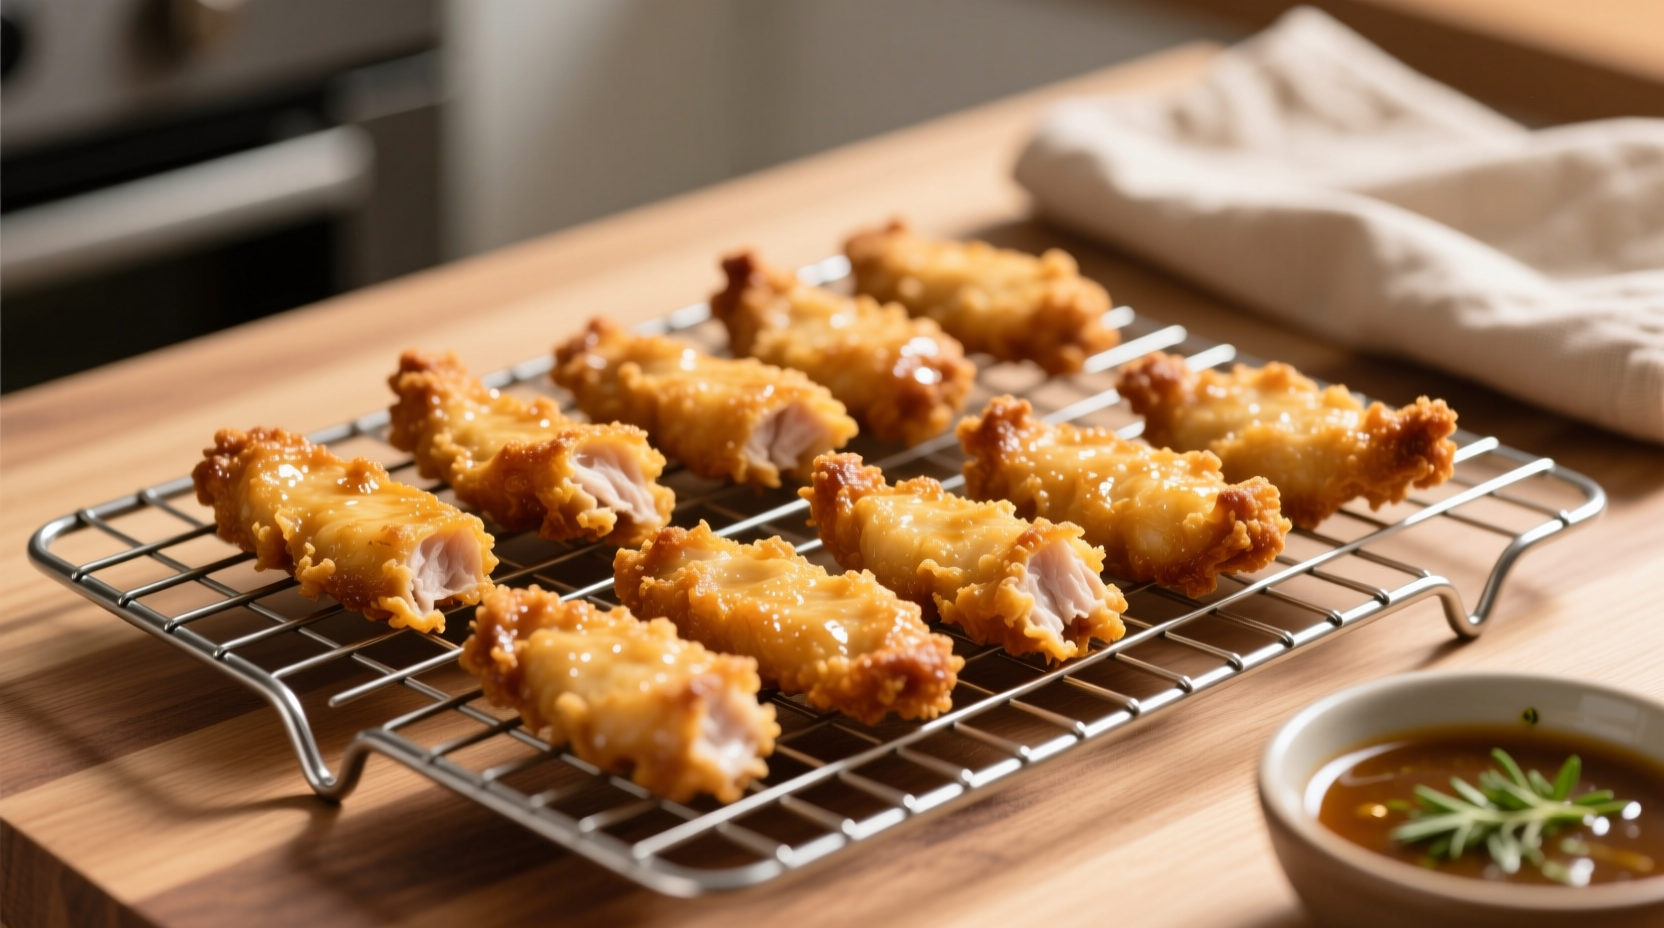
Pan-Fried Chicken Strips: Restaurant-Quality Results
Traditional frying creates the crispiest exterior when executed properly:
- Heat ½ inch oil in heavy skillet to 350°F
- Dredge strips in seasoned flour, then dip in beaten egg
- Coat with breadcrumbs or panko
- Fry 3-4 minutes per side until golden brown
- Drain on wire rack over paper towels
- Check internal temperature reaches 165°F
Maintain consistent oil temperature throughout cooking. Adding too many strips at once drops the temperature significantly, resulting in greasy chicken. For best results, cook in batches with adequate space between pieces. The ideal oil-to-chicken ratio ensures immediate sizzling upon contact, indicating proper temperature.
Air Fryer Chicken Strips: Modern Convenience
Air frying combines speed with impressive crispiness using minimal oil:
- Preheat air fryer to 380°F for 3 minutes
- Arrange strips in single layer without overlapping
- Cook 6 minutes, flip, then cook 6-9 more minutes
- Shake basket halfway through cooking cycle
- Verify 165°F internal temperature
Air fryers work by circulating superheated air, creating a Maillard reaction on the surface. For frozen strips, add 2-3 minutes to cooking time. Lightly spraying with oil before cooking enhances browning without adding significant fat. This method reduces cooking time by 25% compared to conventional oven baking while delivering superior texture.
Troubleshooting Common Chicken Strip Problems
Even experienced cooks encounter issues. Here's how to fix them:
- Soggy coating: Insufficient preheating or overcrowding the cooking surface
- Dry chicken: Overcooking by just 2-3 minutes dries out lean breast meat
- Burnt exterior: Oil temperature too high or oven rack too close to heat source
- Uneven cooking: Strips cut to inconsistent thicknesses
For optimal juiciness, remove strips from heat at 160°F and let residual cooking bring them to 165°F. This prevents the carryover cooking from overshooting the safe temperature threshold, which commonly causes dryness in lean chicken breast.
Serving Suggestions and Storage Tips
Serve immediately for best texture. Pair with these complementary sides:
- Creamy dipping sauces (ranch, honey mustard, or barbecue)
- Fresh vegetable sticks for contrast
- Light salads with acidic dressings
- Roasted potatoes or sweet potato fries
Store leftovers in airtight containers within two hours of cooking. Refrigerate for up to three days or freeze for up to three months. Reheat in oven or air fryer to restore crispiness—microwaving makes strips rubbery. When reheating, bring to 140°F minimum to maintain food safety while preserving texture.


 浙公网安备
33010002000092号
浙公网安备
33010002000092号 浙B2-20120091-4