
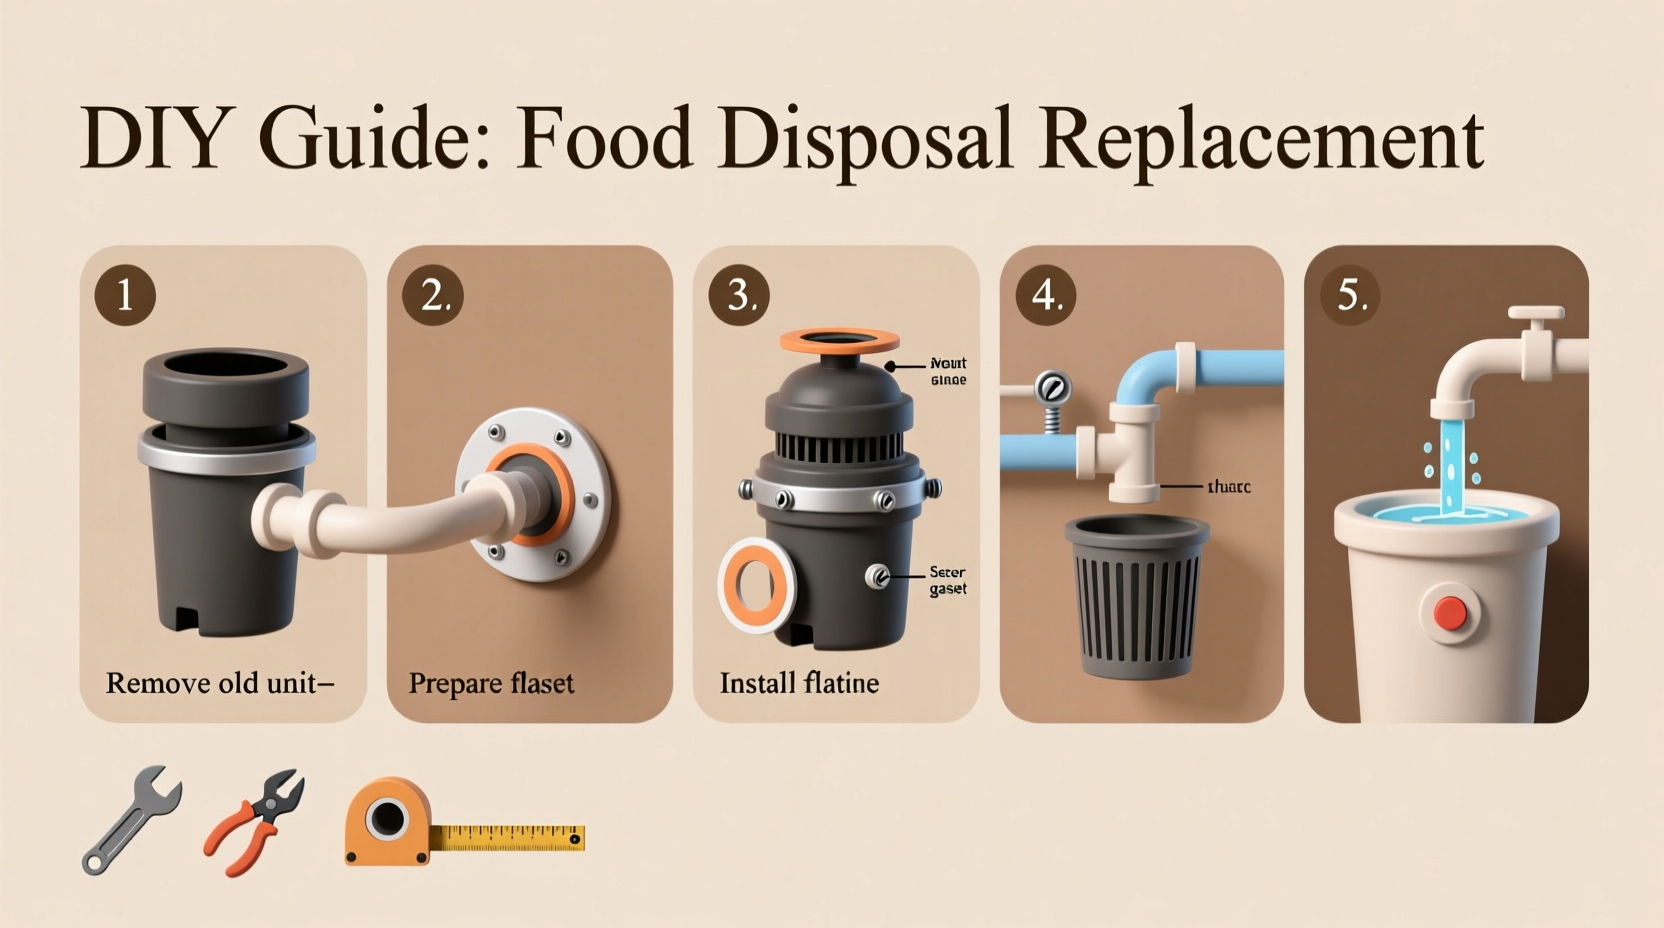
How to Change a Garbage Disposal: A Step-by-Step Guide
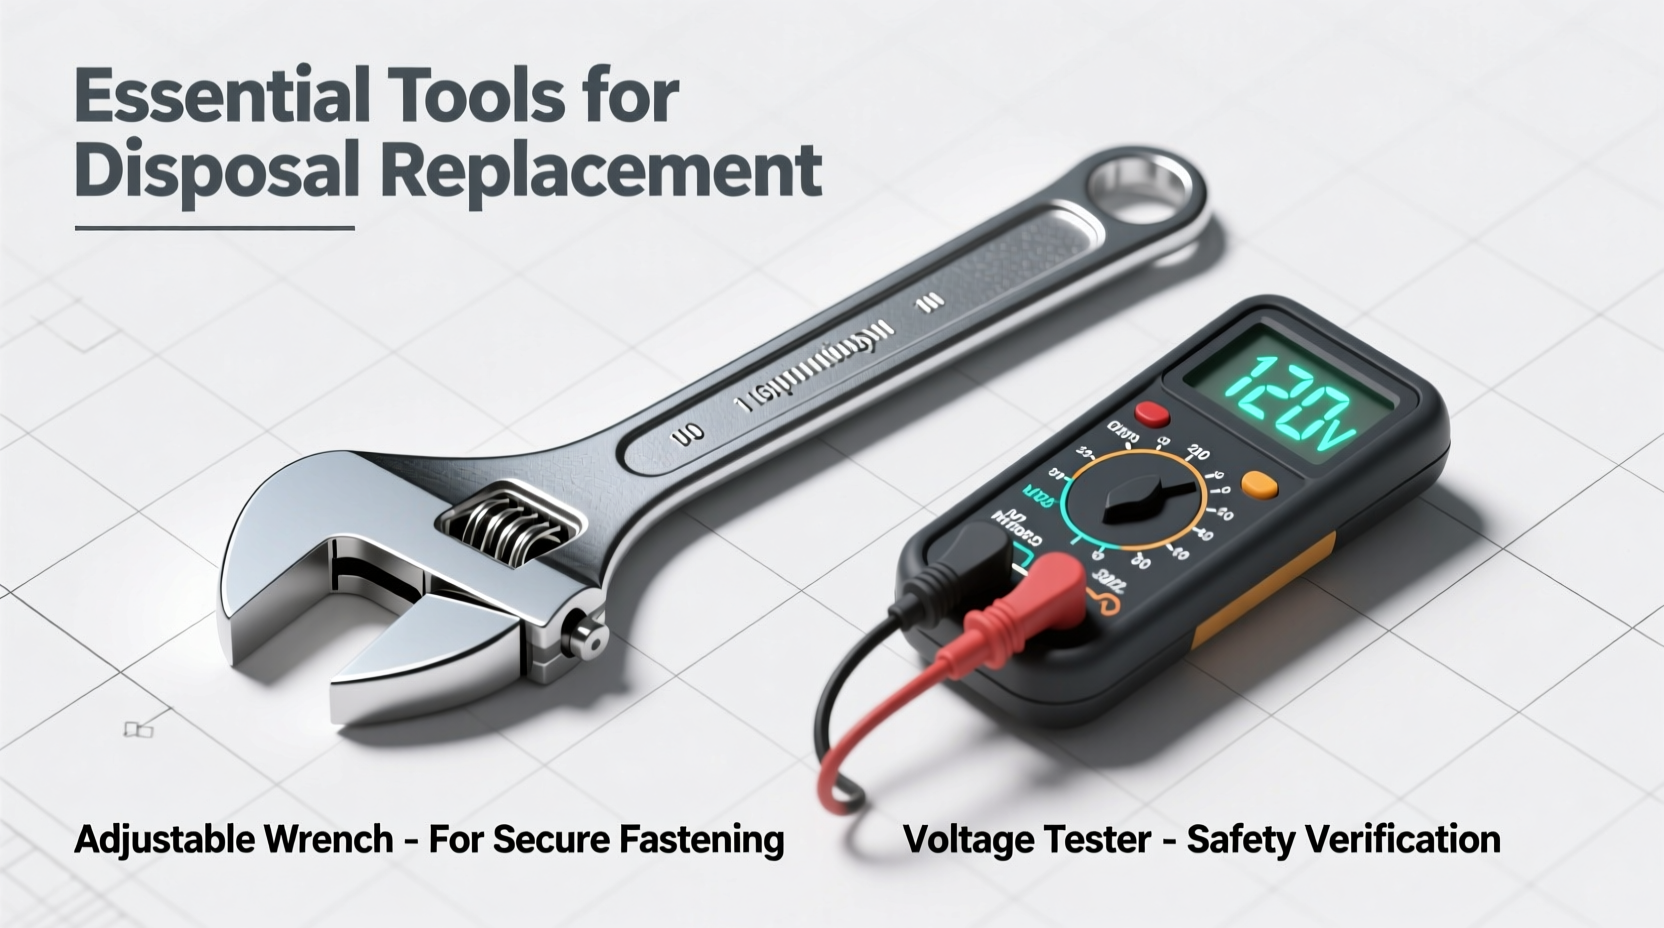
Replacing a broken garbage disposal is a manageable DIY project when approached correctly. Always disconnect power at the circuit breaker first—a critical safety step emphasized by the Electrical Safety Foundation International (ESFI). Their data shows over 51,000 home electrical fires annually stem from improper appliance handling. You'll need basic tools and about $100 for a new unit, completing the job in under two hours with these verified steps.
Preparation Phase: Safety First
Before touching any components, verify complete power disconnection:
- Shut off the dedicated circuit breaker (not just the switch)
- Confirm power loss using a non-contact voltage tester
- Place a bucket under the P-trap to catch residual water
According to ESFI's home safety guidelines, skipping voltage verification accounts for 23% of DIY electrical injuries. If your home was built before 1980, the Consumer Product Safety Commission recommends consulting an electrician due to potential aluminum wiring hazards.
Removing the Old Unit
- Disconnect drain pipes: Unscrew the dishwasher hose clamp and P-trap connections using channel-lock pliers. Note the high-loop configuration required by plumbing codes.
- Release mounting assembly: Rotate the snap ring counterclockwise with a screwdriver through the mounting holes.
- Disconnect wiring: Photograph existing connections before removing wire nuts. Most units use 14/2 NM cable with black (hot), white (neutral), and green (ground) wires.
| Component | Common Issue | Solution |
|---|---|---|
| Mounting assembly | Seized due to corrosion | Apply penetrating oil; wait 15 minutes before rotating |
| Drain flange | Leaking at sink connection | Replace putty; ensure proper torque on mounting bolts |
| Wiring | Frayed insulation | Cut back 1 inch; strip new connections |
Installing the New Disposal
- Prepare sink flange: Apply plumber's putty under the new flange, insert into sink drain, and secure mounting bolts evenly.
- Connect mounting assembly: Align the new unit with the mounting ring and rotate clockwise until locked.
- Wire connections: Match colors to terminals (black to black, white to white, green to ground screw). Secure with wire nuts and tuck wires into the electrical box.
- Reconnect plumbing: Attach dishwasher hose with new clamp, reinstall P-trap with proper slope, and ensure high-loop configuration above flood level.
Testing and Validation
- Dry test: Restore power temporarily to check for humming without water flow (indicates binding).
- Water test: Run cold water for 30 seconds while operating disposal. Check all connections for leaks.
- Function test: Process ice cubes to clean impellers, then small food scraps to verify grinding performance.
Environmental note: Properly functioning disposals reduce landfill waste by 30% according to EPA studies, but require municipal wastewater compatibility. Always run cold water during operation to solidify fats for proper disposal.
When to Call a Professional
DIY replacement isn't advisable in these scenarios:
- Cracked sink flange requiring sink replacement
- Signs of galvanized pipe corrosion (common in pre-1990 homes)
- Electrical circuits lacking GFCI protection
The International Association of Plumbing and Mechanical Officials (IAPMO) states that improper high-loop installation causes 40% of disposal-related backups. If you encounter persistent leaks after installation, consult a licensed plumber to verify compliance with local plumbing codes.
Frequently Asked Questions
Can I install a disposal without a dishwasher connection?
Yes, simply cap the dishwasher inlet port with the included plug. Ensure the P-trap maintains proper drainage slope without the high-loop configuration.
How often should garbage disposals be replaced?
Most units last 8-15 years. Replace immediately if you notice persistent leaks, grinding failure, or electrical burning smells. Units over 10 years old often develop internal corrosion.
Why must I use cold water with the disposal?
Cold water solidifies grease and fats, allowing them to be chopped and flushed away. Hot water melts fats that later congeal in pipes, causing blockages downstream.
What causes persistent foul odors after installation?
Residual food particles in new units typically resolve after 3-5 uses. For persistent odors, run ice cubes with citrus peels and baking soda to clean impellers and chamber walls.


 浙公网安备
33010002000092号
浙公网安备
33010002000092号 浙B2-20120091-4