
Why This Method Works: The Science of Perfect Grilled Chicken
Grilling chicken seems simple, but achieving consistently juicy, flavorful results requires understanding the science behind heat transfer, protein behavior, and moisture retention. Most home cooks make critical mistakes that lead to dry, unevenly cooked, or unsafe chicken. This guide distills professional techniques into actionable steps anyone can follow.
Pre-Grill Preparation: Setting Yourself Up for Success
Proper preparation makes the difference between mediocre and exceptional grilled chicken. Start with quality ingredients and the right equipment.
Chicken Selection Matters
Choose fresh, high-quality chicken with consistent thickness. Bone-in, skin-on pieces generally stay juicier during grilling. For best results:
- Breasts: Look for "plump" or "extra meaty" varieties with even thickness
- Thighs and drumsticks: Opt for pieces with intact skin for better moisture retention
- Avoid "enhanced" chicken (injected with sodium solutions) as it behaves differently when grilled
| Preparation Method | Time Required | Moisture Increase | Best For |
|---|---|---|---|
| Simple Brine (6% salt solution) | 1-4 hours | 15-20% | Boneless breasts, lean cuts |
| Wet Marinade | 2-12 hours | 5-10% | Thighs, drumsticks, wings |
| Dry Brine (salt only) | 1-24 hours | 10-15% | All cuts, especially skin-on |
| No Treatment | N/A | 0% | Quick-cooking small pieces |
According to USDA Food Safety and Inspection Service research, proper brining can increase moisture retention by up to 20% while ensuring more even cooking. The USDA recommends against rinsing raw poultry after brining or marinating, as this spreads bacteria and reduces flavor adhesion.
Grill Setup: Creating the Perfect Cooking Environment
Your grill setup determines whether you'll get beautiful sear marks or burnt, uneven chicken. Professional chefs use the two-zone fire method for maximum control.
Two-Zone Fire Setup
- For gas grills: Light only half the burners
- For charcoal: Pile coals on one side of the grill
- Preheat to 375-450°F on the direct heat side
- Keep indirect side at 300-350°F
This configuration allows you to start chicken over direct heat for searing, then move to indirect heat for gentle, even cooking without burning. The American Grill Manufacturers Institute notes that maintaining proper temperature zones reduces flare-ups by 60% compared to single-zone setups.
Essential Equipment Checklist
- Instant-read thermometer (critical for food safety)
- Grill brush for clean grates
- Tongs with locking mechanism
- Aluminum foil for makeshift drip pans
- Spray bottle with water for flare-up control
The Grilling Process: Step-by-Step Execution
Follow this sequence for flawless results every time. These timing guidelines assume properly prepped chicken at room temperature.
| Chicken Cut | Direct Heat (Searing) | Indirect Heat (Finishing) | Total Time | Rest Time |
|---|---|---|---|---|
| Boneless breasts (6-8 oz) | 3-4 minutes per side | 6-8 minutes | 12-16 minutes | 5 minutes |
| Bone-in breasts (10-12 oz) | 4-5 minutes per side | 15-20 minutes | 25-30 minutes | 8 minutes |
| Thighs (skin-on) | 4-5 minutes skin-side down | 12-15 minutes | 20-25 minutes | 7 minutes |
| Drumsticks | 5-6 minutes skin-side down | 15-20 minutes | 25-30 minutes | 7 minutes |
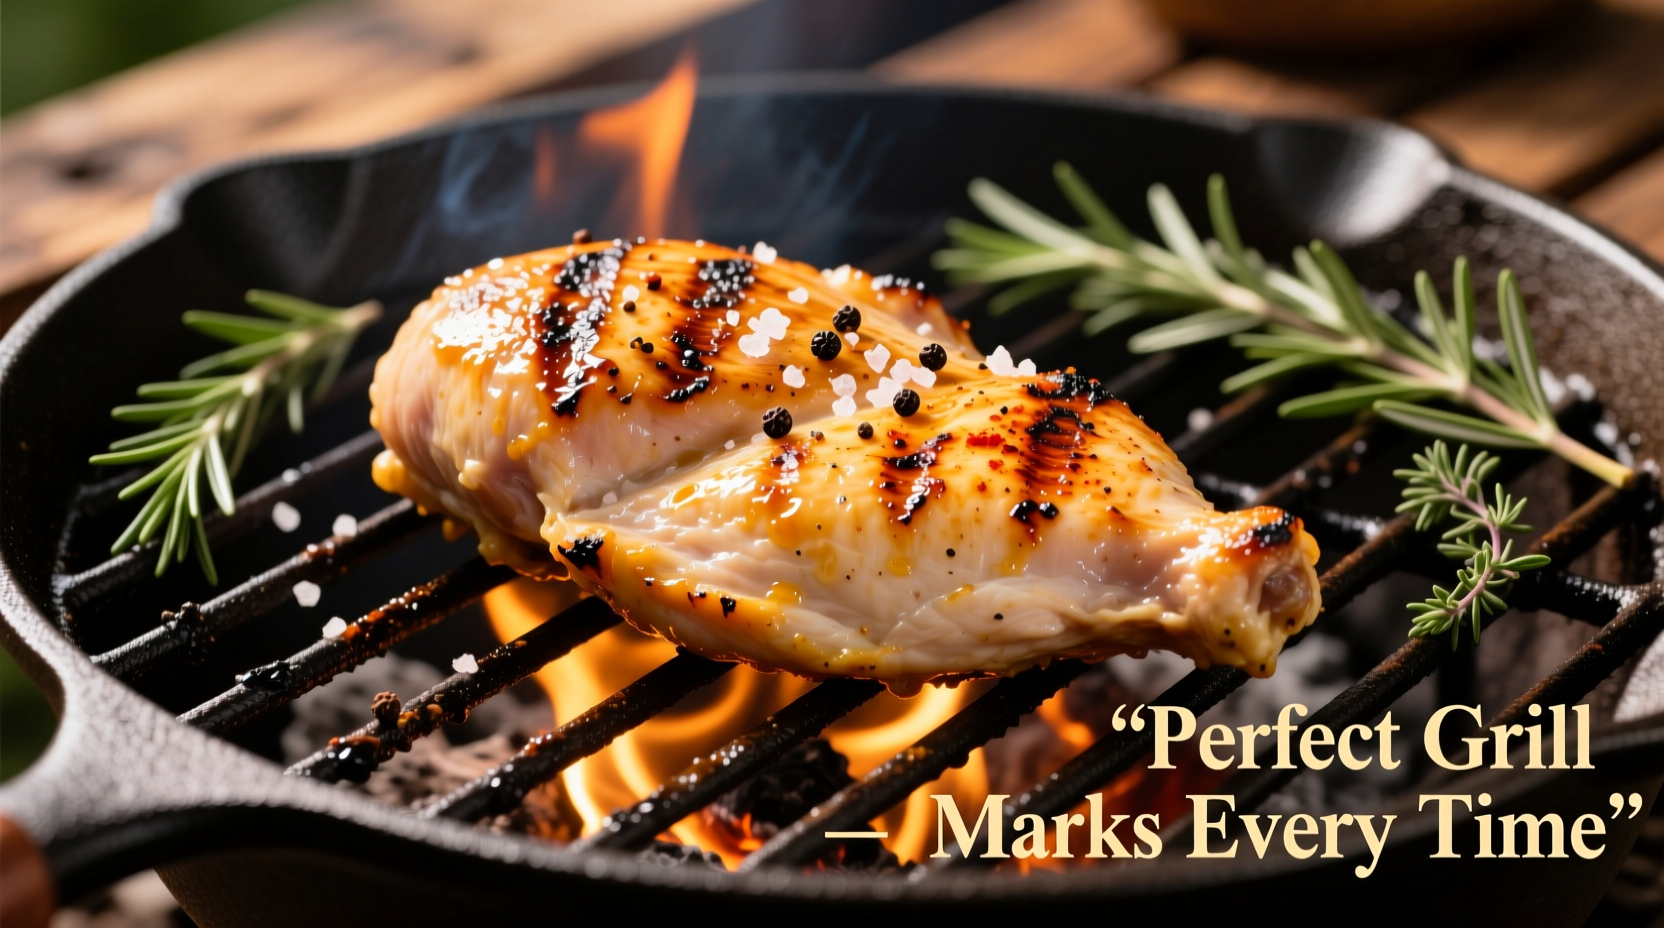
Pro Technique: The Flip Strategy
Flip chicken only once during the direct heat phase. Constant flipping prevents proper sear development and can cause sticking. When flipping, rotate 90 degrees to create attractive crosshatch marks. Never press down on chicken with a spatula—this squeezes out precious juices.
When to Baste
Apply sauces or butter during the last 5-7 minutes of cooking. Early basting causes sugars to burn. For compound butter, place a small pat on chicken during the resting phase—the residual heat melts it into the meat.
Doneness Testing and Food Safety Essentials
Visual cues alone can't reliably indicate chicken doneness. The USDA Food Safety and Inspection Service clearly states that chicken must reach 165°F internal temperature to destroy harmful bacteria like salmonella and campylobacter.
| Temperature | Texture | Juice Color | Doneness |
|---|---|---|---|
| 145°F | Firm but very juicy | Clear | Rare (unsafe) |
| 150°F | Firm with slight give | Mostly clear | Medium (unsafe) |
| 160°F | Firm with minimal give | Clear | Medium-well (safe after resting) |
| 165°F | Firm | Clear | Properly cooked (safe) |
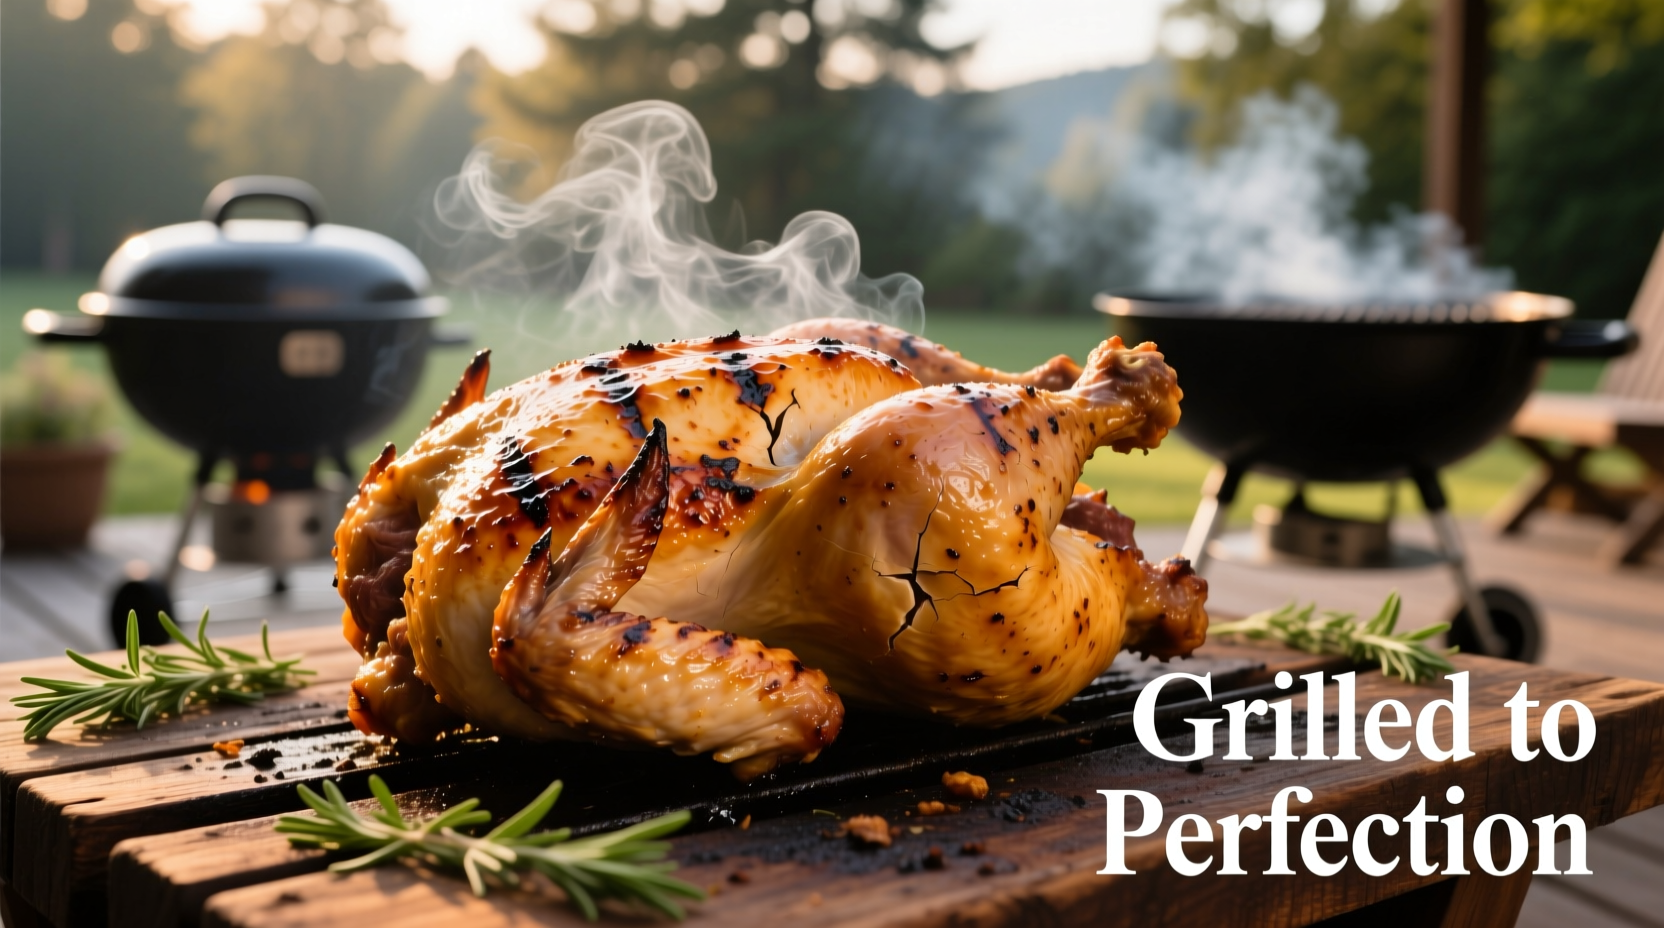
Insert your thermometer into the thickest part of the meat, avoiding bones. Remember that chicken continues cooking during resting—the internal temperature typically rises 5-10°F. This carryover cooking is why many chefs remove chicken at 160°F.
Troubleshooting Common Grilling Problems
Even experienced grillers encounter issues. Here's how to fix them:
Problem: Chicken sticks to the grill
Solution: Clean and oil grates thoroughly before heating. Ensure chicken is properly dry before placing on grill. Wait until it releases naturally before attempting to flip.
Problem: Uneven cooking
Solution: Use the two-zone method and rotate pieces within zones. For breasts, consider butterflying to create even thickness.
Problem: Excessive flare-ups
Solution: Move chicken to indirect zone immediately. Keep a spray bottle of water nearby, but avoid dousing large flare-ups which can create ash. Trim excess fat before grilling.
Problem: Dry chicken
Solution: Brine properly before grilling, don't overcook, and always rest before serving. Dark meat naturally contains more fat and stays juicier than white meat.
Flavor Variations and Serving Suggestions
Once you've mastered the basics, experiment with these flavor profiles:
Classic Herb Marinade
Combine 1/4 cup olive oil, 2 tbsp lemon juice, 2 minced garlic cloves, 1 tbsp each chopped rosemary, thyme, and parsley. Marinate chicken 2-4 hours.
Smoky Dry Rub
Mix 2 tbsp paprika, 1 tbsp each brown sugar and garlic powder, 2 tsp each cumin and chili powder, 1 tsp each salt and black pepper. Apply generously 1 hour before grilling.
Serving Tips
- Slice breasts against the grain for maximum tenderness
- Serve with grilled vegetables that cook in similar timeframes (zucchini, bell peppers)
- Pair with cooling sauces like tzatziki or chimichurri to balance smoky flavors
- Rest chicken tented with foil for optimal juice retention
Advanced Techniques for Perfect Results
For truly exceptional grilled chicken, consider these professional methods:
Reverse Searing
Ideal for thick chicken breasts or whole birds. Start on indirect heat at 275°F until internal temperature reaches 140°F, then finish with 2-3 minutes per side over direct high heat. This method produces incredibly even cooking with perfect texture throughout.
Spatchcocking
Removing the backbone and flattening the chicken creates even thickness for faster, more uniform cooking. A spatchcocked 4-pound chicken typically cooks in 35-45 minutes on a two-zone grill.
Wood Chip Infusion
Soak wood chips (apple, cherry, or hickory) for 30 minutes, then place in a smoker box or aluminum foil pouch with holes. Adds subtle smoke flavor without overpowering the chicken.
FAQs: Grilled Chicken Questions Answered
How long should I let chicken rest after grilling?
Rest chicken for 5-10 minutes depending on size. Small pieces like wings need 5 minutes, while larger pieces like bone-in breasts require 8-10 minutes. Resting allows juices to redistribute throughout the meat, preventing them from running out when you cut into it.
Can I grill frozen chicken safely?
While possible, grilling frozen chicken is not recommended. It leads to uneven cooking with burnt exteriors and potentially undercooked interiors. The USDA Food Safety and Inspection Service advises against cooking poultry from frozen on the grill due to food safety risks. Always thaw chicken completely in the refrigerator before grilling.
Why does my grilled chicken always dry out?
Chicken dries out primarily from overcooking or improper preparation. Boneless breasts are especially prone to drying. Prevent this by brining before grilling, using a thermometer to avoid overcooking (remove at 160°F), and always allowing proper resting time. Dark meat naturally contains more fat and stays juicier than white meat.
What's the best oil to use when grilling chicken?
Use oils with high smoke points like avocado oil (smoke point 520°F), grapeseed oil (420°F), or refined olive oil (not extra virgin). These withstand grill temperatures without burning. Lightly oil the chicken itself rather than the grates for better adhesion and flavor development.
How can I prevent chicken skin from sticking to the grill?
Ensure grates are clean and properly preheated before oiling. Use a high-smoke point oil and apply it to the chicken skin, not just the grates. Place skin-side down first and resist moving it until it naturally releases (usually 3-5 minutes). Properly dried skin (pat chicken dry before grilling) also prevents sticking.


 浙公网安备
33010002000092号
浙公网安备
33010002000092号 浙B2-20120091-4