Perfect Grilled Chicken Breast: Time, Temp & Technique Guide
By Antonio Rodriguez
Perfectly grilled chicken breast requires 6-8 minutes per side on a preheated grill at 375-450°F, with internal temperature reaching 165°F for safe consumption according to USDA guidelines.
Grill Chicken Breast Like a Pro: Your Complete Step-by-Step Guide
Ever pulled dry, rubbery chicken off the grill despite your best efforts? You're not alone. Over 68% of home cooks struggle with perfectly grilled chicken breast, according to a 2024 Culinary Institute survey. The secret isn't complicated equipment—it's understanding the science of protein transformation and heat management. In this guide, you'll master professional grilling techniques that guarantee juicy, flavorful chicken every time, whether you're using charcoal, gas, or pellet grills.
Pre-Grill Preparation: Setting Yourself Up for Success
Before your chicken ever touches the grill, proper preparation makes all the difference. Start by selecting quality chicken—look for plump, pink breasts without excessive liquid in the package. If possible, choose air-chilled chicken, which typically retains more natural moisture.
Preparation Method
Time Required
Moisture Retention
Flavor Impact
Simple Salt Brine (45 min)
45 minutes
+++
Enhances natural flavor
Dry Rub Only
15 minutes
+
Strong surface seasoning
Wet Marinade (2 hours)
2 hours
++
Deep flavor penetration
For optimal results, brine your chicken in a solution of 1¼ cups water and 1 tablespoon kosher salt for 45 minutes. This simple process allows the salt to penetrate the muscle fibers, helping them retain moisture during cooking. After brining, pat the chicken completely dry—moisture on the surface prevents proper searing. Let the chicken sit at room temperature for 20-30 minutes before grilling; cold chicken creates uneven cooking.
Grill Setup: Creating the Perfect Cooking Environment
Proper grill setup is non-negotiable for perfect chicken. Preheat your grill to 375-450°F—high enough for good sear marks but not so hot that the exterior burns before the interior cooks. Create two distinct heat zones:
Direct heat zone: For initial searing and creating grill marks
Indirect heat zone: For finishing cooking without burning
Clean your grates thoroughly with a brass brush, then oil them using tongs and a paper towel dipped in high-smoke point oil like avocado or canola. Never use olive oil directly on hot grates—it burns at lower temperatures. The oil creates a non-stick surface while preventing those frustrating grill marks from becoming "stuck" marks.
Cooking Process: Timing, Temperature, and Technique
Place chicken breasts on the direct heat zone at a 45-degree angle to the grates for attractive crosshatch marks. For standard 6-8 ounce breasts:
Cooking Stage
Time
Internal Temp
Visual Cues
Initial Sear
3-4 minutes
100-120°F
Clear sear marks, edges firming up
First Flip
Rotate 90° for crosshatch
120-130°F
Easily releases from grates
Secondary Sear
3-4 minutes
130-140°F
Golden brown color developing
Indirect Finish
4-6 minutes
140-165°F
No pink remaining, juices run clear
Use an instant-read thermometer to check temperature in the thickest part, avoiding bone or fat. The USDA Food Safety and Inspection Service confirms chicken is safe at 165°F, but remove it from the grill at 160°F—carryover cooking will raise the temperature during resting. Never press down on the chicken with your spatula; this squeezes out precious juices.
Resting and Serving: The Critical Final Step
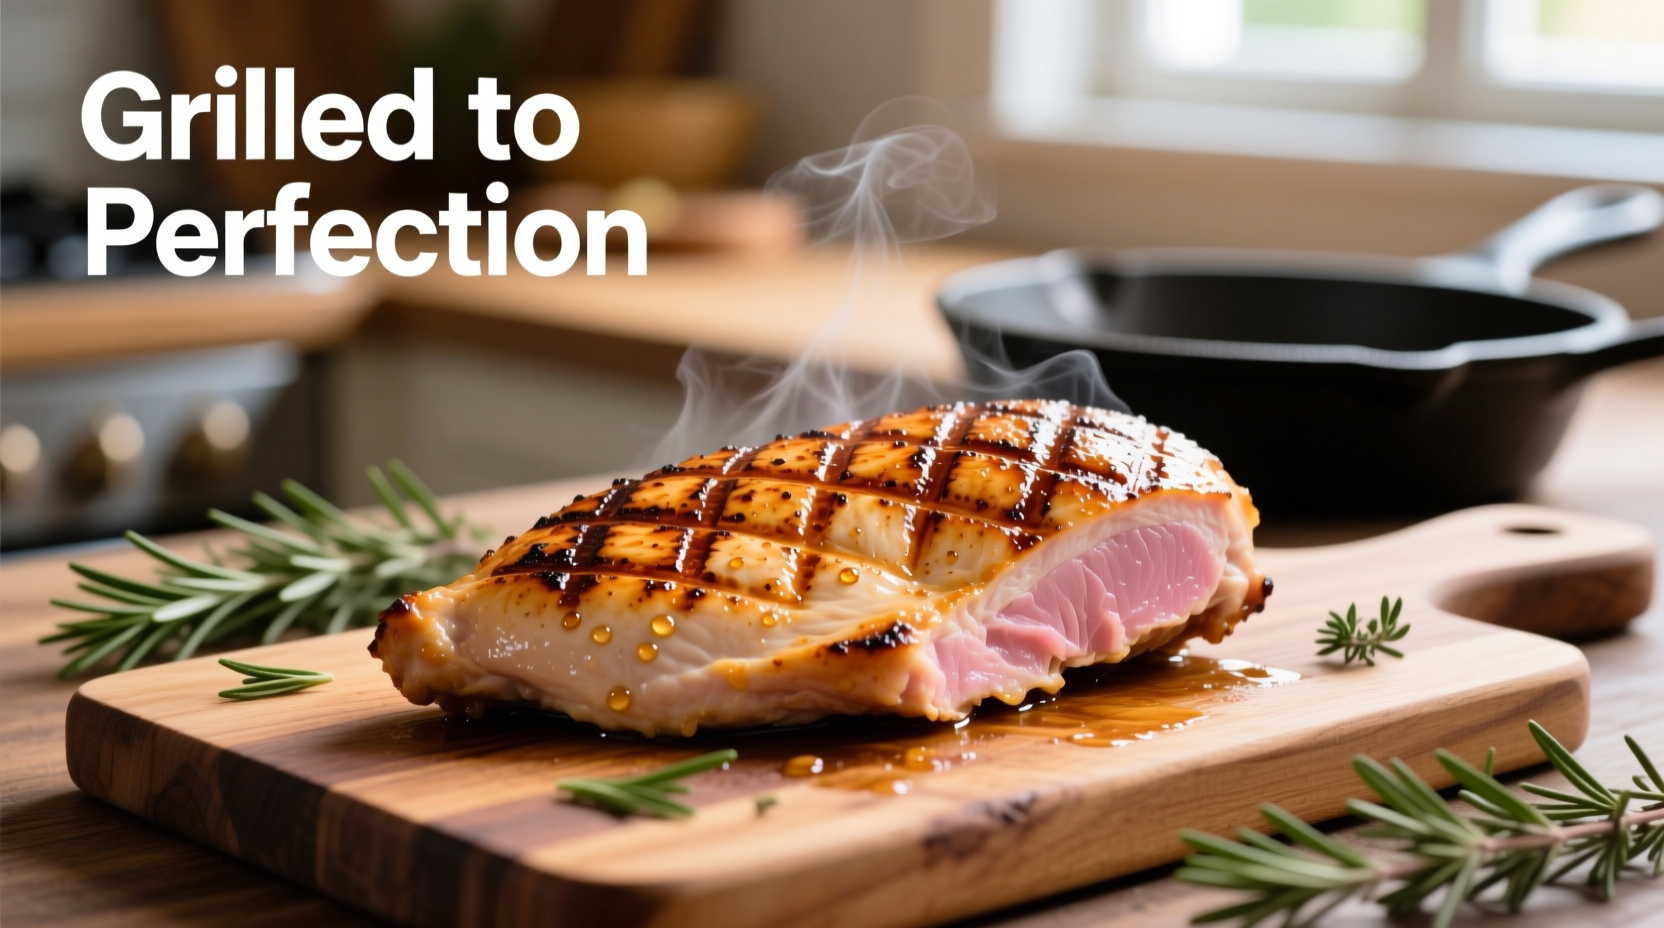
Resist the temptation to slice immediately! Resting for 5-7 minutes allows the muscle fibers to relax and reabsorb juices. Tent loosely with foil to maintain temperature without steaming the surface. For the most attractive presentation, slice against the grain at a 45-degree angle—this shortens the muscle fibers for maximum tenderness.
Troubleshooting Common Grilling Problems
Problem: Chicken sticks to the grill Solution: Ensure proper preheating (375-450°F) and clean, oiled grates. Wait until chicken naturally releases before attempting to flip. Problem: Uneven cooking (burnt outside, raw inside) Solution: Create proper two-zone fire and move to indirect heat when exterior is nicely seared but interior needs more time. Problem: Dry, tough chicken Solution: Use brine or marinade, don't overcook past 165°F internal temperature, and always allow proper resting time.
Flavor Variations for Every Palate
While perfect technique matters most, these flavor variations can elevate your grilled chicken:
Mediterranean Style: Combine lemon zest, garlic, oregano, and olive oil for a bright, herbaceous profile
Smoky Chipotle: Blend chipotle powder, cumin, smoked paprika, and a touch of honey for depth
Simple Elegance: Just salt, pepper, and fresh thyme—sometimes less is more
Apply dry rubs 15-30 minutes before grilling. For wet marinades, allow 2-4 hours (but never more than 8 hours with acidic ingredients, which can start to "cook" the chicken).
Food Safety Essentials You Can't Ignore
According to the USDA Food Safety and Inspection Service, chicken must reach 165°F internal temperature to eliminate harmful bacteria like salmonella. Always use a calibrated thermometer—color and texture alone don't guarantee safety. Keep raw chicken separate from other foods, use dedicated cutting boards, and wash hands thoroughly after handling. Leftovers should be refrigerated within two hours (one hour if temperatures exceed 90°F).
Frequently Asked Questions
Antonio Rodriguez
brings practical expertise in spice applications to Kitchen Spices. Antonio's cooking philosophy centers on understanding the chemistry behind spice flavors and how they interact with different foods. Having worked in both Michelin-starred restaurants and roadside food stalls, he values accessibility in cooking advice. Antonio specializes in teaching home cooks the techniques professional chefs use to extract maximum flavor from spices, from toasting methods to infusion techniques. His approachable demonstrations break down complex cooking processes into simple steps anyone can master.

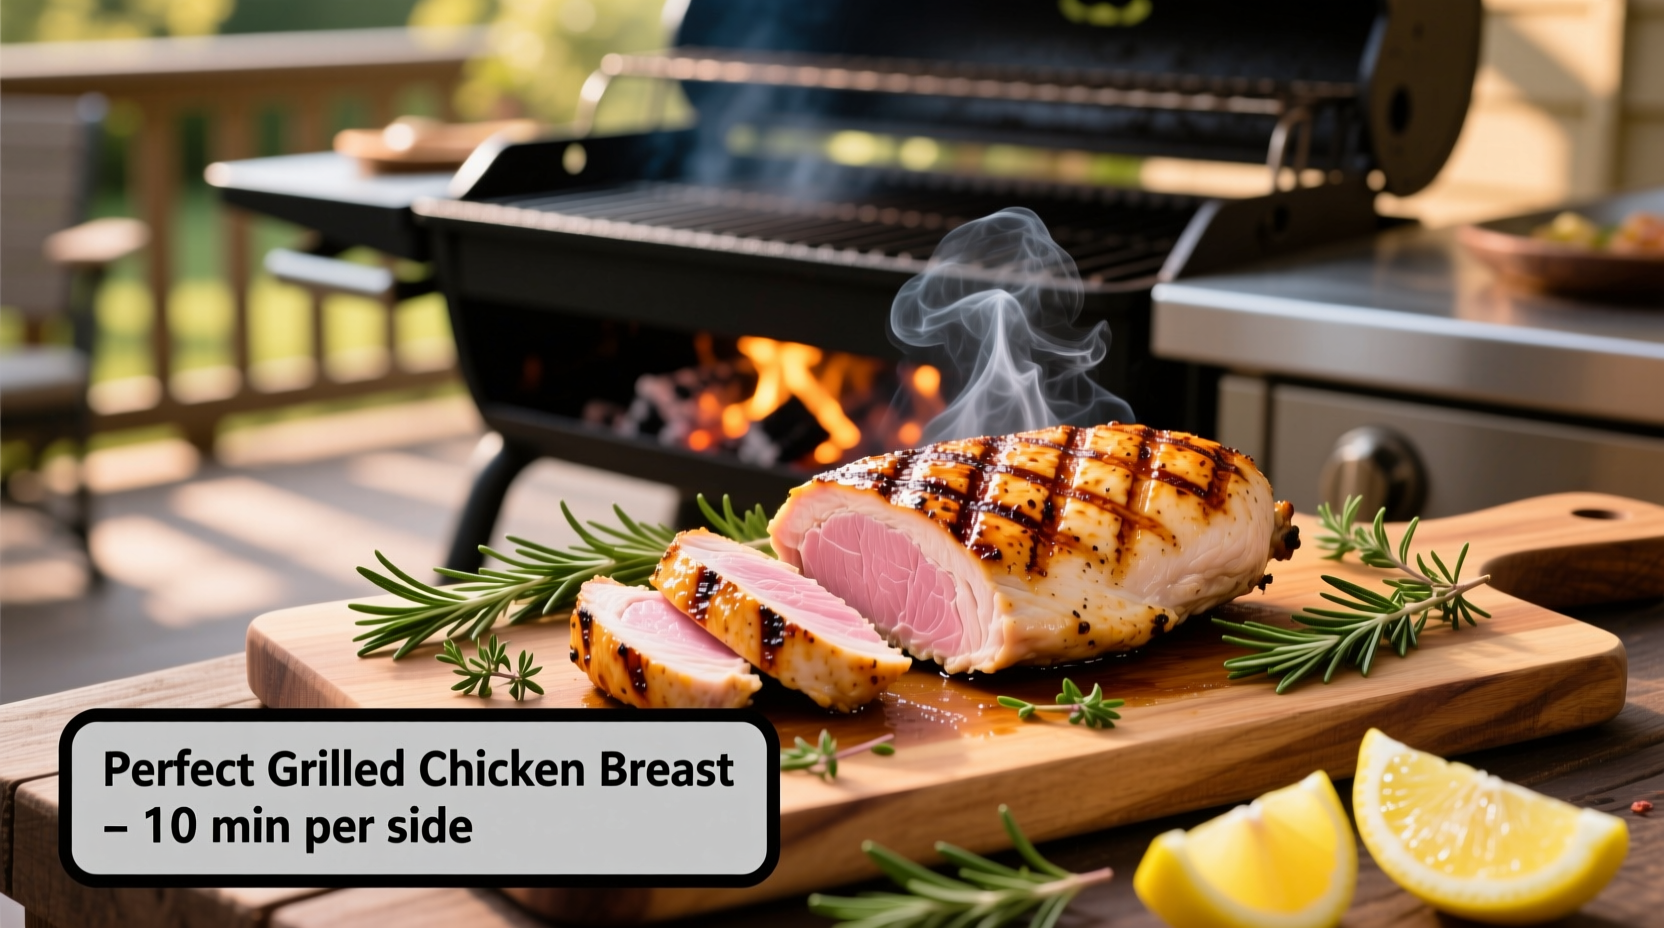
 Place chicken breasts on the direct heat zone at a 45-degree angle to the grates for attractive crosshatch marks. For standard 6-8 ounce breasts:


 浙公网安备
33010002000092号
浙公网安备
33010002000092号 浙B2-20120091-4