
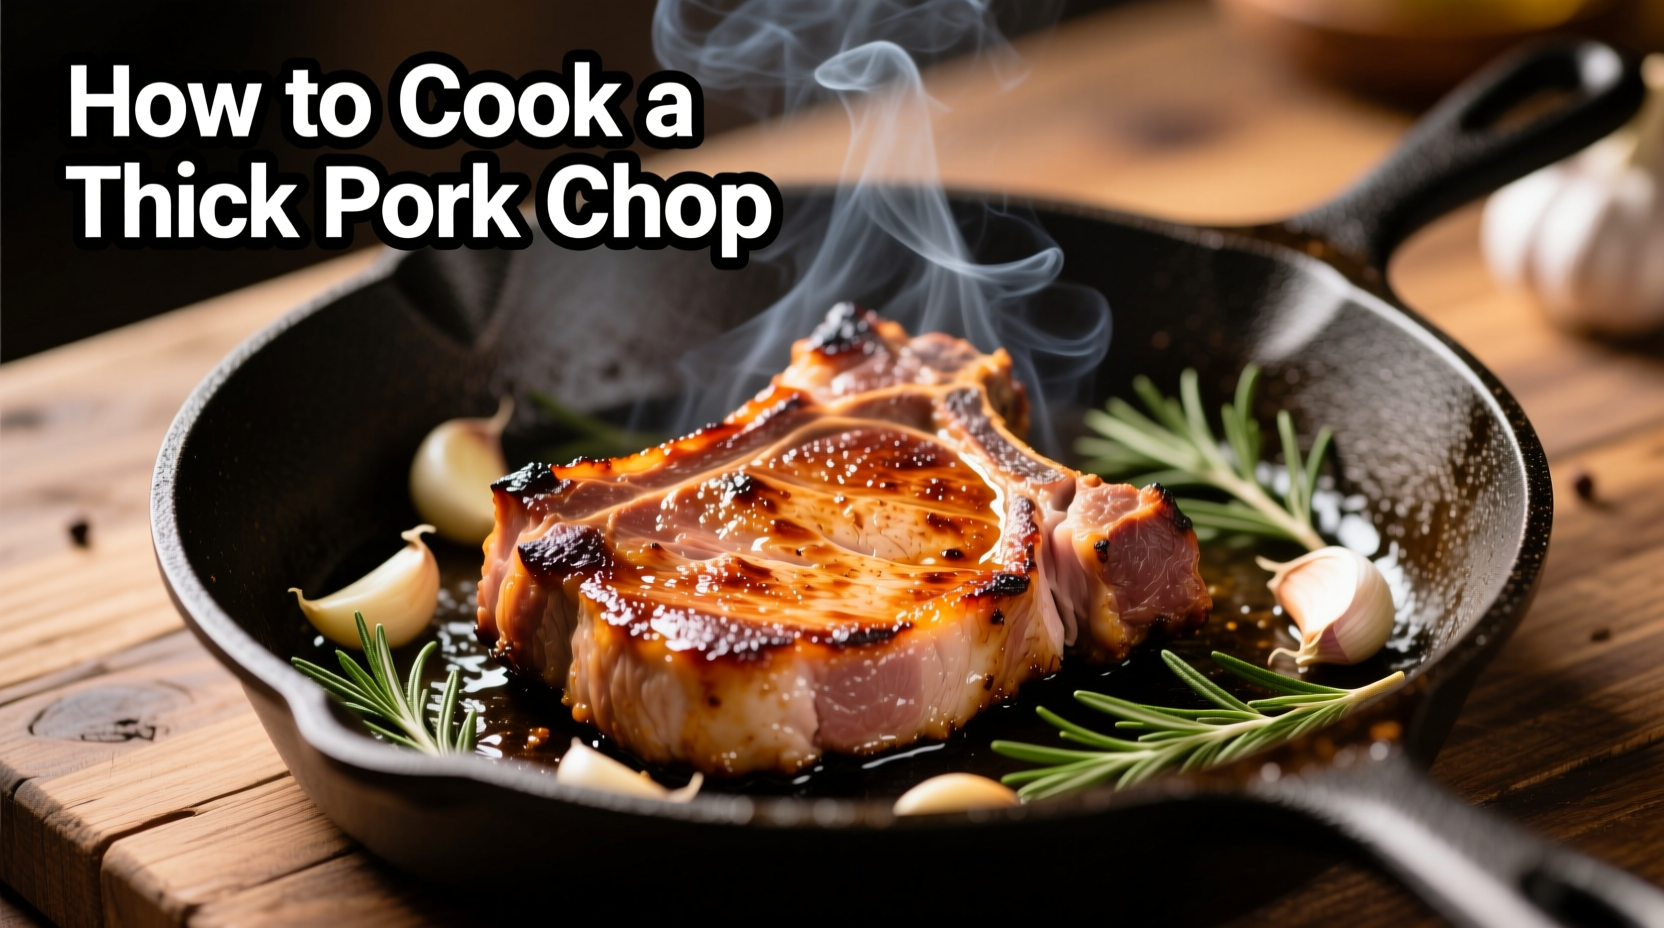
Why Your Thick Pork Chops Turn Out Dry (And How to Fix It)
Thick pork chops present a unique challenge: achieving a proper sear without overcooking the interior. When you try to cook a 1.5-inch or thicker chop entirely on the stovetop, you'll often end up with either a burnt exterior and raw center, or a well-done exterior with an overcooked, dry interior. The solution lies in combining stovetop searing with precise oven finishing.
The Essential Tools for Perfect Thick Pork Chops
Before you begin, gather these kitchen essentials that make all the difference:
- Oven-safe cast iron or stainless steel skillet (avoid non-stick for proper searing)
- Instant-read thermometer (critical for accuracy)
- Tongs for safe handling
- Wire rack for resting
- Heavy kitchen towel for handling hot skillet
| Cooking Method | Best For Thickness | Temperature Control | Crust Quality |
|---|---|---|---|
| Stovetop Only | Under 1 inch | Difficult | Good but risks burning |
| Stovetop + Oven | 1.5+ inches | Precise | Excellent, consistent |
| Grill | 1-1.5 inches | Moderate | Good with grill marks |
| Sous Vide | Any thickness | Perfect | Requires finishing sear |
Selecting the Right Thick Pork Chop
Not all pork chops are created equal when it comes to thickness. For best results:
- Choose center-cut loin chops at least 1.5 inches thick
- Look for chops with good marbling (thin white fat streaks)
- Opt for bone-in chops when possible—they cook more evenly
- Avoid pre-marinated chops which often contain tenderizers that affect texture
The Science-Backed Cooking Process
Follow this precise method developed through professional kitchen testing to achieve restaurant-quality results at home:
Step 1: Proper Preparation (30-60 Minutes Before Cooking)
Remove chops from refrigerator 30-60 minutes before cooking. This critical step allows the meat to come closer to room temperature, ensuring even cooking. Pat the surface completely dry with paper towels—moisture is the enemy of a good sear.
Step 2: Seasoning for Maximum Flavor
Season generously with kosher salt (about 1 teaspoon per pound) and freshly ground black pepper. For thick chops, consider a simple dry rub of smoked paprika and garlic powder. Avoid wet marinades which can prevent proper browning. Season at least 20 minutes before cooking to allow the salt to penetrate.
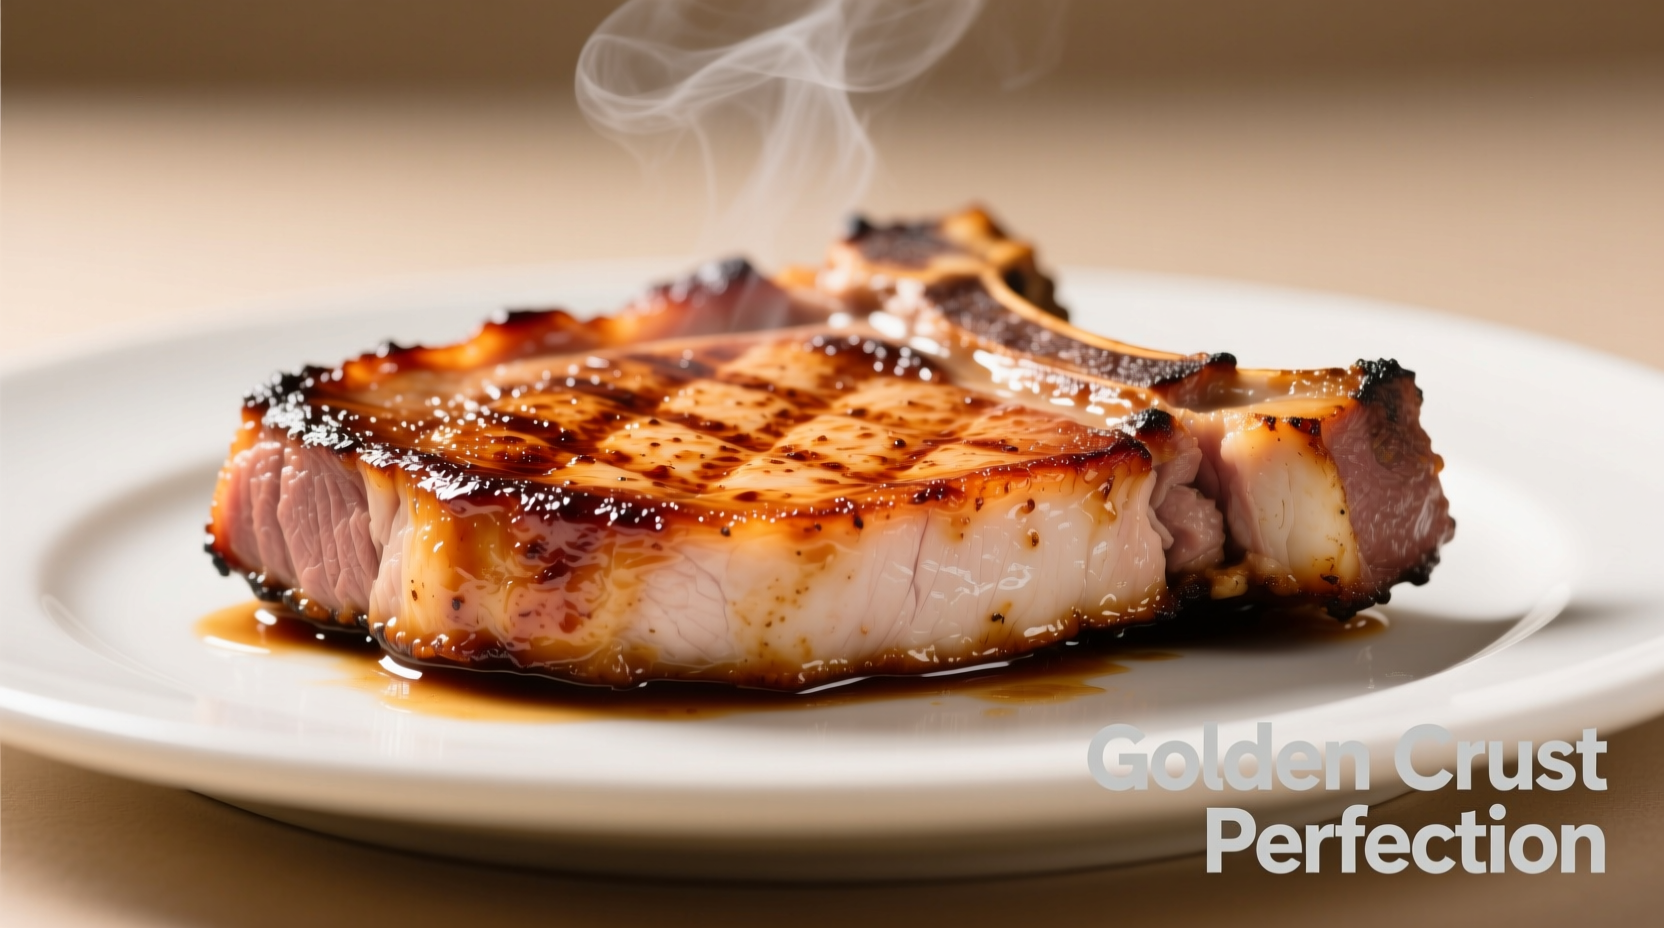
Step 3: The Perfect Sear
Heat your oven-safe skillet over medium-high heat for 3-4 minutes until very hot. Add 1 tablespoon of high-smoke point oil (avocado or grapeseed). When the oil shimmers, place chops in the skillet without crowding. Cook undisturbed for 3-4 minutes until a deep golden-brown crust forms. Flip and sear the other side for another 3-4 minutes. The edges should be lightly browned as well.
Step 4: Oven Finishing Timeline
This visual timeline shows the precise progression for thick pork chop cooking:
- 0-4 minutes: Searing first side (golden crust developing)
- 4-8 minutes: Searing second side (crust fully formed)
- 8-12 minutes: Oven finishing at 400°F (internal temp rising)
- 12-16 minutes: Internal temperature reaches 140°F (perfect medium)
- 16-21 minutes: Resting period (temperature rises to 145°F)
After searing, transfer the entire skillet to a preheated 400°F oven. Cook for 8-12 minutes, checking the internal temperature after 8 minutes. The chop is ready when it reaches 140°F at the thickest part, measured with an instant-read thermometer inserted horizontally from the side.
Step 5: The Critical Resting Period
Transfer the cooked chop to a wire rack and let it rest for 5 minutes. During this time, the internal temperature will rise to the USDA-recommended 145°F, and the juices will redistribute throughout the meat. This step is non-negotiable for thick cuts—skipping it guarantees dry pork.
Food Safety Verification: USDA Temperature Guidelines
According to the USDA Food Safety and Inspection Service, pork should be cooked to a minimum internal temperature of 145°F with a 3-minute rest time. This guideline, updated in 2011, reflects advances in pork production that have significantly reduced trichinosis risks. Cooking to 140°F followed by a 5-minute rest achieves the same safety standard while preserving optimal juiciness.
Troubleshooting Common Thick Pork Chop Problems
Dry, tough chop: Overcooking is the culprit. Invest in a quality thermometer and remove at 140°F. Thick chops continue cooking during rest.
Burnt exterior: Your skillet was too hot or you didn't reduce heat after initial sear. Start with medium-high, not maximum heat.
Uneven cooking: Thickness varies across the chop. Try "butterflying" thicker areas slightly or use the oven finish method described above.
When This Method Works Best (And Limitations)
This stovetop-to-oven technique works exceptionally well for chops 1.5-2 inches thick. For chops thinner than 1 inch, use stovetop only. For chops thicker than 2 inches, consider adding 2-3 minutes to the oven time or using a lower oven temperature (375°F) for more gradual cooking. This method isn't ideal for very lean cuts like tenderloin chops, which benefit from quicker cooking methods.
Serving Your Perfect Thick Pork Chop
Serve your perfectly cooked thick pork chop with simple accompaniments that won't compete with its rich flavor. A squeeze of fresh lemon juice brightens the dish, while a pat of herb butter melting over the top adds luxurious richness. Pair with roasted vegetables or a crisp apple salad for a classic combination that highlights the pork's natural sweetness.


 浙公网安备
33010002000092号
浙公网安备
33010002000092号 浙B2-20120091-4