
Nothing elevates a Sunday roast or mashed potatoes like homemade brown gravy. While store-bought mixes promise convenience, they lack the depth and complexity only achieved through proper technique. After years of perfecting this foundational sauce in both professional kitchens and home settings, I've distilled the process into a foolproof method that transforms simple ingredients into something extraordinary.
Why Scratch-Made Brown Gravy Beats Boxed Mixes Every Time
Commercial gravy mixes often contain preservatives, artificial flavors, and excessive sodium that mask the natural richness of properly made gravy. When you prepare brown gravy from scratch, you control every element—fat content, salt level, and flavor profile. The Maillard reaction that occurs when cooking the roux creates complex flavor compounds no powder can replicate. This isn't just cooking; it's food chemistry in action.
The Essential Components of Perfect Brown Gravy
Brown gravy's magic comes from three critical elements working in harmony:
- Fat source - Pan drippings from roasted meats provide the deepest flavor foundation
- Thickening agent - All-purpose flour creates the proper texture when properly cooked
- Flavor liquid - Hot broth (beef, chicken, or vegetable) builds the gravy's body
Understanding how these components interact prevents common failures like lumpy or thin gravy. The fat-to-flour ratio must be precise—too little fat and your roux burns; too much and your gravy becomes greasy.
Step-by-Step Brown Gravy Preparation
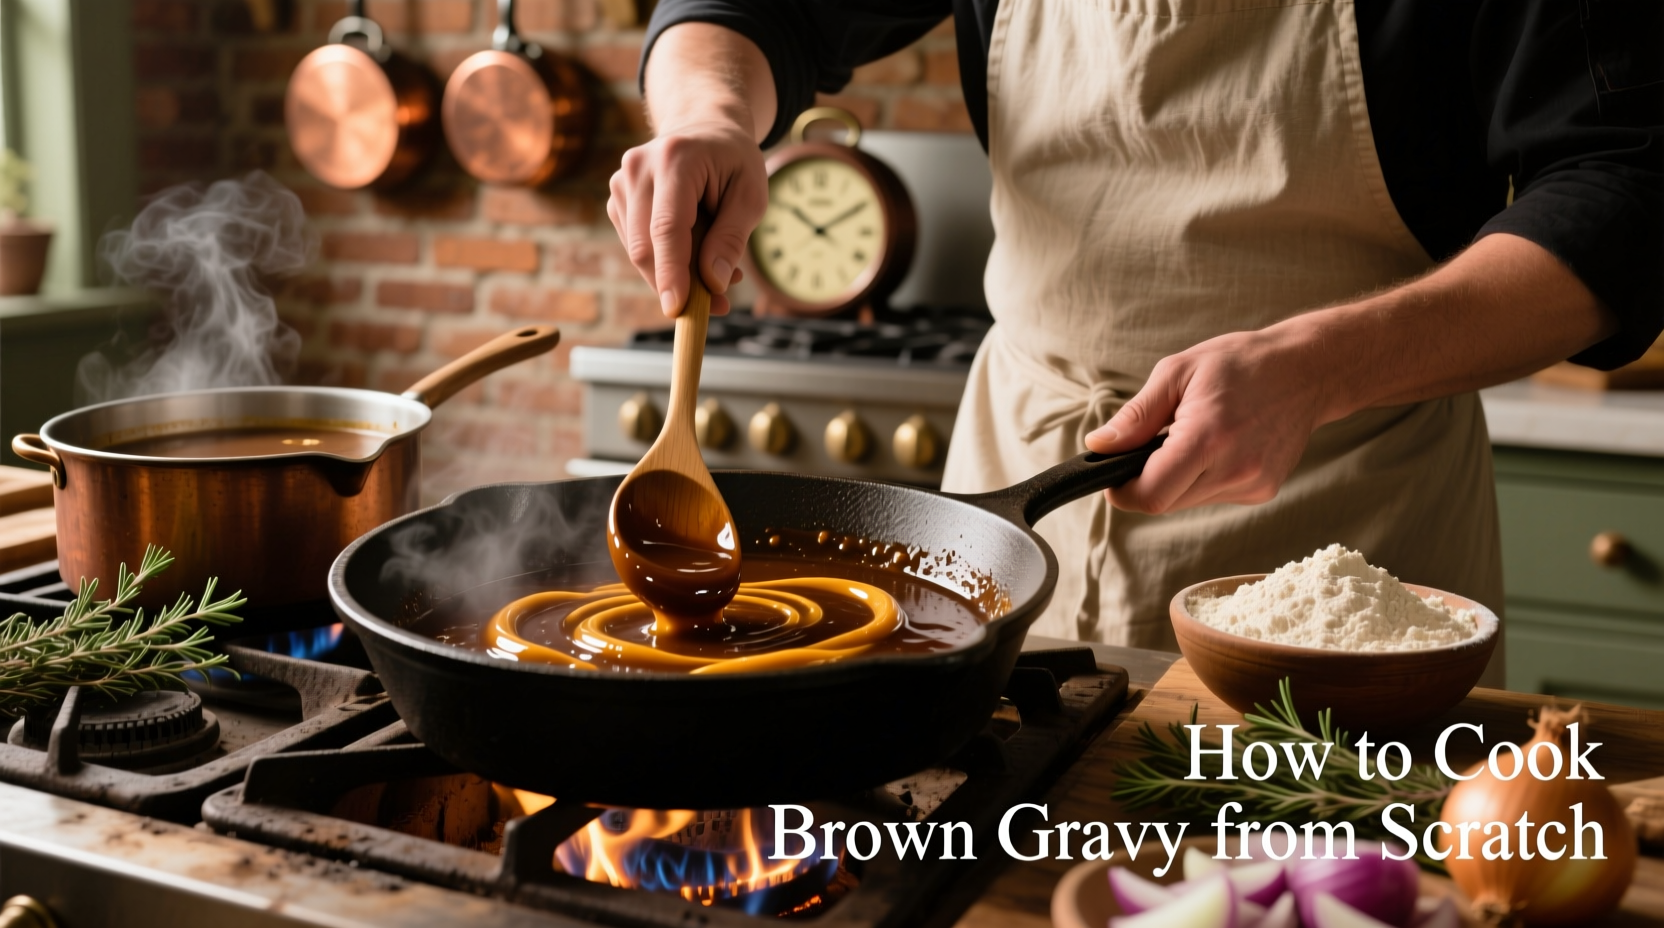
Stage 1: Building the Flavor Foundation (5 minutes)
After roasting meat, remove it from the pan and pour off excess fat, leaving about 1/4 cup of drippings. Place the roasting pan over medium heat. If you don't have drippings, substitute with butter or bacon fat. The fat should shimmer but not smoke—ideal temperature is 325-350°F (163-177°C).
Stage 2: Creating the Perfect Roux (3 minutes)
Whisk in 1/4 cup all-purpose flour until completely incorporated. Cook, stirring constantly, for 2-3 minutes until the mixture turns a light caramel color and smells nutty. This cooking time is crucial—undercooked flour tastes raw, while overcooked roux darkens too much and loses thickening power.
| Roux Color | Cooking Time | Best For | Flavor Profile |
|---|---|---|---|
| Blond | 2-3 minutes | Chicken gravies | Mild, neutral |
| Brown | 5-7 minutes | Beef gravies | Nutty, complex |
| Dark Brown | 10-15 minutes | Gumbos, stews | Rich, toasty |
Stage 3: Incorporating Liquid (2 minutes)
Gradually whisk in 2 cups hot broth (not cold—it prevents lumps). Start with just 1/2 cup, whisking until completely smooth before adding more. The mixture will thicken immediately then thin as you add more liquid. This gradual incorporation is the secret to lump-free gravy.
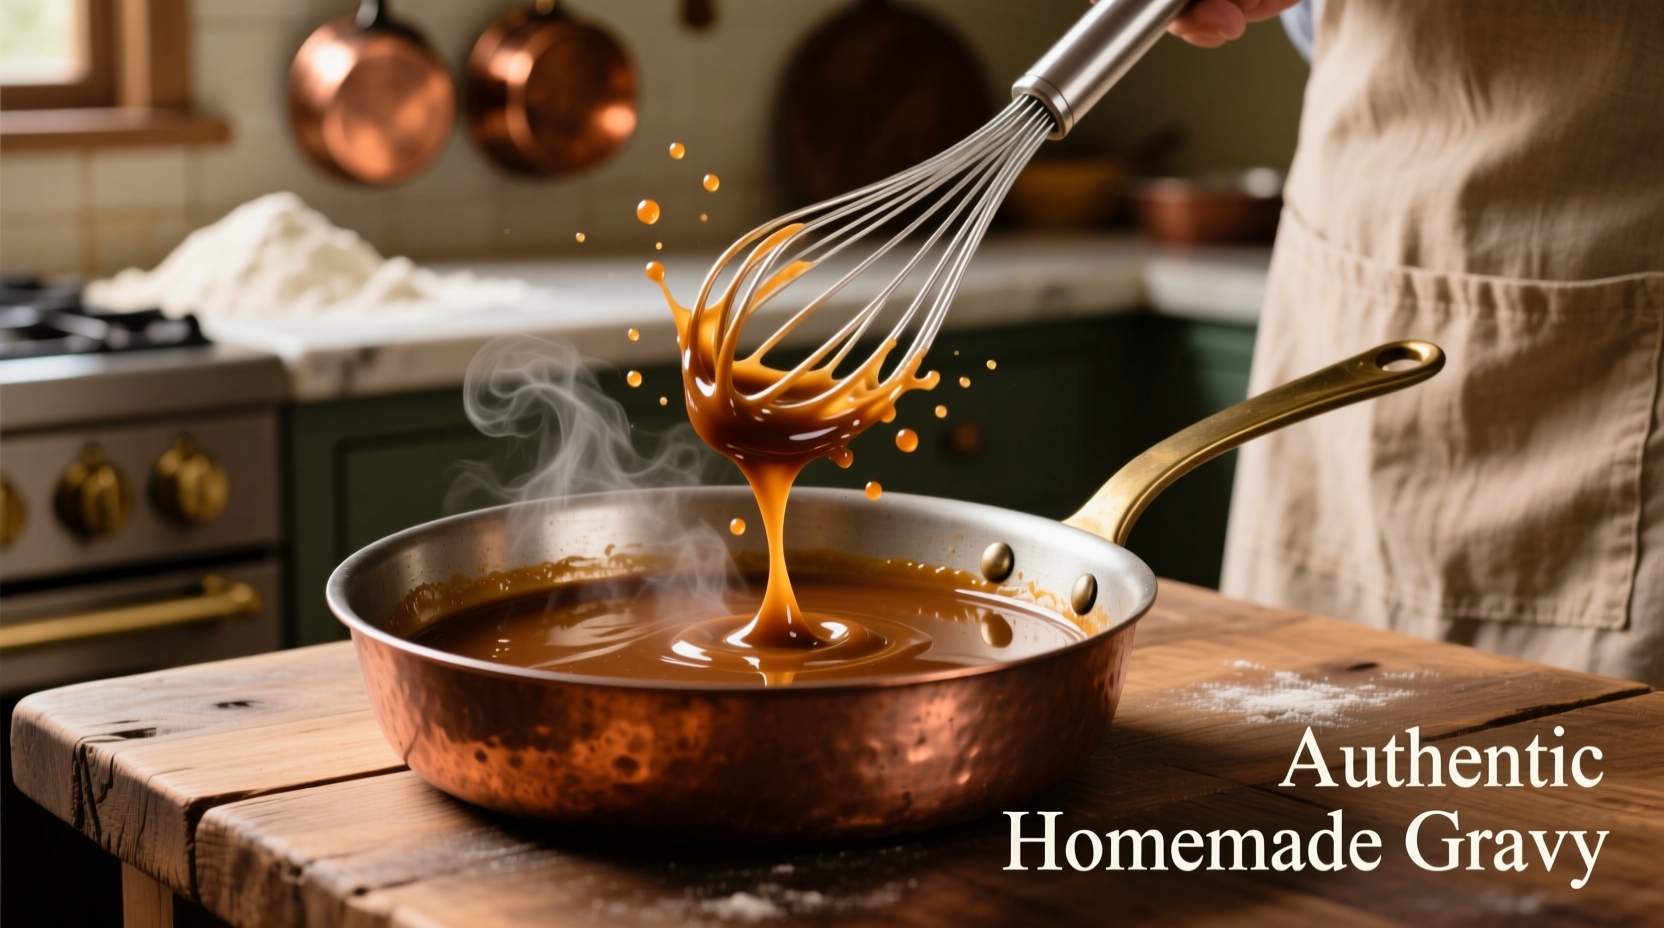
Stage 4: Simmering to Perfection (5-7 minutes)
Bring to a gentle simmer, stirring frequently. Cook until the gravy coats the back of a spoon—if you draw a line with your finger, it should hold its shape. For standard consistency, it should take 15-20 seconds to run off the spoon. Over-simmering breaks down the starch, causing thinning.
Troubleshooting Common Gravy Problems
Fixing Lumpy Gravy
If lumps form, immediately remove from heat and whisk vigorously. For stubborn lumps, strain through a fine-mesh sieve. Prevention is better than cure—always cook your roux properly and add liquid gradually while whisking constantly.
Rescuing Thin Gravy
If your gravy won't thicken:
- Create a slurry: Mix 1 tbsp cornstarch with 2 tbsp cold water, then whisk into simmering gravy
- Make a beurre manié: Combine equal parts softened butter and flour, then whisk in small portions
- Reduce further: Simmer uncovered for additional 3-5 minutes
Fixing Too-Thick Gravy
Add additional hot broth, 1-2 tablespoons at a time, until desired consistency is reached. Remember that gravy continues thickening slightly as it cools.
When to Use Brown Gravy: Context and Applications
Brown gravy shines with robustly flavored meats like beef, venison, and game birds. It's traditionally served with roast dinners, meatloaf, and shepherd's pie. Avoid using it with delicate proteins like fish or chicken breast where its strong flavor would overwhelm.
According to culinary historians at the Culinary Institute of America, brown gravy evolved from medieval meat sauces thickened with breadcrumbs. The roux-based version emerged in 19th century France and became popular in American cooking through Fannie Farmer's influential 1896 Boston Cooking-School Cook Book. This historical context explains why the technique remains fundamental to classic preparations today.
Storage and Reheating Guidelines
Properly stored in an airtight container, homemade brown gravy keeps for 3-4 days in the refrigerator or up to 3 months frozen. When reheating:
- Refrigerated gravy: Warm gently over low heat, stirring frequently
- Frozen gravy: Thaw overnight in refrigerator before reheating
- If separation occurs: Whisk vigorously while heating or add a splash of broth
Never reheat gravy multiple times—this degrades texture and increases food safety risks. The USDA Food Safety and Inspection Service recommends consuming reheated gravy within 2 hours.
Variations for Dietary Needs
Gluten-free option: Substitute all-purpose flour with rice flour or a gluten-free flour blend. Use 1/3 cup instead of 1/4 cup since GF flours have less thickening power.
Vegetarian/vegan version: Use mushroom or vegetable broth with olive oil or vegan butter. Add 1 tsp soy sauce for umami depth that mimics meat drippings.
For richer flavor: Stir in 1-2 tbsp red wine during the simmering stage, or finish with a pat of cold butter off-heat for shine and mouthfeel.


 浙公网安备
33010002000092号
浙公网安备
33010002000092号 浙B2-20120091-4