
Beef shoulder roast, often labeled as chuck roast, arm roast, or blade roast, presents a delicious challenge for home cooks. Unlike premium cuts, this affordable cut contains abundant connective tissue that demands specific cooking techniques to transform its naturally tough texture into succulent, pull-apart tenderness. Understanding the science behind this transformation separates disappointing results from culinary triumph.
Why Beef Shoulder Roast Needs Special Attention
This cut comes from the heavily exercised shoulder area of the cow, containing significant collagen and muscle fibers. When cooked improperly, it remains chewy and dry. But when treated correctly through slow, moist heat, collagen melts into gelatin at 160°F (71°C), creating that signature fall-apart texture. The USDA Food Safety and Inspection Service confirms that proper cooking temperatures are essential for both safety and texture transformation in tougher cuts (USDA.gov).
Essential Preparation Checklist
Before you begin cooking, gather these critical elements:
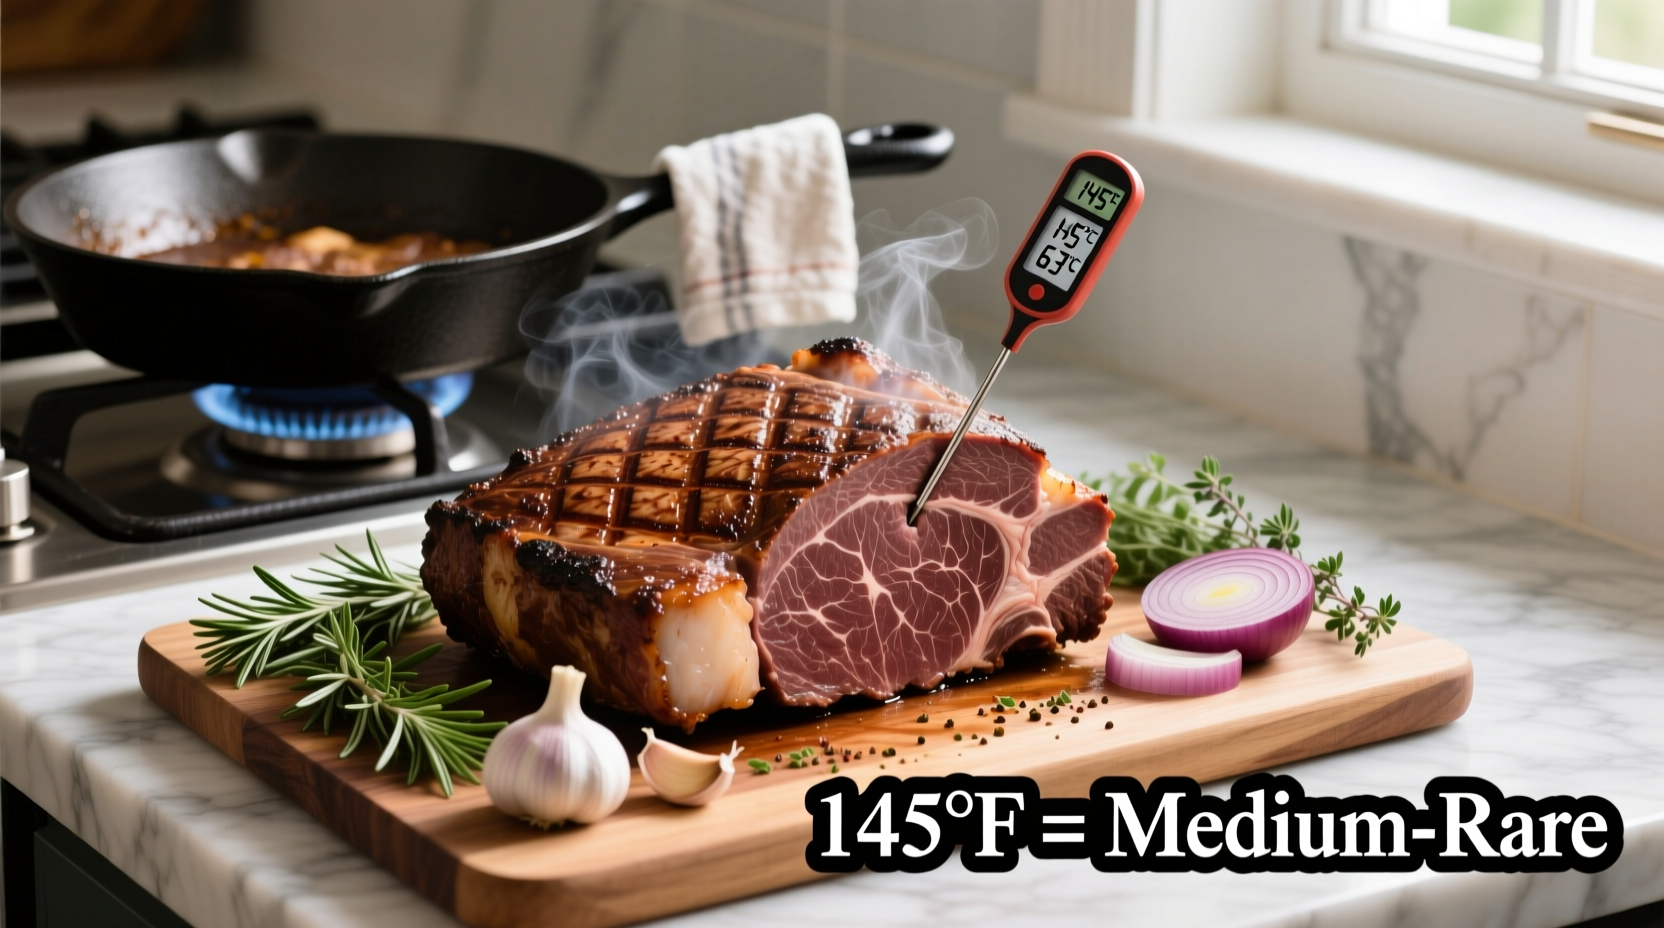
- Thermometer - Instant-read and oven-safe probe thermometers are non-negotiable for precision
- Rack - Elevates meat for even air circulation in your roasting pan
- Heavy-Duty Pan - Cast iron or stainless steel with tight-fitting lid
- Dry Rub Components - Salt, pepper, garlic powder, onion powder (ratio: 2:1:0.5:0.5)
- Braising Liquid - Beef broth, red wine, or combination (minimum 1 cup)
| Cooking Method | Time Required | Texture Result | Best For |
|---|---|---|---|
| Low Oven Roast (275°F) | 4-5 hours | Fork-tender, shreds easily | Traditional roasting, hands-off approach |
| Slow Cooker | 8-10 hours | Extremely tender, moist | Busy schedules, minimal monitoring |
| Dutch Oven Stovetop | 3-4 hours | Rich crust, tender interior | Developing complex flavors |
Step-by-Step Cooking Process
1. Proper Preparation (20 Minutes)
Remove meat from refrigerator 1-2 hours before cooking. Pat completely dry with paper towels—moisture is the enemy of proper searing. Apply generous seasoning, focusing on creating a uniform crust. For optimal flavor development, consider dry-brining: rub with 1 teaspoon kosher salt per pound and refrigerate uncovered for 12-24 hours.
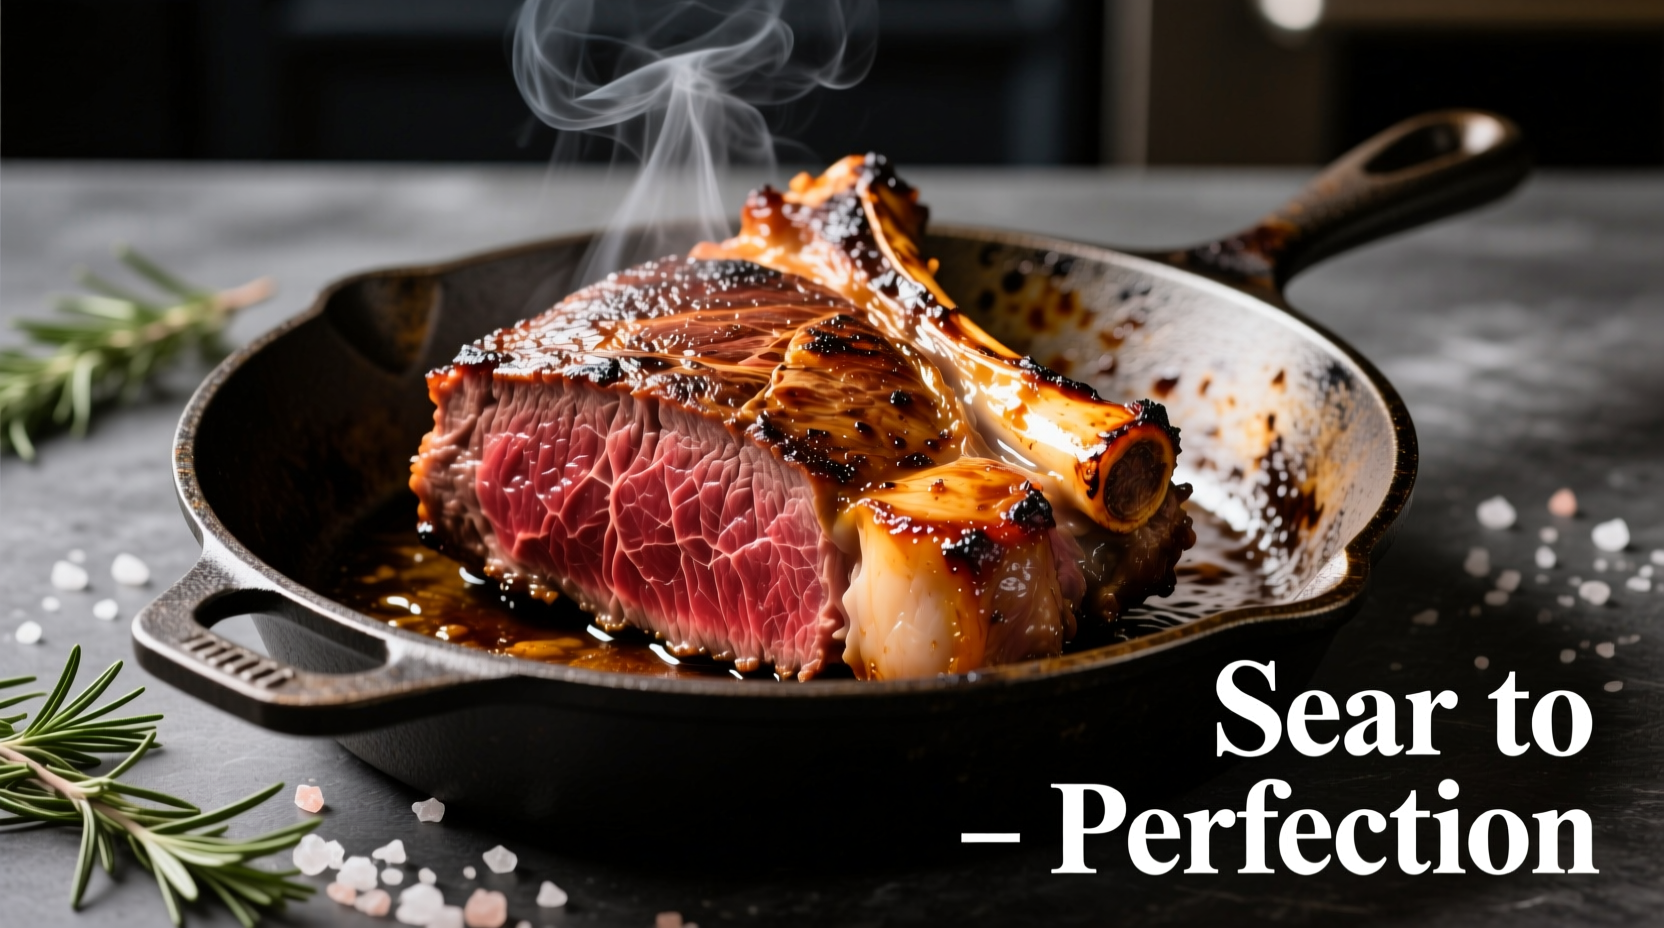
2. Critical Searing Phase (10-15 Minutes)
Heat 2 tablespoons oil in heavy pan until shimmering. Sear all sides until deeply browned (3-4 minutes per side). This Maillard reaction creates complex flavor compounds essential for rich taste. Don't rush this step—proper browning makes the difference between bland and extraordinary results.
3. Slow Cooking Transformation (4-5 Hours)
Transfer meat to roasting pan, fat-side up. Add aromatics (onion, garlic, carrots) and braising liquid (just enough to cover bottom of pan). Cover tightly with foil or lid. Cook at 275°F (135°C) until internal temperature reaches 195-205°F (90-96°C). This temperature range ensures complete collagen breakdown without drying out the meat.
4. Essential Resting Period (45-60 Minutes)
Remove from oven, tent loosely with foil, and rest at room temperature. This critical step allows juices to redistribute throughout the meat. Cutting too soon releases precious moisture, resulting in dry meat. During this time, the internal temperature will continue rising 5-10 degrees while fibers relax.
Troubleshooting Common Issues
When Meat Remains Tough
If your roast hasn't reached fork-tender status at 200°F (93°C), continue cooking in 30-minute increments. The University of Nebraska Food Safety team explains that connective tissue breakdown depends on both temperature and time—sometimes requiring additional cooking even after reaching target temperature (food.unl.edu).
Preventing Dryness
Dry results typically occur from either insufficient braising liquid or premature removal from heat. Maintain at least 1/4 inch of liquid in the pan throughout cooking. If liquid evaporates, carefully add more hot broth without disturbing the meat.
Serving and Storage Recommendations
Shred or slice against the grain for maximum tenderness. Serve with collected pan juices reduced into a rich gravy. Leftovers maintain quality for 4 days refrigerated or 3 months frozen. When reheating, place in covered dish with broth to restore moisture.
Why This Method Works: The Science Behind Success
Beef shoulder roast contains approximately 30% more collagen than tenderloin cuts. This collagen requires sustained heat between 160-205°F (71-96°C) to convert to gelatin—a process that can take 4+ hours. Rushing this transformation by increasing temperature causes muscle fibers to contract excessively, squeezing out moisture before collagen breaks down.
Frequently Asked Questions
Can I cook beef shoulder roast at higher temperatures to save time?
Increasing temperature above 300°F (149°C) causes rapid moisture loss before collagen breaks down, resulting in dry, tough meat. The low-and-slow approach is scientifically necessary for this cut.
Should I trim the fat before cooking?
Leave 1/4 inch of fat cap intact—it bastes the meat during cooking and can be easily removed after cooking if desired. Complete trimming beforehand sacrifices flavor and moisture.
How do I know when it's done without a thermometer?
While thermometers are recommended, properly cooked shoulder roast will shred effortlessly with two forks. If resistance remains, continue cooking. Visual cues alone are unreliable for this cut.
Can I use a pressure cooker for beef shoulder roast?
Yes, but reduce cooking time to 60-90 minutes. Pressure cooking accelerates collagen breakdown but requires careful timing to prevent mushiness. Natural pressure release is essential for maintaining texture.


 浙公网安备
33010002000092号
浙公网安备
33010002000092号 浙B2-20120091-4